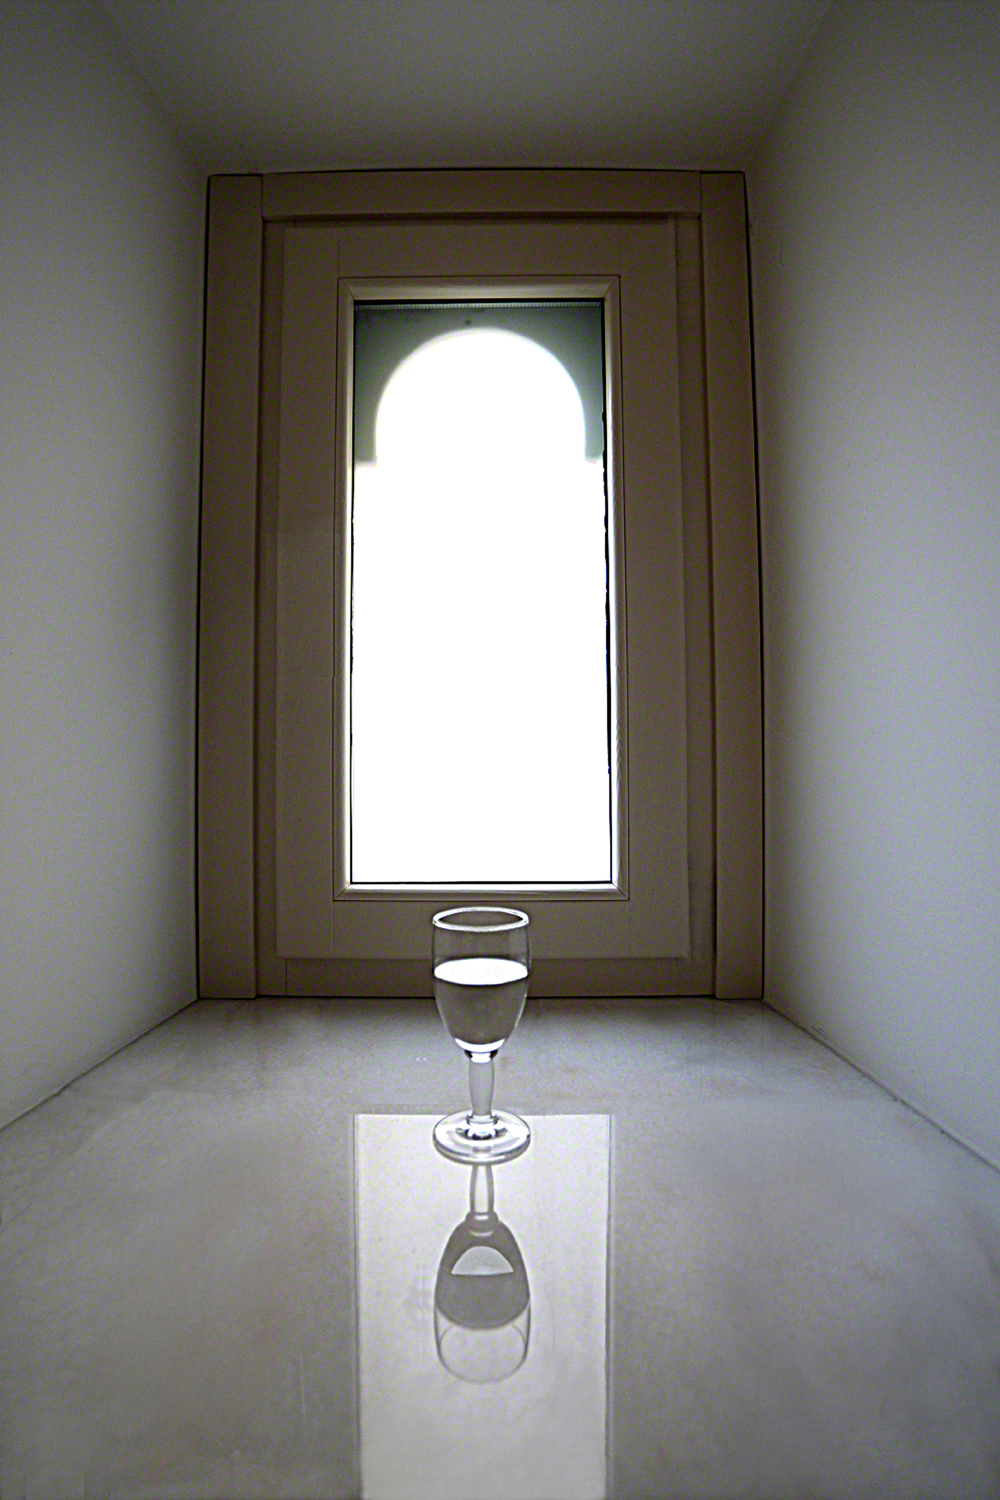
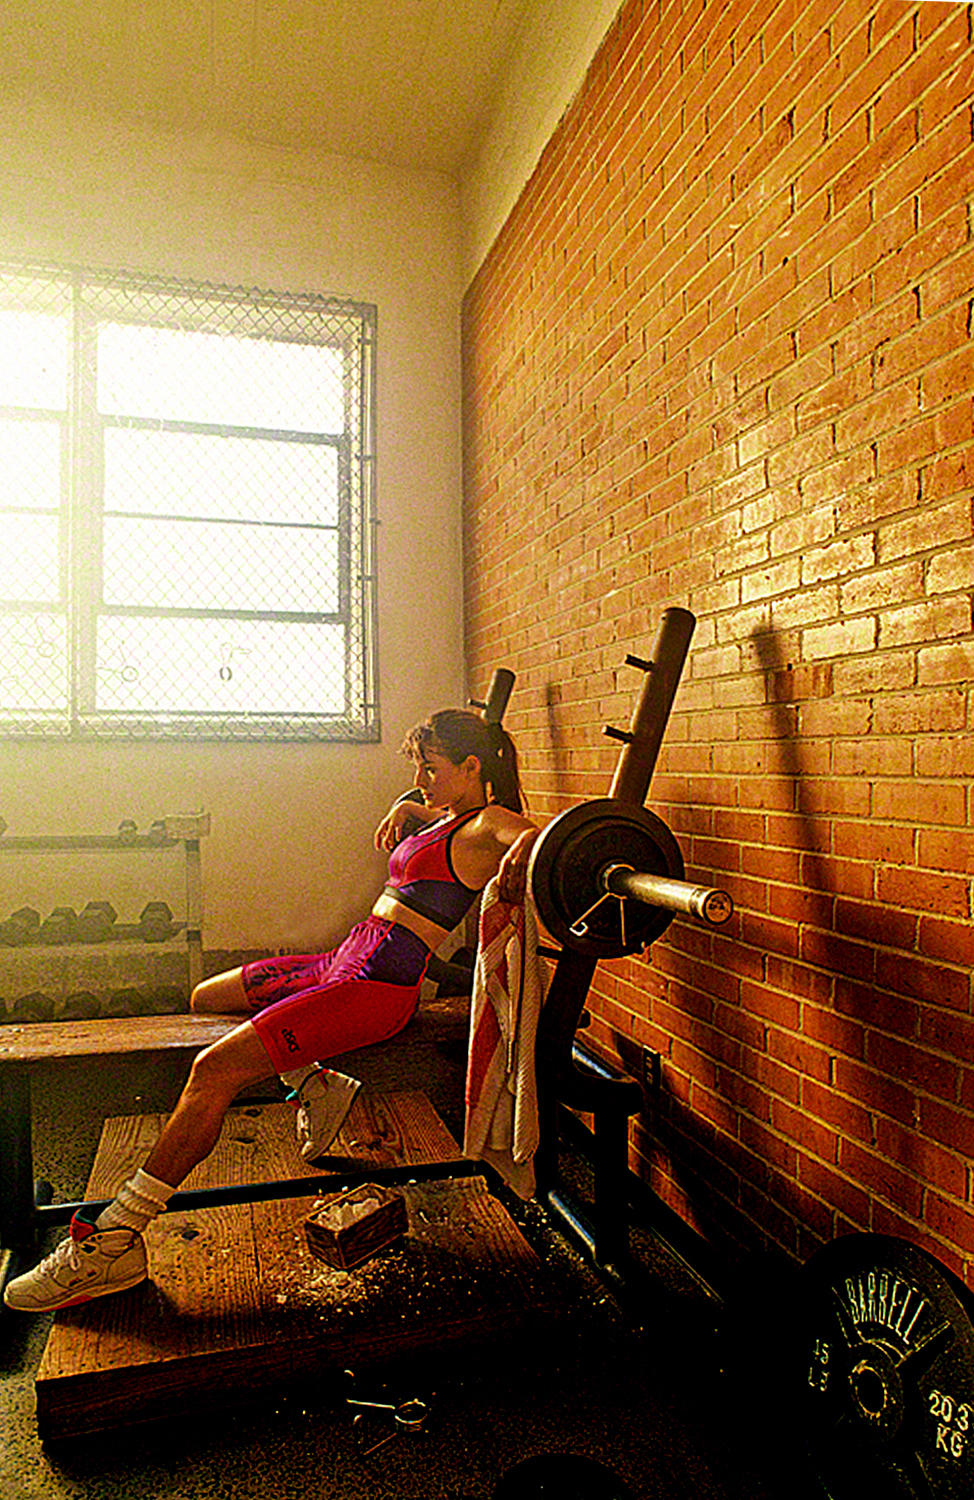
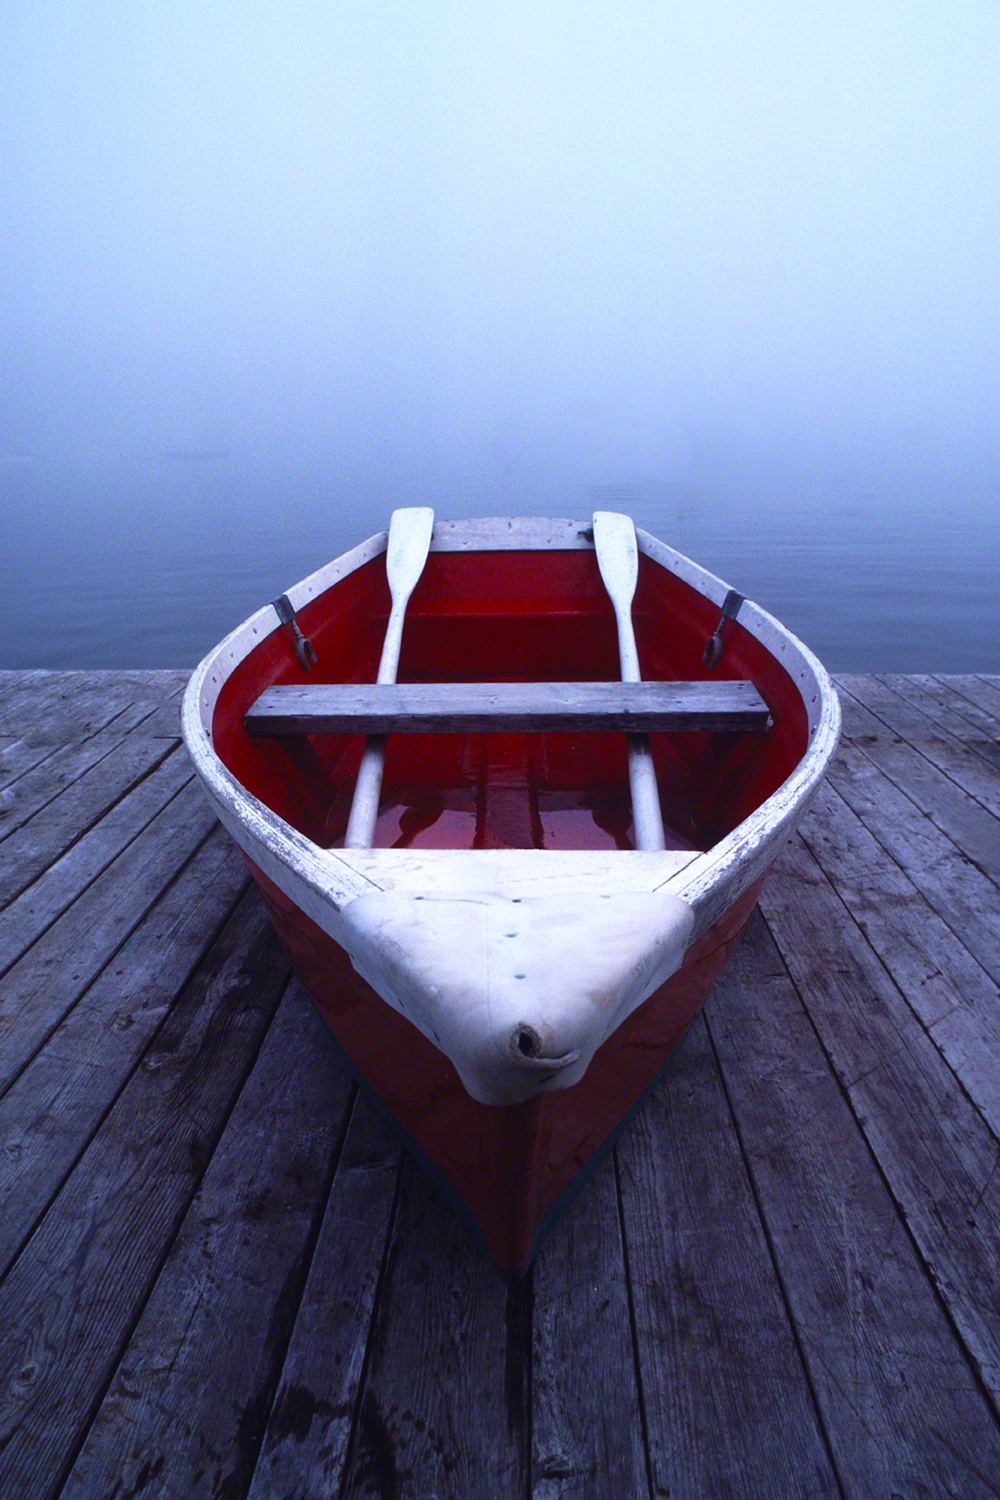
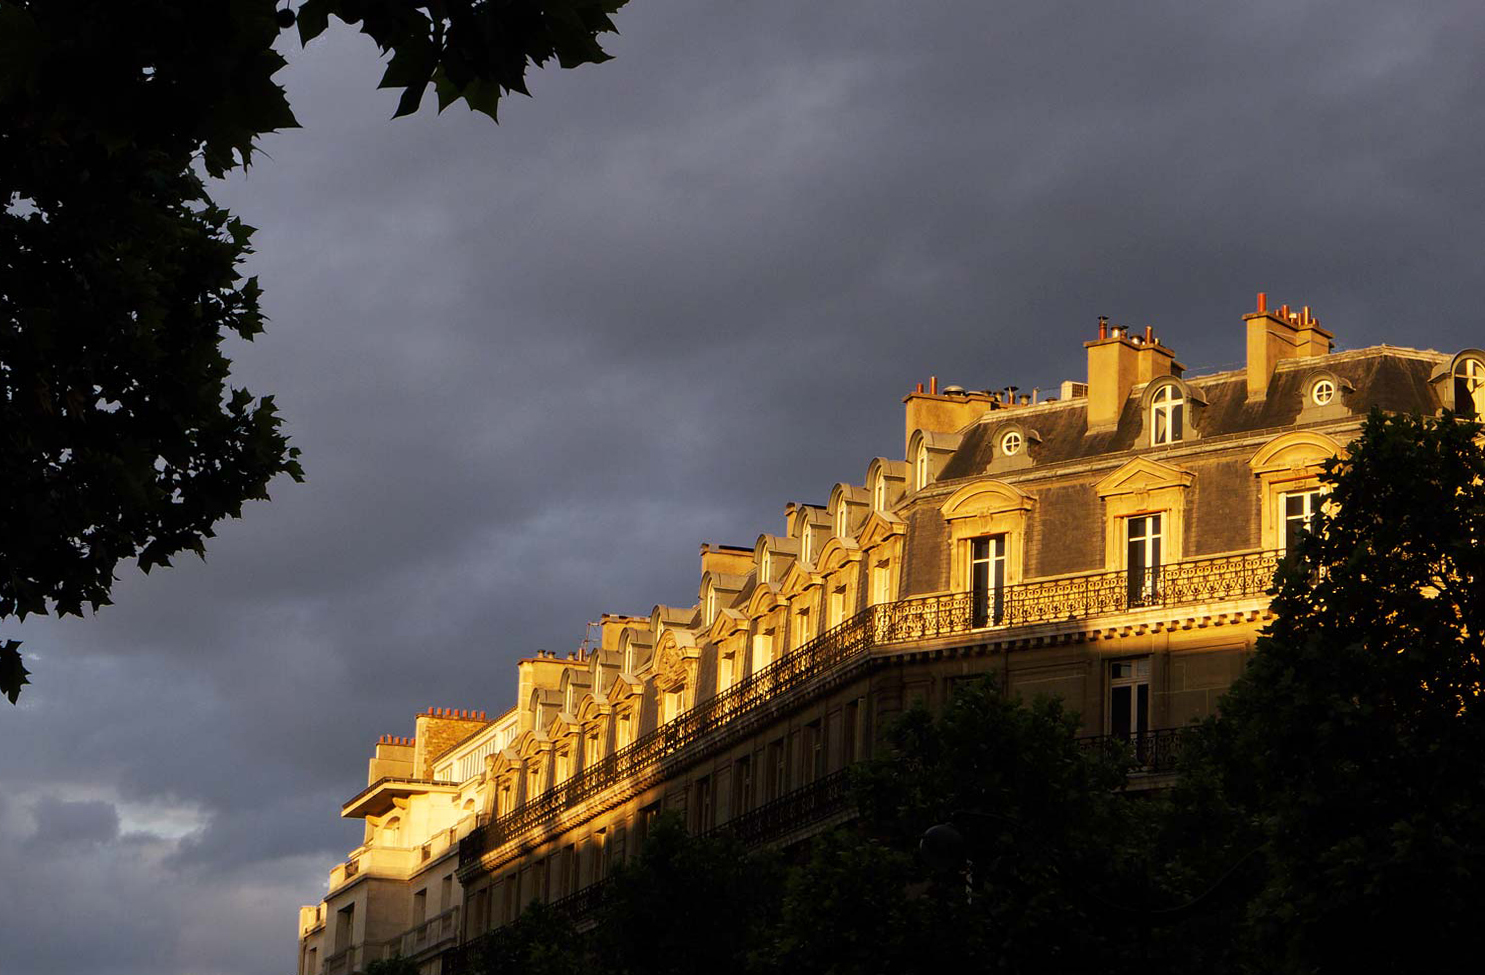
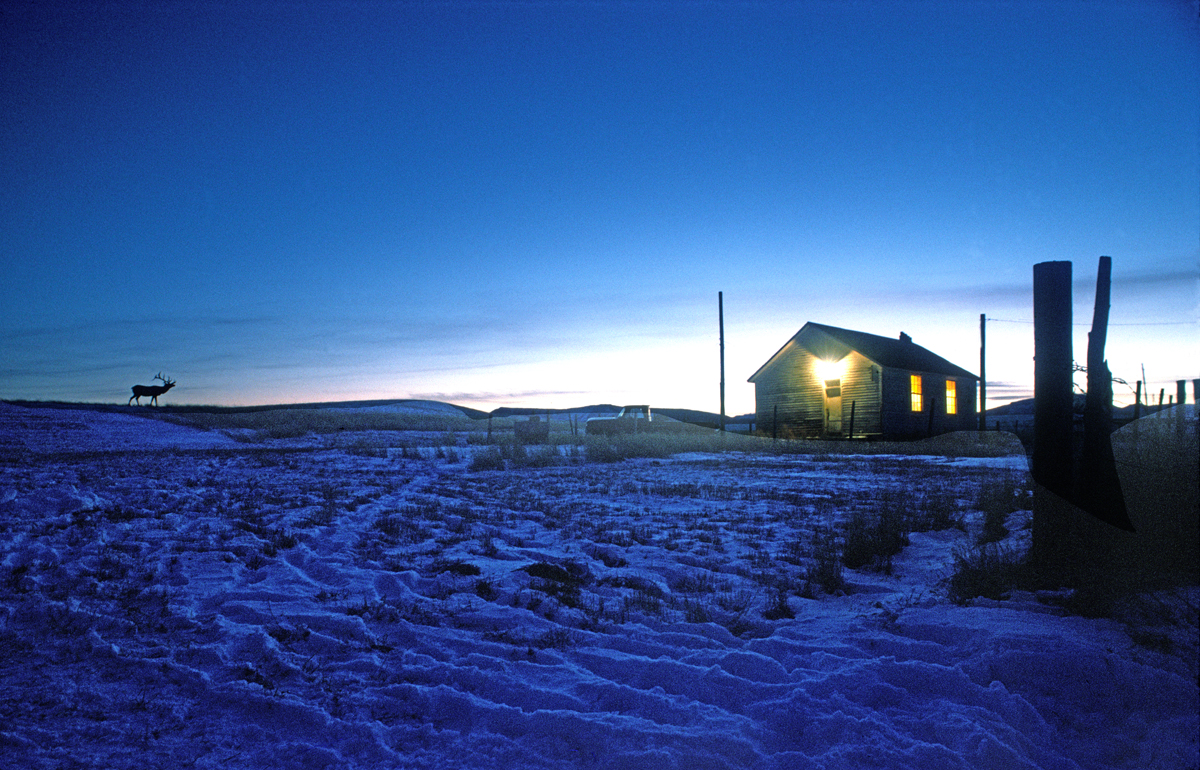
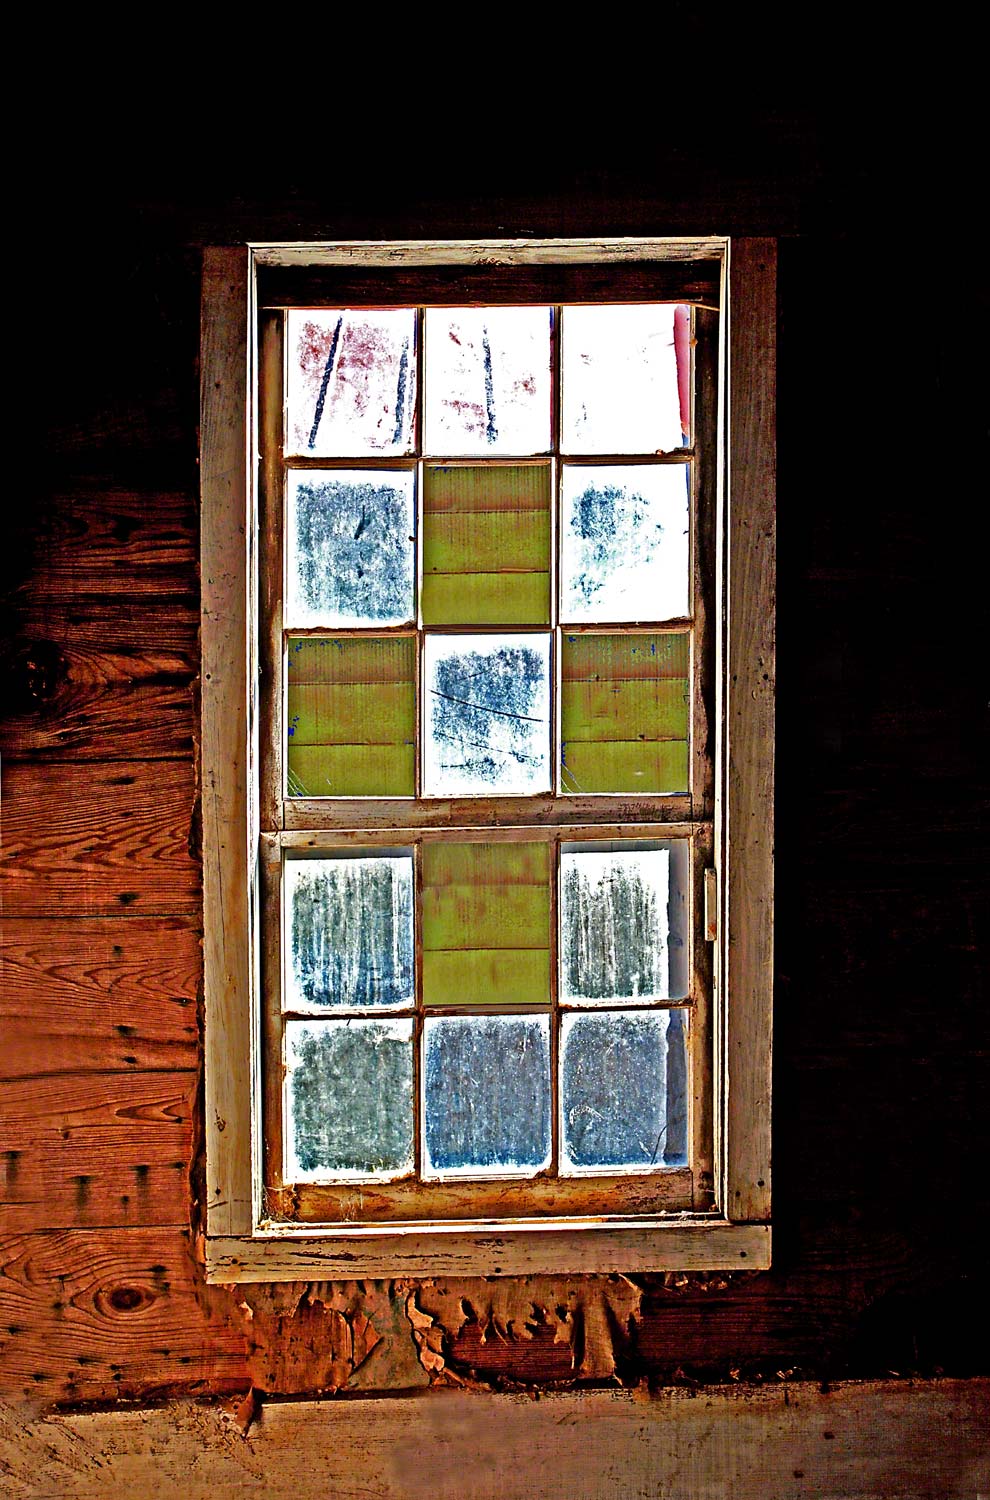
≡ Menu

My Favorite Quotes: Virgil

Looking with the left side of my brain.

“Qui potuit rerum cognoscere causas” by the Latin poet Virgil, is literally translated as:”Fortunate who was able to know the causes of things“.

Ok, so what in the world does this have to do with the price of coffee? Or better yet, photography?

For those of you that are new to my blog, my name is Joe Baraban and I’ve been making pictures for fifty years. Forty of them were for advertising, cororate, and editorial clients. Now I teach an online class with the BPSOP, and I conduct my“Stretching Your Frame of Mind” workshops all over our (hopefully very round) planet.

Showing my fellow photographers how to ‘make ‘ stronger photos is one thing, having them understand why they’re stronger images in equally important; and seldom talked about.

The how comes from teaching people how to incorporate the elements of visual design into their imagery: Line, Pattern, Form, Texture, Balance, Color, and Shape are the elements that my students will eventually wind up putting on their new Artist Palette. With this palette (that also has shadows, silhouettes, light, and vanishing points on it) they can start using the right side of their brain (the creative side) instead of the left side (the analytical side).

For example, a photographer looking at a tree with the left side sees only a tree. That same photographer looking at the same tree with the right side sees patterns made by the bark, the texture of the bark, negative space separating and defining the leaves and branches, the lines that make up the trunk and branches, the way the light falls on the tree (side, back, or front lighting), and the color of the leaves.

The whythe cause of things, is all about perception. The goal is to present your photo in such a way as to take control of how the viewer perceives and processes the information we lay out to him in the form of a photograph. If that same tree is presented in such a way as to keep the viewer around longer by looking at the warm late afternoon side light emphasizing the patterns and texture of the bark, then you’ve done your job.

If that same light is coming from behind the tree, it passes through the negative space that was created to define the leaves. It will turn the tree into a two-dimensional silhouette but because of those green, yellow, red, and orange leaves being translucent, they will glow; and don’t forget about that wonderful shadow (your best friend) that lies on the ground stretching out to the camera…again you’ve done your job, and a job well done.

Why is it a stronger photo? Because you have made the viewer an active participant and in doing so you have also made him want to stick around and look at you images.

In the above photo, I was coming back from a helicoptor shoot and looked down and with my left brain I saw two men working in some kind of oil related industrial yard. With the right side of my brain I saw Pattern, Shape (lots of circles),

Form (depth)…created by the low sun side-lighting everything, and Line (implied) created by all the barrels cuting diagonally through the frame.

Visit my brand new website at: www.joebaraban.com, and check out my workshop schedule at the top of this blog. Come shoot with me sometime.

JoeB

{ 0 comments }

Did It Do It: Did It Have Visual Interest?

Did it have visual interest?

Did it have visual interest?

This is the sixth post in my series, “Did it do it“. I call this one, “Did it have visual interest”?

One of the ongoing issues I have with my online students with the BPSOP, and in my “Stretching Your Frame of Mind” workshops is that they won’t always be around to explain their thinking to the viewer. Their photo needs to be able to stand on its own and be what I refer to as a “quick read” and make a quick statement.. Unless it’s an abstract and you don’t want to put an idea into the viewer’s head so that any interpretation is left up to them, I suggest you have the viewer figuring out what you were trying to say. The best way to have him doing that is to create a photo that has visual interest…attention grabbing interest.

It’s soooo easy to get hung up in framing your subject, and people invariably forget about the reason they brought the viewfinder up to their eye in the first place. It’s important to stand back (not literally) and “consider the scene and it’s outcome”; be sure that your idea is not tooooooo esoteric. People like to look at pretty pictures as well as thought-provoking images. I know that the last thing I want is to have the viewer walk away from my photo scratching their head wondering what the point of the photo was…while yawning!!!

If it’s an editorial story you’re trying to get across it’s important that the message is clear, hopefully without any captions guiding the viewer’s way. If there are captions it would be nice if the printed word matched the visual. otherwise…there he goes wandering off again scratching hiss head!!!

One of the best ways to create Visual Interest is by using the elements of visual design and composition found on my Artist Palette: If the feeling you want to get across is loneliness, then place your subject small in a much larger environment. Create Visual Tension by placing your subject close to the edge of the frame. I’ve found that the bottom right corner will usually work. Remember that color also communicates ideas while providing visual interest. For example, a group of people wearing the same color will mean that they’re part of a group or organization, and the viewer will get it right away.

In the above photo, I was shooting a brochure for a new hospital in Houston, and they wanted to say that there are top professionals working on state of the art equipment aimed at finding the cause as to why you’re there in the first place. I wanted to tell the story as quick as I could, using contrast and light to create the Visual Tension, The attitude/Gesture/body language and the obvious quiet environment of the doctor’s office helps to qualify him as someone you could trust to make an accurate diagnosis.

To make the photo more visually interesting I also included Pattern (an element of visual design) to keep the viewer interested in looking around the frame. Shape is another element of visual design and the four basic shapes are: circles, squares, triangles, and rectangles. I’m always looking for those shapes and including them into my composition, as I’ve done here with all the circles.

Visit my brand new website at: www.joebaraban.com, and check out my 2019-20 workshop schedule at the top of this blog. Come shoot with me sometime.

JoeB

{ 2 comments }

The Law of the Light

Have you ever driven past a glass high rise or office building and just for a few seconds as you were driving by the glass in the building started to glow, and just as fast as it appeared it disappeared? Usually when this happened, wasn’t the sun closer to the horizon than at it’s apex in the sky?

Well, you can stop wondering why that was because you were experiencing a phenomenon that’s referred to as “The Law of the Light”.

When light strikes (falls on) a surface it strikes it at an angle, and that angle is called the “Angle of Incidence”. When that same light bounces off that surface to the lens, it’s called the “Angle of Reflection”. When the two angles are the same, it’s called the “Law of the Light”. It’s what causes that “POP” (as I call it) or that glow in the glass. The reason why you see the glow is because you’re driving right into the same angle of light that hit the building and is now being reflected off it to your eyes, and the reason why it goes away so quick is because you’ve driven out of that angle.

So why is this so important in taking our photos “Up a Notch”? Well for one thing it’s my favorite way to light…anything!!! So, how do we go from watching the “POP” on a building to utilizing the “Law of the Light” in our Photography? In my online class I teach with the BPSOP, and in my “Stretching Your Frame of Mind” workshops I conduct around the planet, I show my students just how it’s done and how easy it is to do it.

The Law of the Light

In my photo of the 57′ Chevy I shot for National Car Rental, the first thing I did was to determine the exact location of the setting sun…to the degree. I did this with my Sunpath readings and my Morin 2000 hand bearing compass. Once I knew where the sun would hit the horizon, I positioned the Chevy so that the grill would be in the correct angle. That is, the angle from the sun to the grill was the same angle as the grill to the lens. This enabled me to get that “POP” on the grill that I was after. Since the “POP” was so bright on the grill, I had to move my camera so I would be slightly out of the exact angle.

FYI, the cloud formation behind the Chevy was in the same angle.

Knowing where to put your camera, when to put it there, and how long you have to shoot it there, makes all the difference in the world. It’s the difference between shooting “In the camera”, and doing post processing work. Since I knew all those things, I didn’t have to do anything later in post production!!!!! It’s all in the camera, including the bird.

Stay tuned for my part II post of the “Law of the Light”, where I’ll show you how I shoot portraits utilizing it.

Visit my brand new website at: www.joebaraban.com, and check out my 2019-2020 workshop schedule. Come shoot with me in the “Law of the Light”.

JoeB

{ 17 comments }

Quick Photo Tip: Dynamic Range

High Dynamic Range

I usually try to stay away from seriously technical stuff, because to be honest most of it is above my pay grade!!

🙂

I feel so relieved having to ‘come right out’ and admit it. However, I feel like I should still contribute my two cents worth. This is because questions about exposure keep coming up in my online classes with the BPSOP, and recently in my Stretching Your Frame of Mind” workshops I conduct all over our (round) planet. I’m going to try and make this as simple to understand as I tell all my fellow photographers.

In photography, the “Dynamic Range” is the relationship between the darkest and lightest areas in a photo, generally going from pure black to pure white; pure black is pretty much impossible to achieve since there’s always a little detail in those areas.

There’s ‘High Dynamic Range’ which is achieved on a bright sunny day where there are areas in the sun and areas in the shade. ‘Low Dynamic Range is when it’s an overcast day or there’s little to no difference in your composition’s highlights, middle tones, and the shadows.

When photographers submit images, the one thing that they don’t pay attention to is the differences between the brightest part of the composition and the areas that are in shadows. If they’re shooting out in the light, then any centers of interest in the shadow are too dark. Conversely, if they’re shooting in the shaded areas the brightest area is blown out and all detail is lost…not good unless you’re consciously trying to do that.

Btw, when photographers are always listening to what the meter in their camera tells them, they really don’t have control…but I digress!!

Our eyes are simply amazing. As good as some of the current digital cameras are as far as the range between the bright areas and the areas in shadow their sensors can see, they’re no match for the human eye.

Cameras have a narrower dynamic range than the human eye and get somewhere from 5 to 15 stops depending on what article you’re reading. This means that on a bright sunny day you often have to choose whether you “blow out your highlights”, or you make the shadows lacking any detail. The human eye can perceive about 20 to 24 stops of dynamic range in ideal circumstances; depending on who you’re listening to.

Low Dynamic Range

Btw, it’s always better to shoot in RAW so you can take advantage of all the embedded data and open the shadows enough to see a lot more detail.

One of, if not the most important aspects of Dynamic Range is that photographers never think about it; admittedly because it’s hard to control. Often, there’s just no way to have a range of tones in your images. It’s vital to have an understanding of your camera and it’s meter. I can tell you from years of shooting and teaching that the meter in your camera is going to be wrong most of the time. This is why I really push students to shoot on manual so they do have at least a little control.

Case in point: I had a student that was shooting in the barn on her ranch, trying to take a portrait of her favorite horse. The barn doors were opened so she could also show several horses in a corral just outside.

It was a bright sunny day when the sun was almost overhead, and inside the barn was considerably darker. The range of exposure between the outside and inside was too great to get the entire photo exposed properly.

The inherent problem is that our eyes can see all the color and detail in the barn and when looking outside, they will automatically adjust. The camera can’t do that, it’s either one or the other.

In other words, you can get a beautiful well-exposed portrait of your horse and the outside will be void of any detail, or you can expose for the outside, and you’ll lose everything on the inside.

So here comes the dilemma, or at least as far as I’m concerned.

There is a way to come out with a well-exposed photo, and that is combining two or three photos into one or as they call it…HDR

I say to each his own, but to me, that’s computer art and not photography. I’ve been shooting for fifty-three years, and in that time I have never had to blend more than one photo….and my pictures have been coming out pretty good.

Look for alternatives…ways to solve the problem in the camera. I have found that by thinking before shooting I’ve come home with photos I can share with others.

Visit my brand new re-designed website at www.joebaraban.com, and follow me on Instagram: www.instagram.com/barabanjoe.

. Check out my workshop schedule at the top of this blog. Come shoot with me sometime.

JoeB

{ 0 comments }

Did it do it: Did It Have Energy?

The use of light to create Visual Tension.

The use of light to create Visual Tension.

About seven years ago I wrote a series of posts around a phrase I talk about to both my online class with the BPSOP, and my “Stretching Yor Frame of Mind” workshops I conduct around the planet. I’m always handing out information on ways to take my students photos what I refer to as “Up a Notch”.

I’ve had some new interest lately so I thought I would bring back these posts to share once again over the next few weeks.

One of the first pieces of information I hand out is what I call my “Did It Do It” list for good composition. There are twelve of them I will to be discussing again with you. These aren’t rules that you have to live by, as you followers of my blog know I don’t like rules. It just good advise from someone that has been thinking about them for a very, very long time. I call this one “did it have energy”.

I’m not talking about the kind of energy a photographer needs to feed his passion, although that’s certainly a part of it. Passion is what drives us when things are difficult, it is by far the most efficient energy source that we have as humans.

I’m also not talking about the type of energy that’s usually associated with running or moving around quickly to get off a shot. I’m talking about the kind of energy that’s directly related to Visual Tension. Not the type of tension that comes from mental or emotional strain; I’m mean Visual Tension. This is a state in the viewer’s mind when forces act in opposition to one another.

Tension is what prompts the viewer’s brain to spend a little extra attention trying to understand an image. To do so, they should intuitively recognize that there’s more in the frame than what may be obvious at first glance and that there’s potential value in seeking a deeper meaning.

In my online class with the BPSOP, and in my “Stretching Your Frame of Mind” workshop I conduct around the planet, we work on creating energy in our imagery. In these classes my formula is E=T2. This means Energy equals Tension. The squared part is just for show because it looks good when it’s written!!!

🙂

To generate energy in your photos there needs to be some type of Visual Tension, and there are several ways to produce it. For example the use of light can create Tension. Contrast can also generate Tension. A gesture, body language, stopping an action and leaving it un-completed, showing a subject and it’s reflection, minimizing the negative space that borders the positive space as in your subject or center of interest. These plus more of which I’ll be dedicating several posts, since this is one of the most important ways to take your imagery what I always refer to as “up a notch”.

Visit my brand new website at: www.joebaraban.com, and check out my workshop schedule at the top of this blog. Come shoot with me sometime.

JoeB

{ 0 comments }

Lot’s of details to think about.

If you think about it, the old adage, “It’s all in the details” would fit almost any occupation one can possibly think of: An attorney has to consider every detai in his deliberation, or in just seeking out the facts and truth…as in no stone left unturned. A stock broker has to pay attention to every aspect of the market, the companies profit and loss statements, and it’s constantly changing daily prices. A baker has to follow his recipe’s to the letter for any kind of continuity. A pro golfer, just to hit the ball straight, has to think about his swing, grip, stance, follow through, wind direction, and so on.

Well, I’m here to tell you that in photography the details will make the difference between going home with a ‘wall hanger’ or a photo that will eventually fall on the proverbial ‘cutting room floor’..as in hitting the delete tab…with extreme prejudice!!!

A good composition will put forth visual information that should and will support what the photographer is trying to say to the viewer as far as the overall impression.

In my online classes with the BPSOP, and in my “Stretching Your Frame of Mind” workshops I conduct all over the place, I’m constantly directing my fellow photographers to pay attention to the details.

And more details to think about.

I have three ways to to do this: My fifteen Point Protection Plan, my Border Patrol, and the Four Corner Checkoff.

Yes, I know, you can always fix it in Photoshop!! There’s one inherent problem with that and it is in the fact that it won’t make you a stronger photographer; however, it will keep your post-processing skills well honed…if that’s your cup of tea.

When I’m with my fellow photographers in one of my workshops, I notice that the camera comes up to the eye before knowing where the source of the light is coming from; it should be the other way around.

That small detail (not so small) will make a huge difference in whatever subject matter you’re shooting…why? Because when you’re in a position to sidelight your subject, you’ll be provided all three dimensions to the viewer: height, width, and depth. If you front light your subject, you can only achieve two of the three dimensions: height and width.

I was recently working with a student in Spain that had no idea what was going to be in focus besides his main subject. He never paid any attention to what F/stop he was shooting at. He, like so many others, have begun their love for photogrphy in the digital era, and thinks that the camera should be making all the decisions for him; not in his best interest.

Just another small detail???

Visit my new and improved website at: www.joebaraban.com, and checkout my workshop schedule at the top of this blog. Come shoot with me sometime.

JoeB

{ 0 comments }

isolatedhousewithelk00793A couple of years ago I was sitting in the doctor’s office waiting ‘patiently’ for my turn. Laying on a table next to me was a Digital Photography magazine just waiting for me to pick it up. It was calling to me since on the cover, in big, bold, red print, was the title of an article called 100 Plug-Ins for taking better pictures.

Wow, I thought. So many ways to help you take better photos. I started reading the article with ‘bulging eyes’. I couldn’t believe that there were that many ways to manipulate a photograph. There were plug-ins to add lightning, natural light (nothing like natural light), rain, snow, mist , fog, reflective and refractive depth effects, etc, etc, etc.

Stupid me! I thought only the big guy upstairs could create lightning.

One company even said that their effects would “light your creativity on fire”. Another promised to “add style and class to your photography”. Not a bad thing!!!

YIKES!!!! What happened to plain old ‘classic’ photography?

In both my online school with the BPSOP, and my “Stretching Your Frame of Mind” workshop I conduct around the globe, there’s always students that picked up photography five or six years ago and never experienced what it was like before the days of digital cameras and Adobe Photoshop; when Adobe was a type of house in the southwest aprt of the USA. Well, in my classes, there’s no post processing allowed. It’s quite a challenge, and to many a welcomed one to have to submit pictures straight out of the camera. They are not allowed to make any changes or crop their images. I want them to become better photographers, not better ‘photo technicians’…digital artists.

By the way, as long as you crop your photos you’ll never become aware of the edges of your frame. This will definitely make it harder to take your imagery “Up a Notch”.

But I digress.

As I was saying, the magazine article sparked an idea. In a week, I was leaving to do a workshop, and I decided to create a PowerPoint presentation to start showing my fellow photographers.

As I might have said in other posts in this category, over the years I often had one of my assistants shoot production pictures while on photo shoots. As a result, we had the set-ups (how we did it) and the finished photo, so I was able to show a wide range of assignments.

Remember that all these pictures were shot ‘in the camera’ with absolutely no post-processing. In those days you actually had to think on your own, without a plug-in to “light your creativity on fire”.

This photo was shot for a company named CompuServe and the premise was that no matter where you lived, as long as you had electricity you could connect to the Internet. After sending out several location scouts, we decided on Montana (in February no less). The house was deserted, so we brought in lights and a generator.

Shown above is the finished shot, and below is how we did it.

Visit my brand new website at: www.joebaraban.com, and check out my workshop schedule at the top of this blog. Come shoot with me sometime.

JoeB


{ 11 comments }

My Favorite Quotes: Marcel Proust

What else do you see besides a window?

What else do you see besides a window?

Here’s a quote written by Marcel Proust, a French Novelist that lived in the late 19th century and early 20th. In my English Literature class we touched on his writings, but it wasn’t until I started teaching online with the BPSOP, and conducting my “Stretching Your Frame of Mind” workshops that I happened upon one of his quotes. It’s a quote that has stuck with me and one that I constantly tell my fellow photographers that say they can’t find anything worthwhile to shoot anymore.

Proust said, “The real voyage of discovery consists not in seeking new landscapes but in having new eyes.”

When I think about the part that says “new eyes”, my Artist Palette immediately comes to mind. I teach my fellow photographers how to use the elements of visual design and composition to create stronger photos. We work on “making pictures” that include Texture, Pattern, Line, Shape, Form, Balance, Perspective, Vanishing Points, and Negative Space. It’s a lot, but they all fit comfortably on a palette.

Before students have taken my online class or my workshop, they’ve gone out and photographed what they saw, or have photographed what others have before them. The problem is that they never thought about “seeing past first impressions”. A tree is just a tree to them. They are of the mindset that looking at a label is fine, never mind that they’ve haven’t a clue as to what’s inside.

I had a student that lives on a ranch in Montana. She told me that there was nothing left to photograph, and was ready to give up photography. I had her create a path or trail if you will, that surrounded the house, the barn, farm machinery, the pens for the animals, and the fence line. I told her to follow the path exactly the same way each time, going past the exact same things each time. The first couple of times I just wanted her to take pictures of whatever she saw. As expected, her photos lacked substance, and meaning. It was obvious that she had become bored with her ranch.

Then I told her to take her ‘(imaginary) Artist Palette’ with her and look for the elements that were on it. When you go past the fence, forget that it’s a fence. instead, think of it as a way to frame one of the other buildings, Think of the areas between the posts as a Shape…a long rectangle that’s created by the Negative space that surrounds and defines it. Look at the texture, and try getting “up close and personal” to it. Image the top and bottom of the fence as converging lines that move the viewer around the frame…maybe to one of the structures. Most important, I told her to walk the path at different times of the day. Walk it at sunrise, the middle of the day and sunset to see how the light can play a huge part. How about side lighting the sides of the bard, to emphasis the texture. Then, I told her to go the other way around to see things completely different.

As I knew it would happen, she started seeing things she never knew were there before. It was a true “voyage of discovery” that she was able to see with her “new eyes”.

So my fellow photographers, you don’t have to travel to take good photos. Sometimes you only need to look in your own backyard.

Visit my new website at: www.joebaraban.com, and check out my workshop schedule.

JoeB

{ 0 comments }

I moved them into the early morning light.

One of my favorite Pearls of Wisdom that I often say to my online class with the BPSOP and in my “Stretching Your Frame of Mind Workshops” I conduct around the planet, is “in a perfect world, what if”. I’ll bring this up when I’m discussing one of my students photos and ask them if they could go back and re-take the photo, and could add, change, or do anything they wanted, what would they do.

I do this then explain that whether or not they could change anything isn’t the issue. It’s just an exercise to sharpen their mind and have it always thinking about improving their photos so that one day when they could actually add, change, or do anything, they will be ready for it.

The Realism comes from the photo as they first saw it. If I had a quarter for every time a fellow photographer or student told me that they never thought about adding, changing, or doing anything they wanted, to create a stronger image, I would be writing this post on my island with a blue and frothy cocktail resting comfortably on my stomach…with an umbrella perilously hanging from one side. They just figured that if it was the way it was, then that’s the way they should shoot it.

Now, I know that there are photographers out there that believe you should never alter anything before you click the shutter. If that was the way it was before they got there, then come hell or high water that’s the way they were going to photograph it. Well, that’s all well and good, and I hope all their photographic dreams and endeavors comes to fruition. My problem is that most of the time, I never like things the way they are.

The Idealism part of this post is when that same fellow photographer or student tells me things he would have liked to have added or changed. That’s the ideal world, not the real world talking, and that’s the world I live in…photographically speaking that is!!!

In the above photo, I was shooting an annual report for a Chemical company. Although this kind of activity was actually going on (Realism), I didn’t like where they were and how they were doing what they were doing. So, this photo was a part of my imagination (Idealism). In other words, I put all the elements together and then staged it.

The striped pillows were on other chairs.

If you want to “take pictures”, then by all means live in the real world where Realism is the common denominator. On the other hand, if you want to “make pictures”, then it’s the ideal world for you. Don’t look at what’s there, look at what you’d like to be there.

As for me, my mother always said I was a dreamer!!!

Visit my website at: www.joebaraban.com and check out my workshop schedule at the top of this blog. Come and dream with me sometime.

JoeB

{ 0 comments }

Photo Ops: Recognizing The Moment.

Recognizing the moment paid off

I’d like to think that there’s two photographers bottled up in this mind that’s been covered over with curly whitish gray hair. One that is calculating, and always wanting to “make pictures” by scouting ahead of time to know exactly where the sun is going to come up and go down. One that wants to know where the shadows will fall, how long they will be and when they’ll disappear. Someone that rarely photograph what he sees and as a result photographs what he’d like to see; in other words a story-teller.

The other person in me loves to throw a camera over his shoulder and just head out to the great beyond, not knowing if he’ll come back with anything or not. Truth be told, after forty-four years of shooting, I feel pretty good in the fact that I’ll see something worth raising a camera up to my eye for. I was a street shooting long before I started working in advertising and corporate design. Shooting for AP, UPI, and  Black Star tends to leave an indelible mark on you, and you really never shake it. Being chased down the street during the race riots in the sixties will do it to you. When you mix that with an art background and an eye for graphic design, to me the results can be wonderful.

One of the ways to do this is one that I always talk about to my online class with the BPSOP, and with my “Stretching Your Frame of Mind” workshops I conduct around the planet…Recognizing the moment.  What I mean is to be out and about with your camera at the ready, and recognize the makings of a good photo. In the above photo, I was recently standing in the main plaza during my Spain workshop and saw this amazing row of triangle shaped shadows. It was a strong enough graphic to have just shot it and walked away happy.

Recognizing in that moment that if I could add a layer of interest, something besides the light, color, and design of the situation, I could make it even more interesting. It would change it from a purely graphic representation to a more editorialized one…why you ask? Because by adding a human element, it tells a story. And by waiting, it paid off when a man on the far left bottom corner walked in and stopped. And as Eddie Adams once said, “when you get lucky, be ready”.

Remember the next time you go out that it’s a well-known fact that people like to see people in photographs. Learn to recognize the moment, and your imagery will most definitely move what I refer to as “Up a notch”.

Visit my brand new website at: www.joebaraban.com, and be sure to check out my upcoming workshops at the top of this blog. Come shoot with me sometime.

JoeB

{ 0 comments }

I saw triangles

In my online class with the BPSOP, we work on the basic elements of visual design and how to incorporate them into our imagery. When I’m walking around with my fellow photographers that have signed up for one of my “Stretching Your Frame of Mind” workshops I’m also pointing out these same elements, and showing ways to make them the subject. I have even gone so far as to make this concept part of the online class lesson.

In the following posts I will share with you each one of these elements and examples of photos that  represent said lessons.

Ok, so let’s start with SHAPE: Shapes are all around us and whether the viewer knows it or not, he’ll react when he sees them. Used in our imagery, shapes will provide a sense of structure to your composition. The four basic shapes are: circles, squares, triangles, and rectangles.

FYI, the shapes that are similar but are more irregular such as an isosceles triangle or a trapezoid have more energy. Besides those that are more prevalent in our world, the diamond is a great shape, filled with a great deal of energy and evokes a sense of motion; not to be overlooked. Repeating these shapes will provide a sense of unity, and can be perceived by the viewer as one group.

Btw, a great example of diamonds can be found on most chain link fences.

The ability to “see past first impressions” is the key in providing the various shapes to create stronger images. One may look at a series of beautiful sailboat silhouetted against a dramatic sunset racing towards the finish line and just see the sailboats. That’s the left side of your brain at work, the analytical side.

However, if you were to switch that side off, and look at the same group of sailboats with the right side of your brain, the creative side, you will see the beautiful backlit row of triangles glowing from the warm, late afternoon sky.

Look for shapes, and introduce them into your photography. Try making these four basic shapes the actual subject. Once you train yourself to see with that side of your brain and forget about the labels we put on things, your photographs will take on a new meaning and have a much better chance of being remembered.

In the above photo, the left side of the brain sees caution, directional, and warning signs. The right side, the creative side, sees a series of triangles.

So, the next time you go out shooting, think about this post and try to make Shape the subject.

Visit my brand new website at: www.joebaraban.com, and check out my workshop schedule at the top of this blog. Come shoot with me sometime.

JoeB

{ 0 comments }

My Favorite Quotes: W. Eugene Smith

Think, feel, and see

W. Eugene Smith is probably one of if not my favorite photographer. Since the beginning of my career as an advertising, corporate, and editorial photorapher, I shot mostly black and white. His images made a profound impact on the way I was starting to see, and I identified with just about all of them.

Bur recently, I discovered a side of him that I really felt made us kindred spirits; and it was all about the ways I approach teaching.

I teach an online class with the BPSOP, and I also conduct my “Stretching Your Frame of Mind” workshops all over the planet. I teach my fellow photographers how to incorporate the elements of visual design into their images, so when I read what Gene Smith said, I immediately saw so many parallels to the way I do things.

He said, “If I can get them to think, get them to feel, get them to see, then I’ve done about all I can as a teacher.”

Get them to think: One of the most common threads between photographers is that they’re in a rush to click the shutter. Sometimes that’s necessary, as in street shooting when a ‘moment’ occurs and you have to be fast to get it. Most of the time it’s not that important. What happens is that you wind up having to spend time in front of a computer to fix what you didn’t see when you ‘rushed to judgment’.

Think about what you’re doing when you’re trying to convey a message to the viewer. It can be any subject, i.e., landscapes, portraits, still lifes, etc. If the viewer doesn’t know what you’re trying to say/show, he won’t spend much time working to figure it out.

Get them to feel: Well it’s all about the difference between taking and making pictures. It’s about the total immersion into your new found passion and craft. It’s about mastering the light and understanding exposure. It’s about getting some dirt on your shirt or at least your knees. It’s about taking on the challenge of being a good photographer, not a good computer artist or digital technician. Let me explain further:

Determining the light and the direction it’s coming from before you raise your cameras up to their eye to me is the most important factor. Making your own decisions as to the correct exposure to use instead of letting the camera and lightroom do the work for you, scouting ahead of time and pre-visualizing your ideas in your mind then executing it, and spending more time than the “I came, I shot, I left”  frame of mind I find happening all the time.

The “I’ll fix it later” mentally that has come along with the digital era, has sucked the life and breath out of the right side of our brain; the creative side.  Why should I bracket when I can do it in lightroom? Why should I worry about the horizon line being straight when I can just use my straightening tool later in front of my computer? It just goes on and on.

Get them to see: Is it just a tree? I talk a lot about right and left brain thinking. The left brain is the analytical side while the right side is the creative side.

For example, if you were to look at a fence around a little league baseball infield, the left side would see a fence around a little league baseball infield. If you were to look at that same fence with the right side of your brain, you would see Pattern, Shape, and Line; three of the basic elements of visual design.

Make sure that when you’re out shooting don’t view things as they are and what you first see, look past those initial reactions to things so you can see what else they represent. It will open so many other photo possibilities.

Visit my new website at: www.joebaraban.com, and check out my workshop schedule at the top of this blog. Come shoot with me sometime.

JoeB

{ 0 comments }


Follow the road less traveled

To all my brothers and sisters,

Do you raise the camera up to your eye and start shooting without first thinking it out? Do you take one shot then move on leaving a lot still on the table? Do you follow advice from all your self taught fellow photographers, even though it will lead you down the iniquitous path to mediocrity? Photographic purgatory for life everlasting!!!!

Moreover, do you buy expensive cameras in the name of artistry hoping for that creative vision, inspiration, and imagination that will evade you in perpituity? Do you really think a fast 50mm prime lens will make you a better photographer, so it’s the only lens you use? Do you crop your photos into squares, long rectangles, and enhancement bubbles or circles as they’re commonly called? Do you triple mount with colorful mats those camera club entries and give them weird esoteric titles? Do you let your camera do all your thinking for you? Do you aimlessly walk the hallowed aisles of the B&H photo store looking for expensive unnecessary crap you really don’t need? Do you let those naysayers convince you that HDR is the only way to achieve proper exposures? Do you fix it later in Photoshop?

If you answer yes to any of these, then I beseech you my fellow photographers in the name of all that’s sacred, mend your ways or become photo sinners for all eternity!!!

REPENT!! How do you ask? How do you find salvation? How do you keep the devil, also referred to as Lucifer, The Prince of Darkness, Beelzbub,  Satan, the Antichrist, or the funny looking guy with horns, a weird tail, and carries a trident wherever he goes, off your left shoulder who is just itching to force you into acts of bad behavior? How do you change your ways and go from being a photo sinner to saint?

By following the righteous trail less traveled…by not taking advice from people you might know more than…by using the elements of design and composition in your imagery…by making sure you convey your thoughts to the viewer….by doing what you intended…by having a center of interest…by including visual tension and interest in your photos…by pre-visualizing…by slowing down and smelling the roses…by coloring outside the lines, and most importantly…by breaking all the rules!!!

Of course, you could always take my online classes with the BPSOP, and/or take one of my “Stretching Your Frame of Mind” workshops I conduct around our (round) planet.

🙂

Visit my new website at: www.joebaraban.com, and check out my workshop schedule at the top of this blog. Come shoot with me some time and find sanctuary.

JoeB

{ 0 comments }

QFT: Be Aware of Your Surroundings

Always being aware of my immediate environment.

As I tell my online students with the BPSOP, and those that take my “Stretching Your Frame of mind” workshops I conduct around the planet, you just never know when that illusive keeper will cross your photographic path. When I say illusive keeper, I’m talking about that 0ne in fifty images that passes through you camera on any given day of shooting.

Most of the photographers I teach, as well as those that I respect as great shooters all have certain criteria in judging what each considers a keeper, or better yet an “OMG” photo. My standards are set extremely high and they keep getting higher if that’s possible!!! Since I know that these kinds of photos come and go in a blink of an eye, mostly because of the sometimes fleeting light, I want to be ready just in case.

It stands to reason that one of the best ways to have a shot at your keeper is to always have a camera with you. Which I do!!! This reminds me of the tag line for the Texas Lottery that reads, “You can’t win if you don’t play”. The good news is that your chances of coming home with that “OMG” photo is a lot better than winning the Lottery.

In the above photo, I had just sat down in an outside bar on the second floor of the hotel I was staying at. As always, I had my camera with me and saw this happening right before my very eyes. Since it screams Line, the most important of all the elements of visual design, I took a picture of it.

Wherever I’m sitting, walking, running, or riding, I’m constantly moving my eyes around my immediate environment. It’s like I have a built in 2X3 rectangle and I’m seeing everything in an imaginary viewfinder. I’m especially looking for light hitting or falling on an object or person. It may be as obscure as a thin shaft of light, or it might be in an unusual shadow that it creates. My eye is also attracted to any movement that occurs in my peripheral vision.

Looking for anything that’s weird or quirky because of some brief juxtaposition of elements or a reflection is a good source of keepers. Try to anticipate something that might be happening and have your camera “close to the vest” when it does. Chances are it won’t last long.

Last, remember what Eddie Adams (a Pulitzer prize winning photographer) said, “When you get lucky, be ready”.

Here’s a few examples of being an observer of my surroundings:

closeupofteainegypt-600x390_DM

closeupofteainegypt-600x390_DM thumbnail
graduatewalkingupsteps0546_1-600x401_DM thumbnail
IMAG0006-358x600_DM thumbnail
IMG1-600x400_DM thumbnail
jungle-gym-600x400_DM thumbnail
manatJeffersonmemorial-397x600_DM thumbnail
navy-men-600x398_DM thumbnail
red-float-next-to-a-lake0976-401x600_DM thumbnail
reflection-ofsecurityman-400x600_DM thumbnail
skies-and-snow-from-a-ski-lift-0425-600x402_DM thumbnail
swings-on-a-beach0370-600x424_DM thumbnail
windowwashers-600x401_DM thumbnail

Visit my website at: www.joebaraban.com, and check out my workshop schedule at the top of this blog. Come shoot with me sometime.

JoeB

{ 0 comments }