

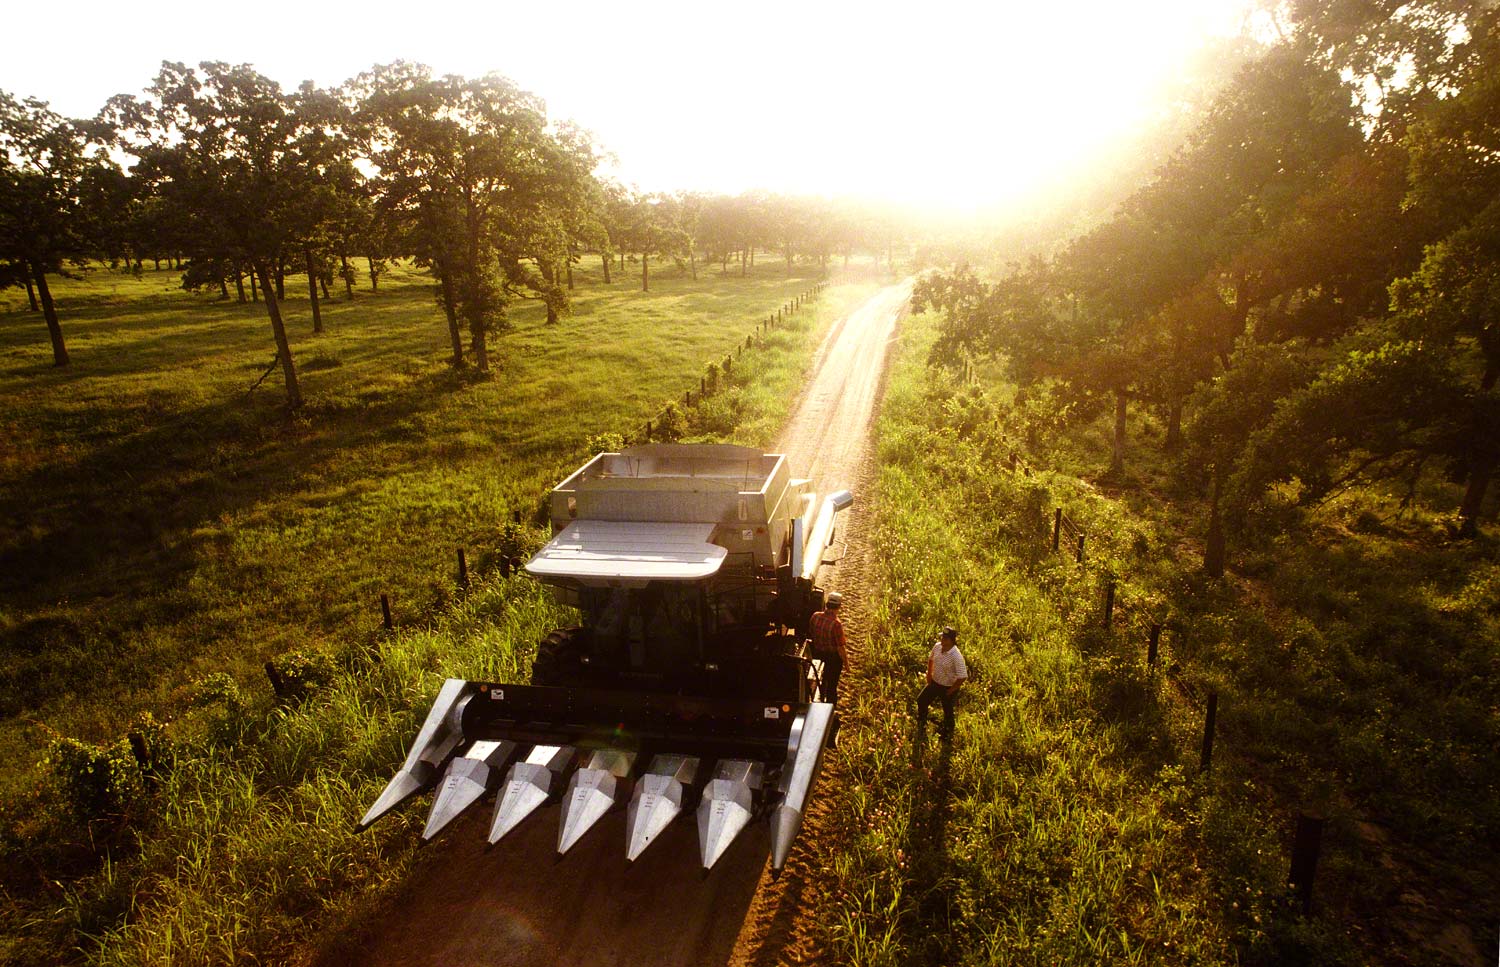
Shooting right into the sun at sunrise is about energy.
Ever since I started teaching workshops, back in 1983, I’ve collected quotes written by various artists. Whether they were photographers, painters, writers, musicians are of no relevance. The important thing to me is that they are artists, and at the top of their game in their respective fields.; of course the quote has to deal with some area that I’m interested in.
Years ago while studying a body of work by Ansel Adams, I came across a quote he said that has stuck with me all these years, and one I mention in my online class with the BPSOP, and in my “Stretching Your Frame of Mind” workshops I conduct around the planet. Ansel Adams said, “There are no rules for good photographs, there are just good photographs”.
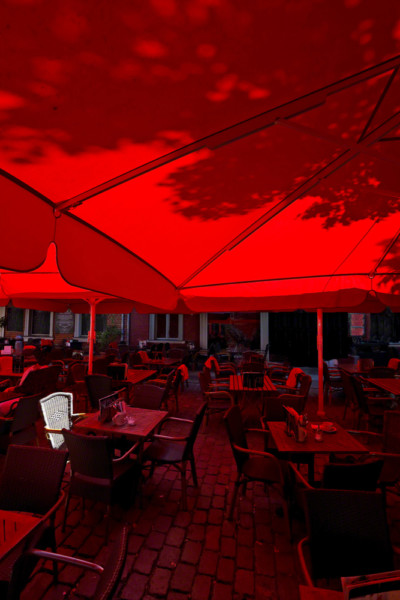
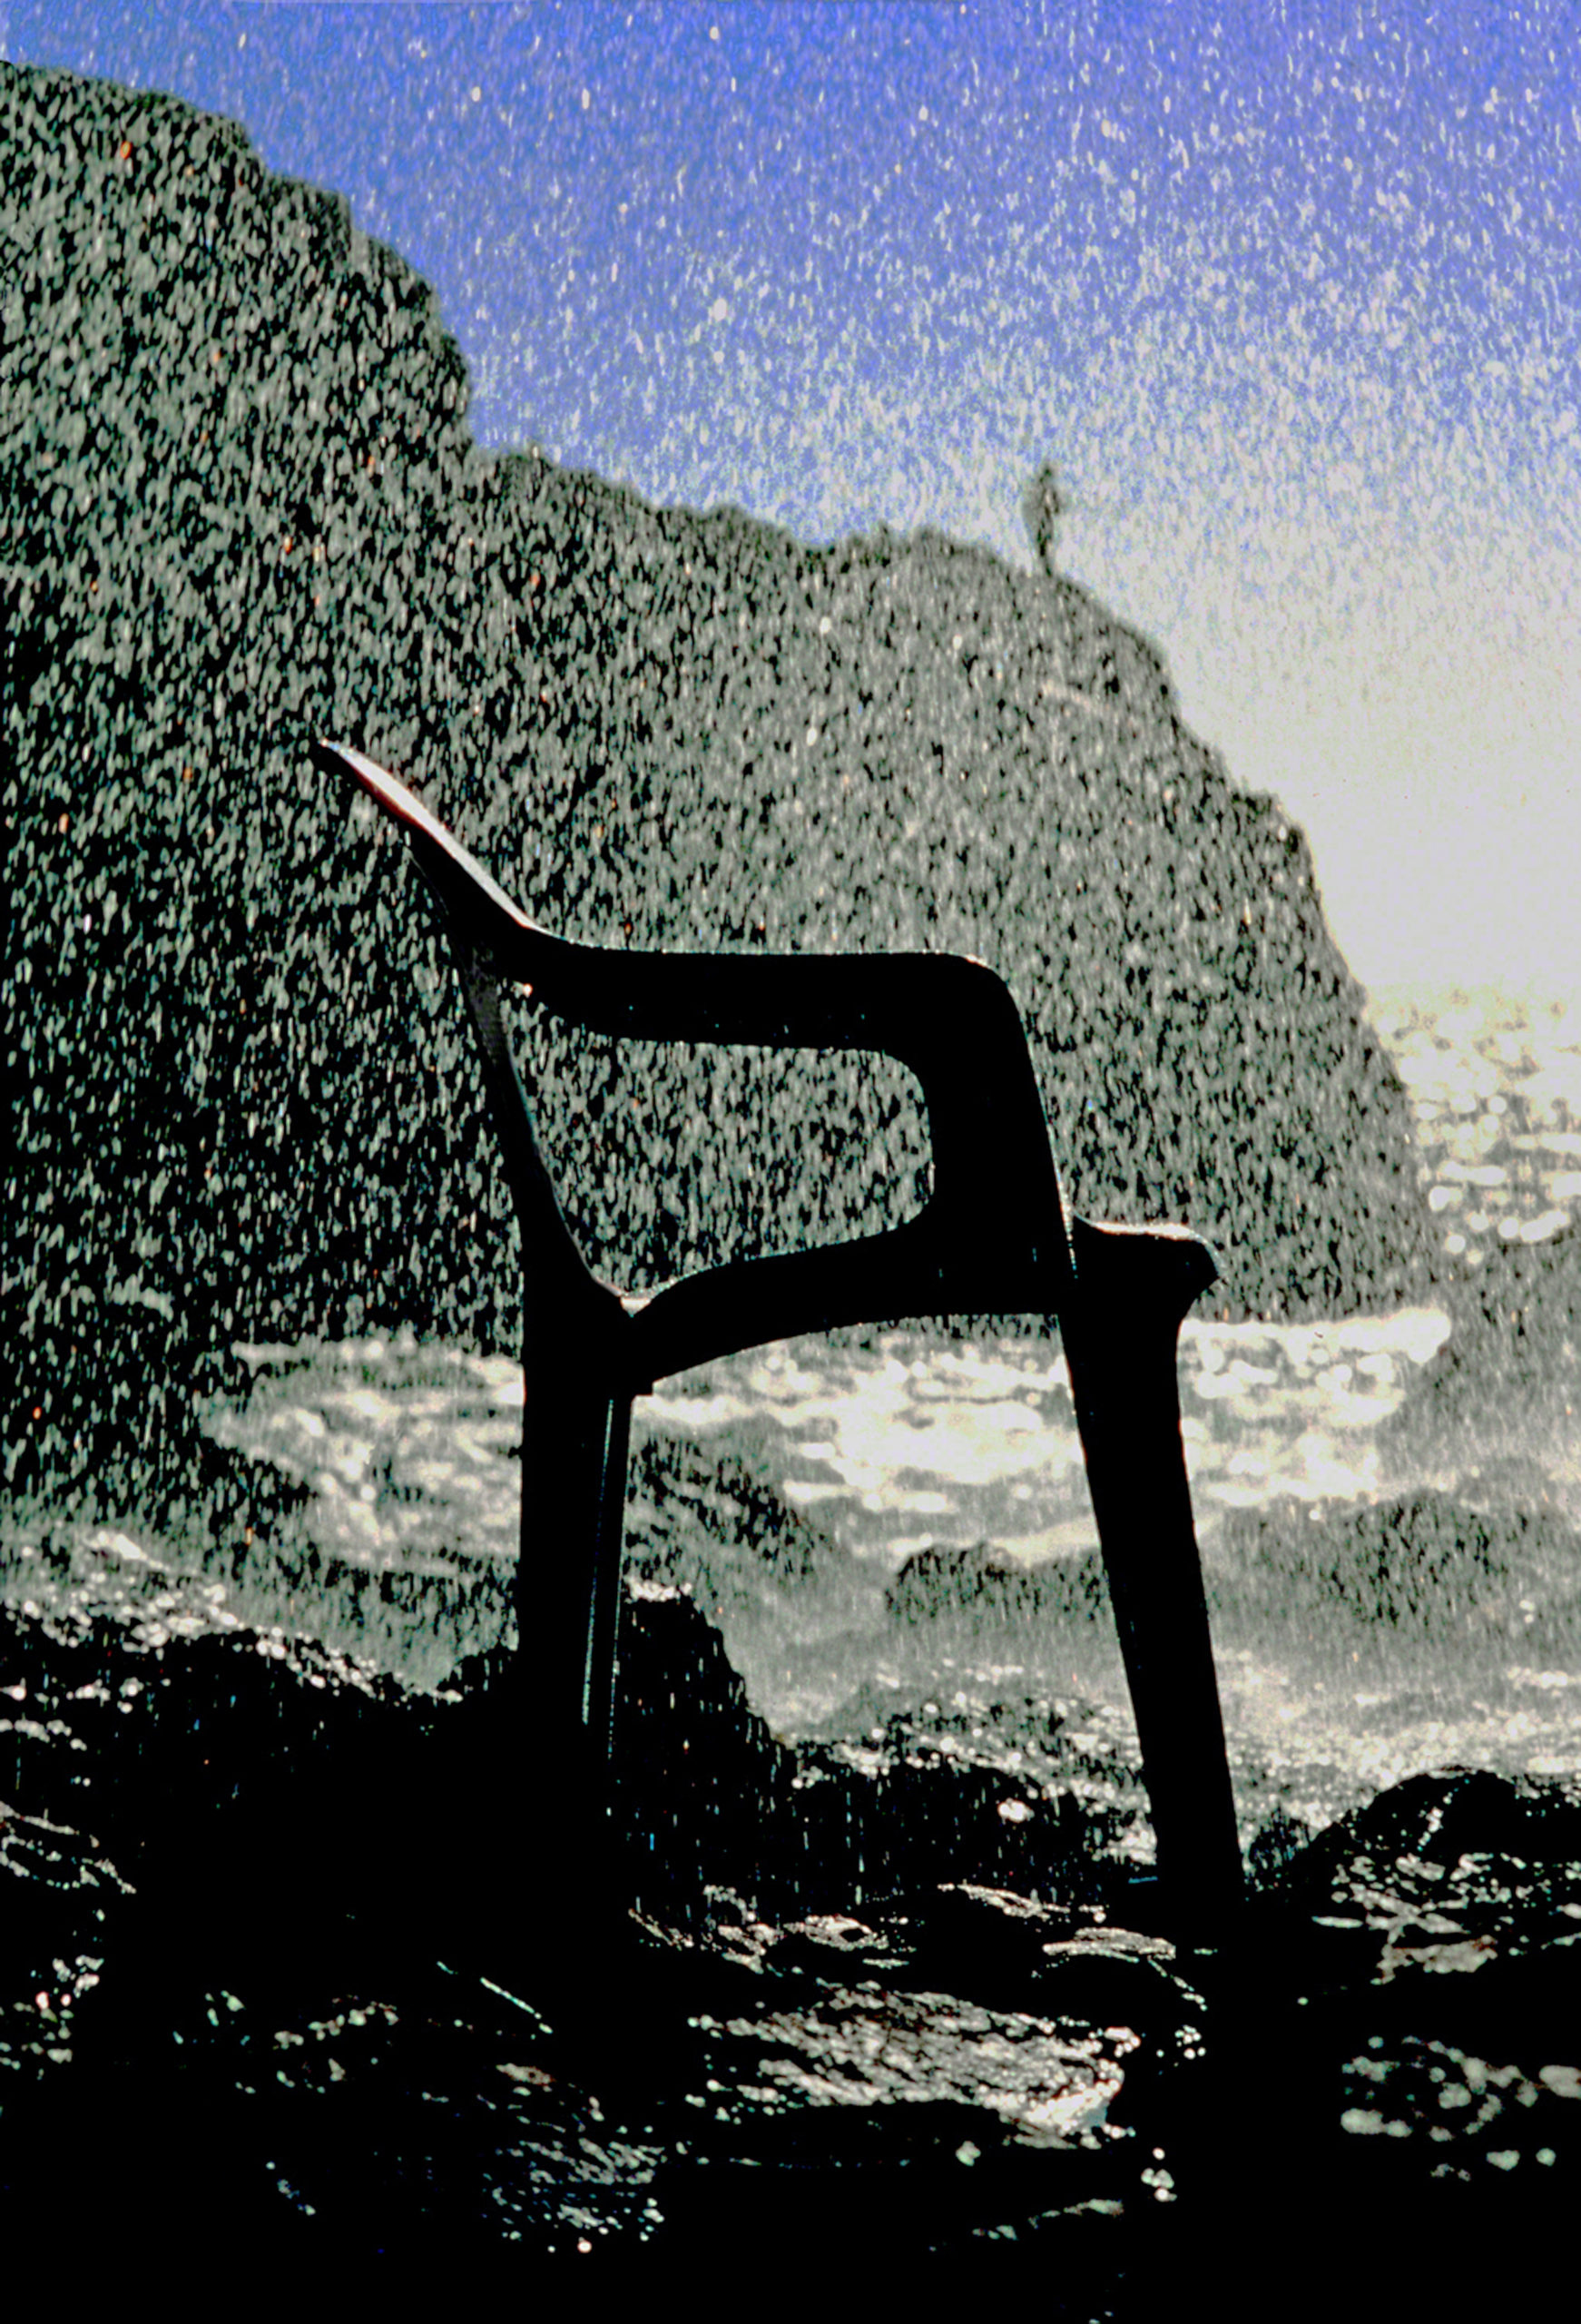
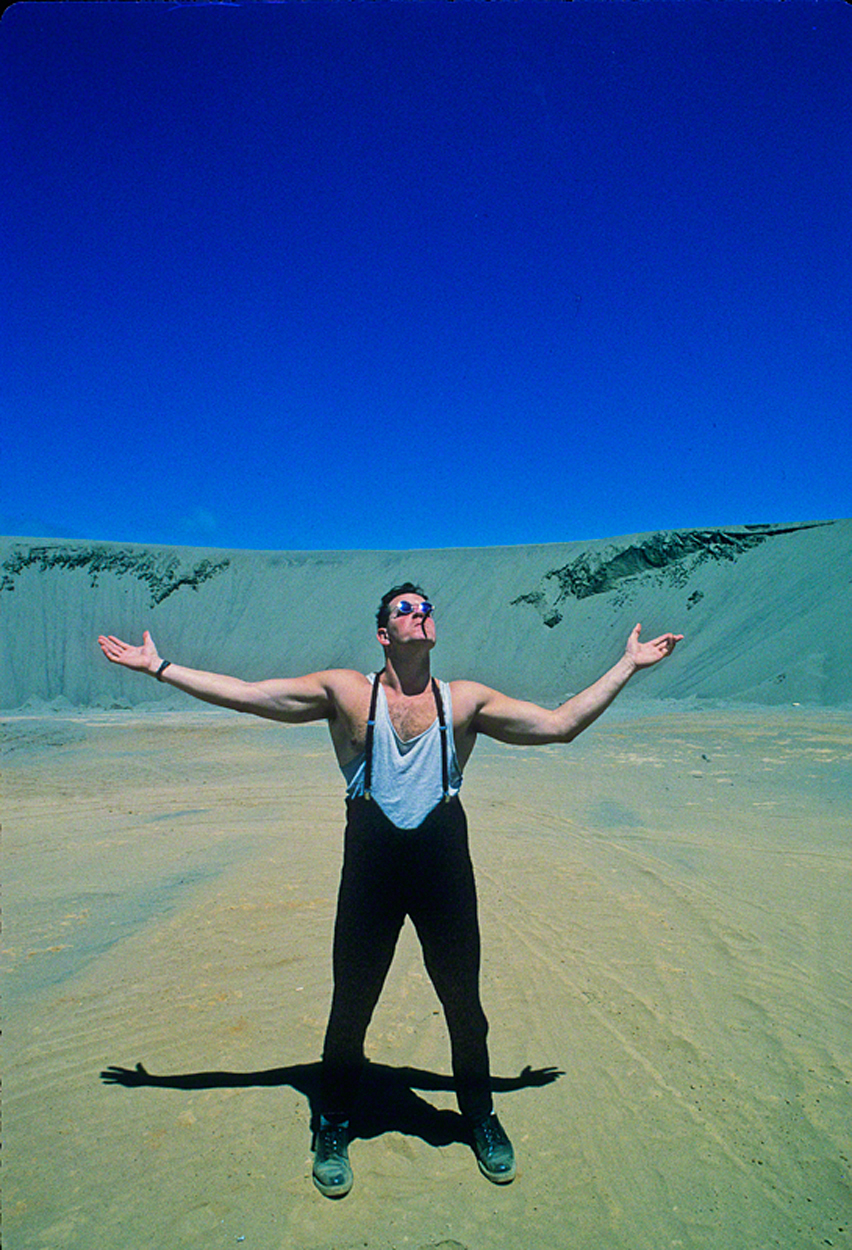
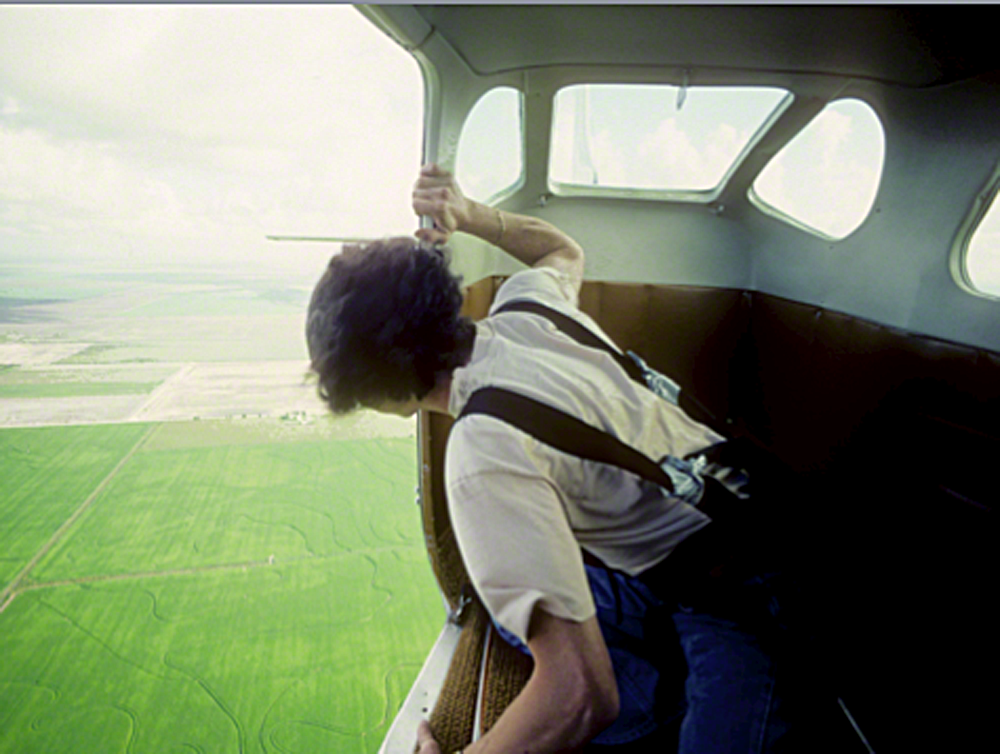
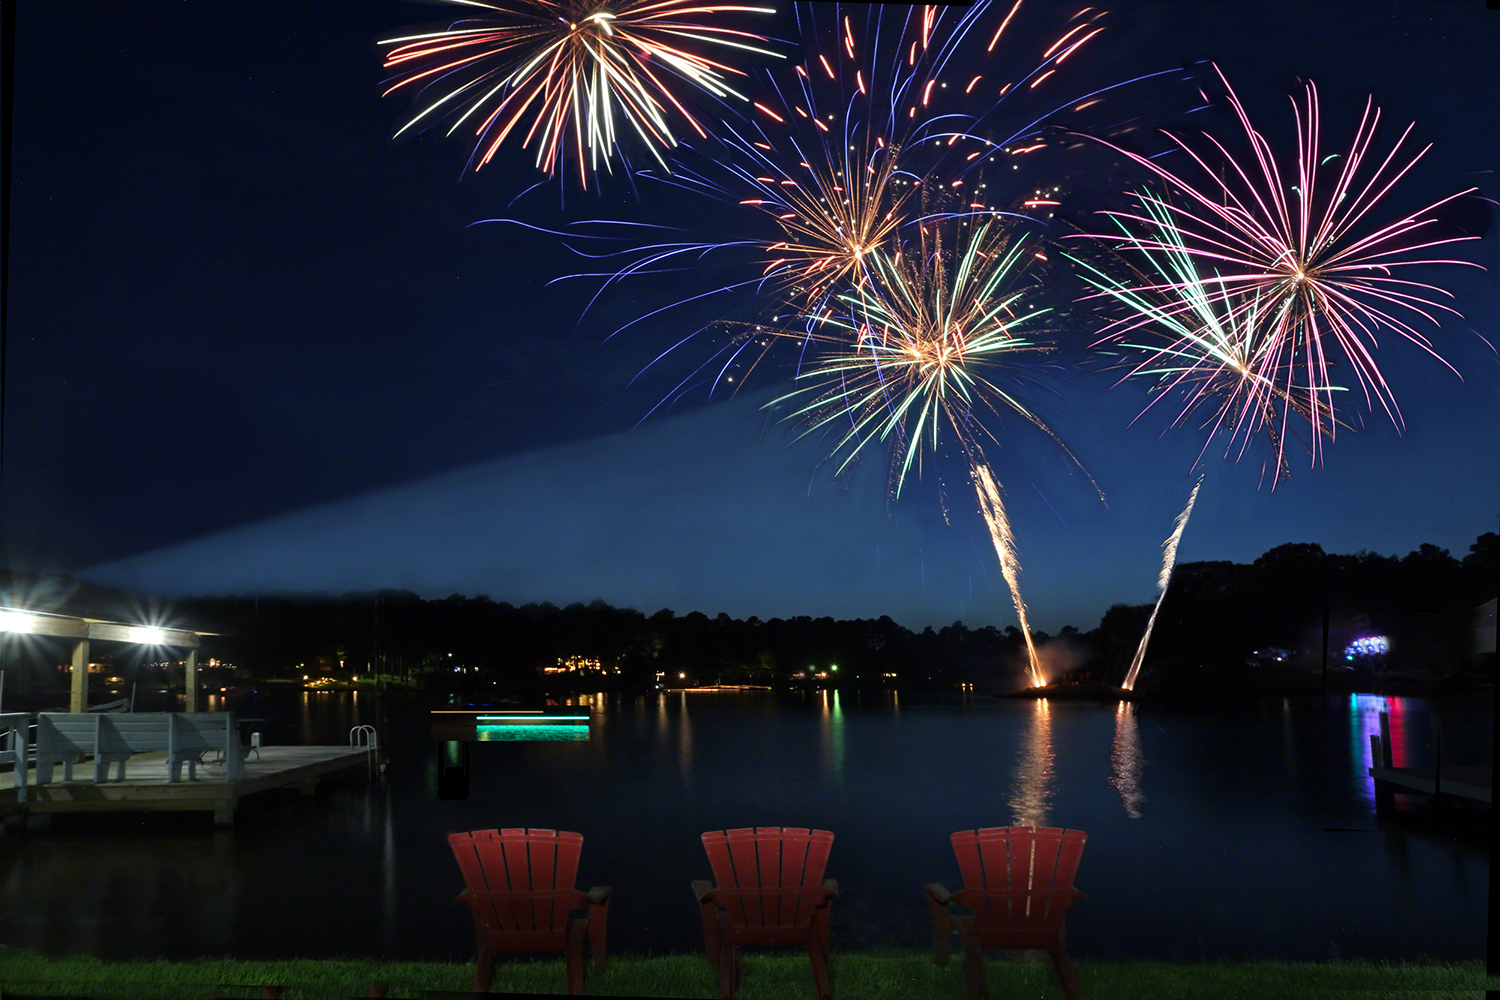
What makes this quote so important to me is that I’m always defending it to my fellow photographers. If I had a dollar for every time a student told me that he was taught to never clip the highlights, shooting into the sun is a bad thing, or practice the Rule of Thirds, or the Leading in Rule (always have your subject walking into the frame), or how about this one….stay away from the color red, it’s too hard to photograph (who in the world said that?), I’d be on my Island right now. I’d be sitting on a chaise lounge on my beach, waiting for another blue and frothy drink to be brought to me; a drink with an umbrella hanging perilously down from one side.
Now I’m not suggesting that you don’t know what these rules are, as it’s important to know them. I’m suggesting that as soon as you know them…forget them. That is unless you want to be taken down the one-way road to mediocrity.
So my fellow photographers, what constitutes a good photo? Well, if you’ve been following my posts, you would remember a category I called “did it do it”. On my list is concepts that I think make a good photo. At least they do for me, and I’ve thought about this list for most of the fifty-three years I’ve been a photographer.
I can tell you from years of experience, the students of mine that stop listening to people who lived and died by these silly rules and started shooting what felt and looked good never looked back. As I’ve always told my kids, “Color Outside the Lines”.
Visit my website at www.joebaraban.com, and check out my workshop schedule.
JoeB