Giving Meaning to Photographs
Here’s an interesting article I found on the ‘information highway” I thought I would share with all of you. Unfortunately, I failed to write down the name of the woman or man who wrote it, and now I can’t locate the article again. I would have loved to credit it to her/him as I find it a great read. If you are the author or know who she is, please let me know so I can credit it properly.
Here’s the article just the way I found it:
“Unless you take photographs strictly for yourself, you probably like to share your images with others. What makes that dreaded slide show your uncle pulls out every time you visit so boring is that while it has tons of associations for him and your aunt, it has none for you. After all, it was their trip to Borneo, not yours. You didn’t share the experience of buying food from a street vendor or smell the smells of the urban neighborhoods. So, pictures of them don’t mean much to you.
You should keep this exclusivity in mind when editing your own pictures. Ask yourself, “Do I like my images because they have a certain emotional appeal to me alone?” A special vacation shot or a picture of your grand kids, might be an example. Or, do your images convey a more universal meaning that will inspire emotional response in others? It helps to gather feedback from a trusted friend.
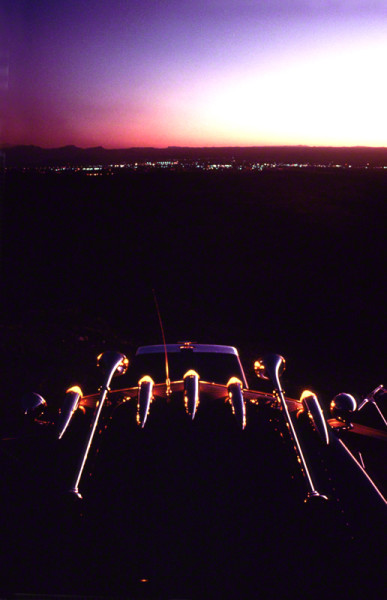
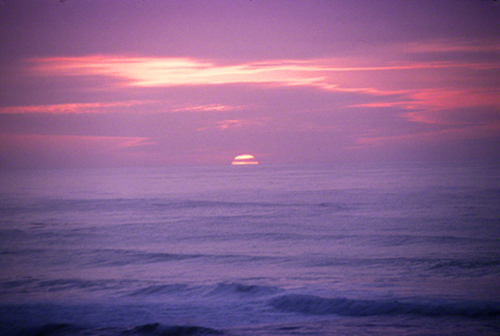
REMEMBER THAT BELOVED SUNSET OR SUNRISE YOU HAVE–SO EXCELLENTLY CAPTURED, SO EXPERTLY PRINTED AND FRAMED–MAY BE JUST ANOTHER SUNSET TO SOMEONE ELSE.
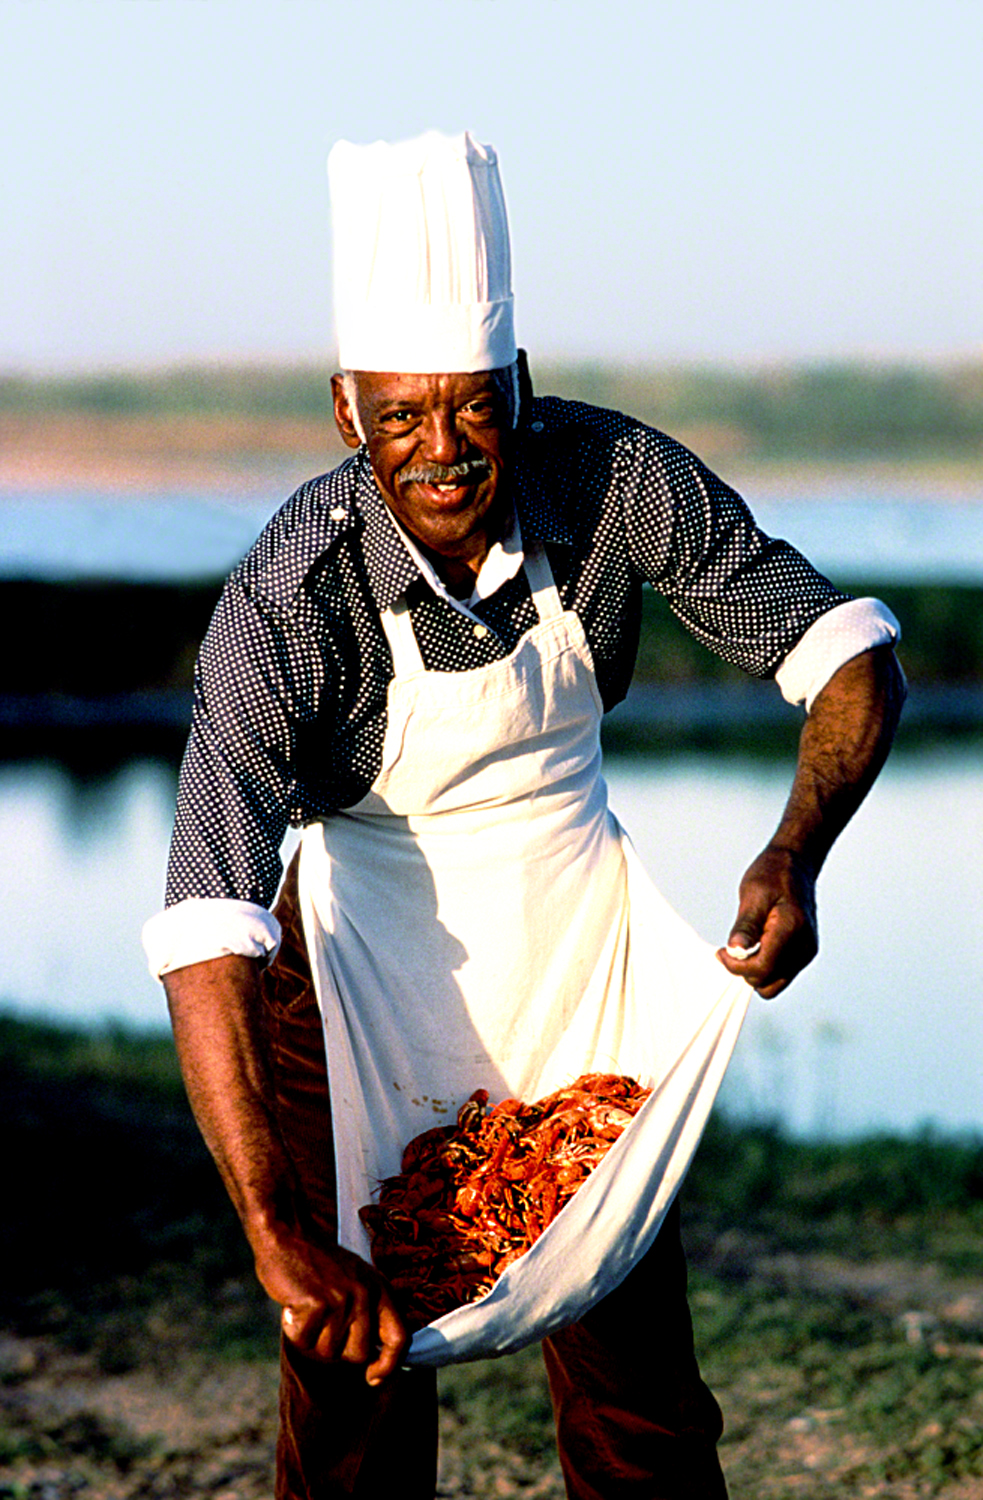
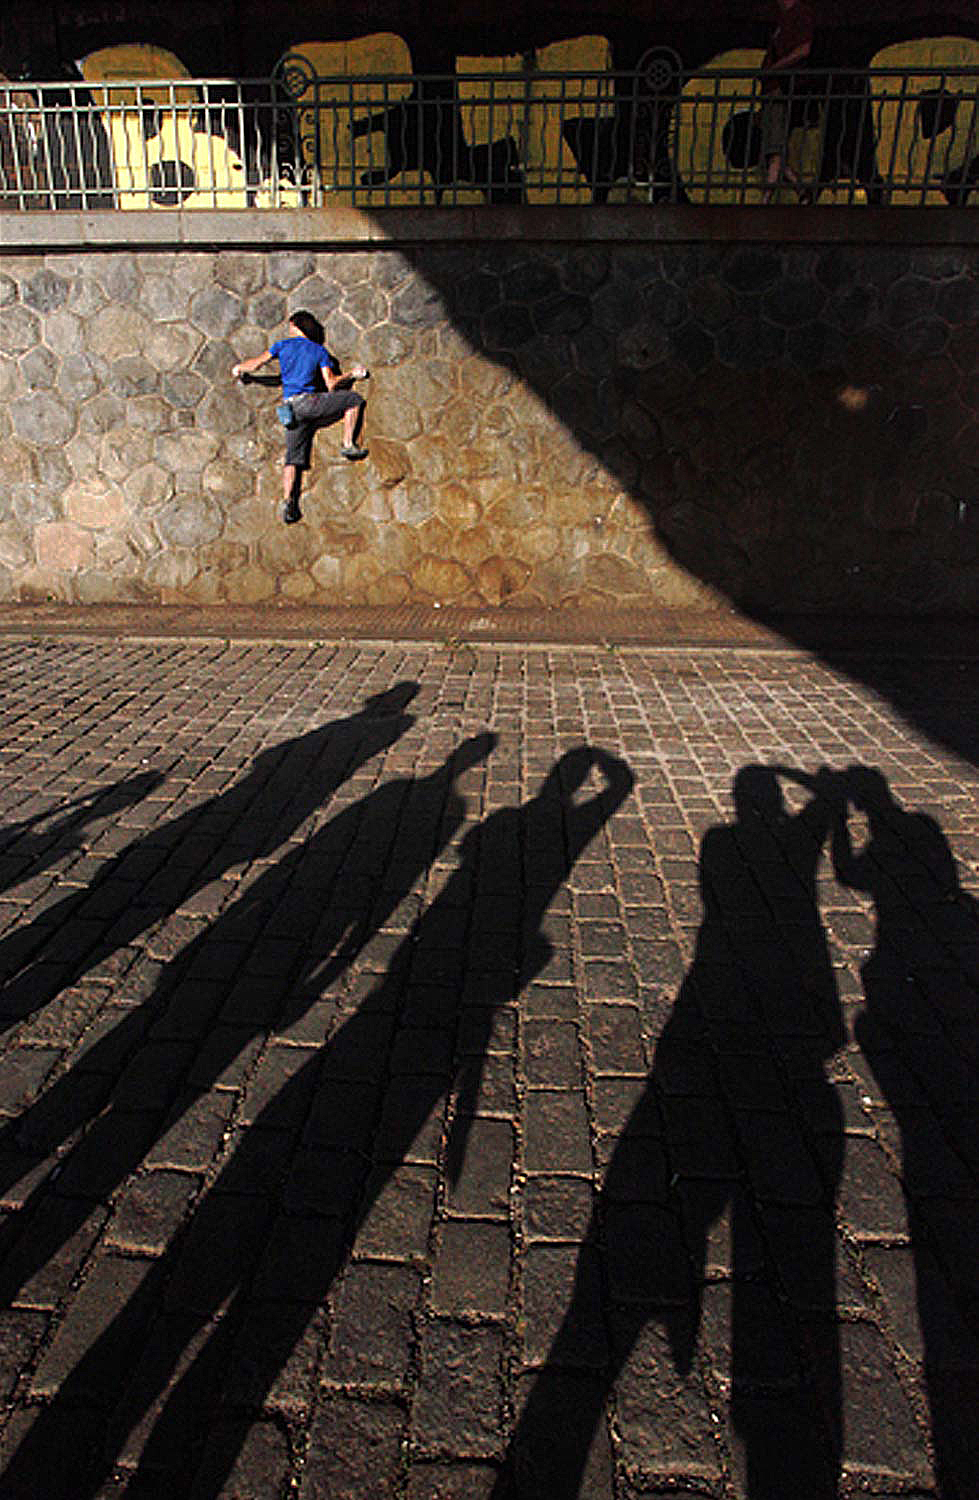
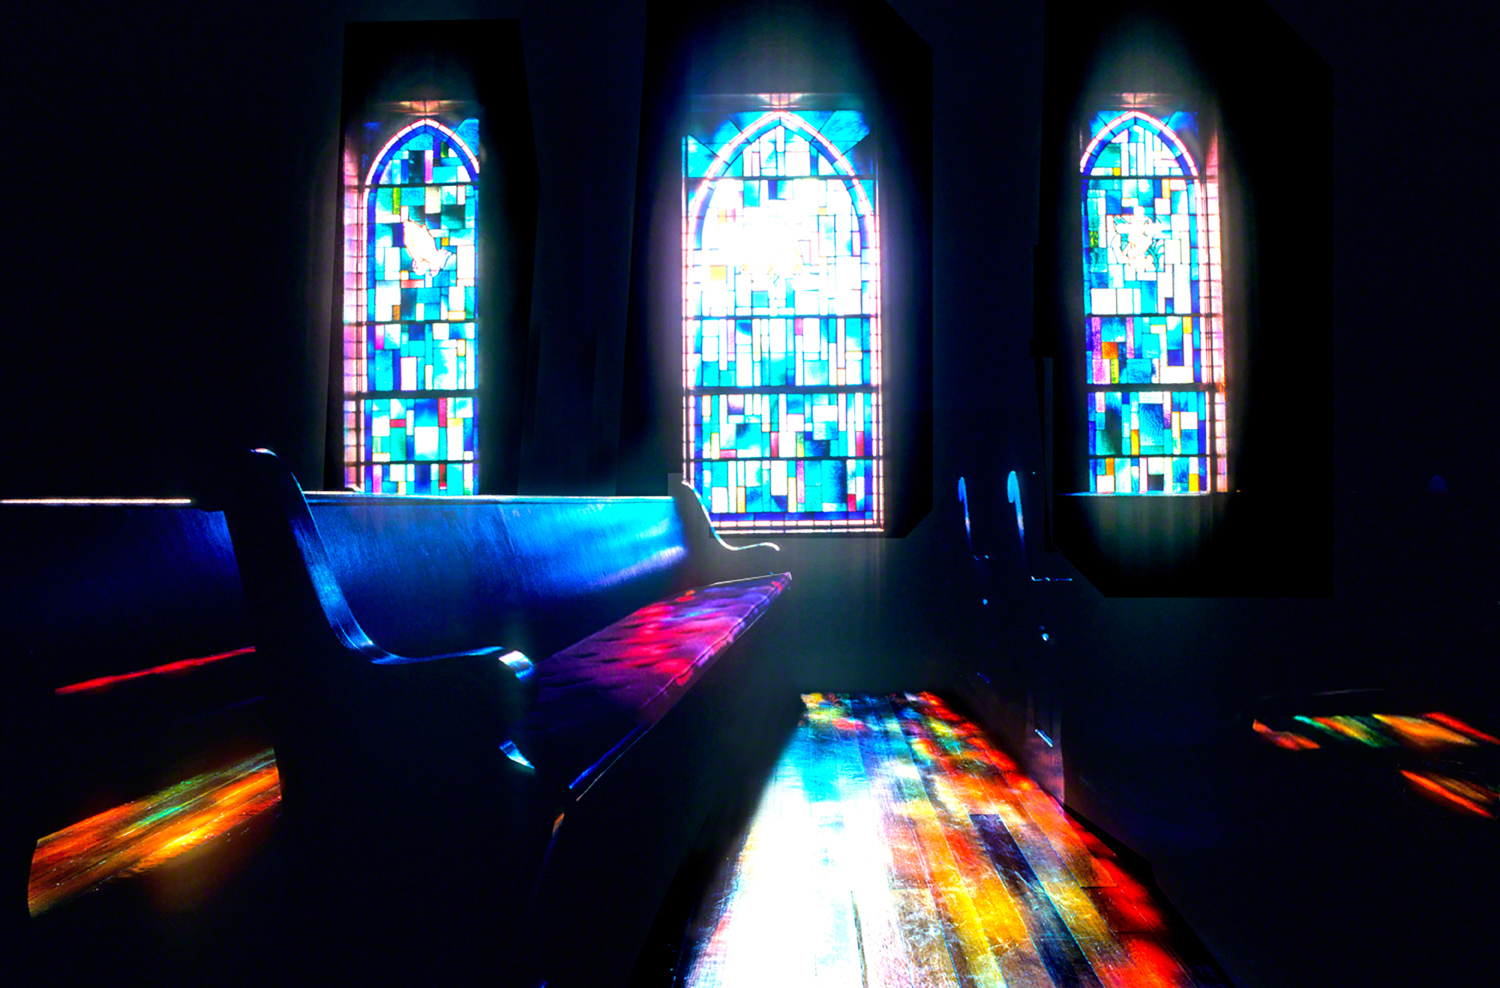
Learn how composition can affect meaning. Placement of the subject within the viewfinder can have profound effects on the meaning. Placing the subject low and surrounded by a large amount of negative space sends a different message than cropping it close. The former may send the message of hopelessness or depression, the latter a message of intimacy or friendship.
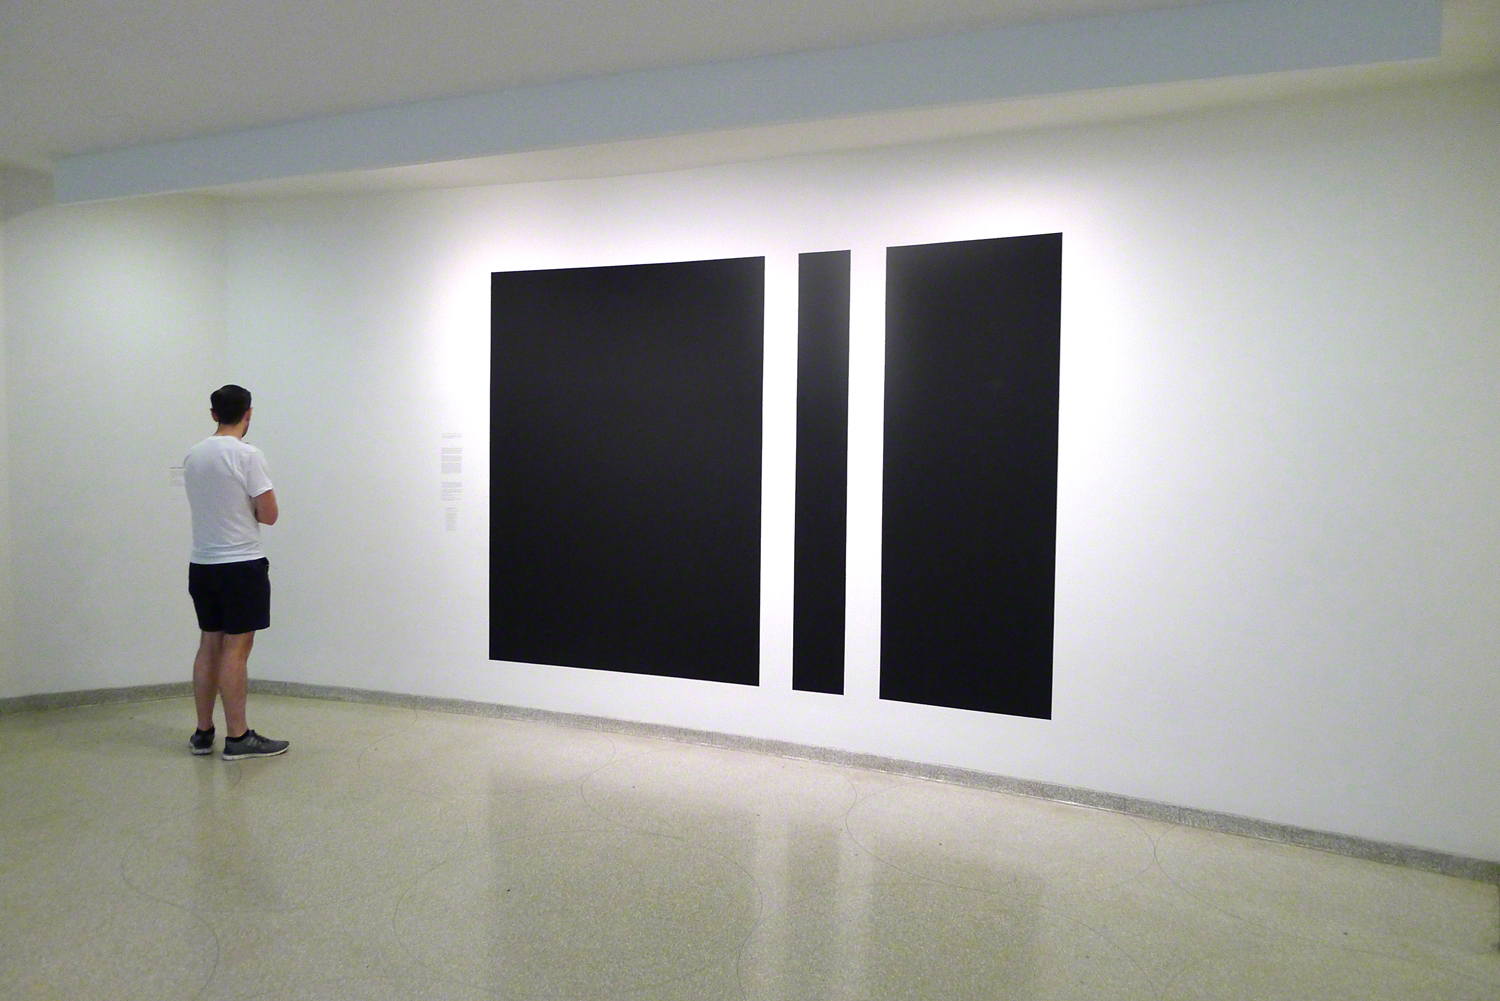
It’s a challenge to create images with meaning. It’s what separates a good photographer from a mediocre one. In judging contests and exhibits, I’ve seen many prints that are technically well done, but lack depth of meaning. These may be processed to resist aging in preparation for archival preservation, but they won’t stand the test of time on anyone’s wall–except, perhaps, the photographer’s own.
For, without an emotional connection to the image, we’ll grow weary of it. It’ll remain on exhibition for a few months and then be taken down or simply ignored as part of the background blur of our lives.
Our ability to connect with an image emotionally entices us to keep coming back to an image over and over again in order to repeat the emotion. Or, what’s even more exciting, we may find new meaning in the image as we grow emotionally and experience it in a fresh, new way.
A part of the issue surrounding meaning is the controversy over whether an image should be titled. Many contests require that the photographer name her image as part of the process of entering. And I know of several professional competitions in which the title of the print is actually part of the judging process.
I can’t tell you how strongly I object. A strong print needs no title. If I have to be told what the meaning of a print is via a title, I wonder if the photographer is certain of his message.
Titles also serve to direct and/or mislead. A title given by a photographer may direct his viewer in a particular direction, but without the limitations of a title, a viewer may discover meaning which was only subliminally apparent to the photographer. We have all taken a picture and thought it meant one thing, only to find that everyone else was seeing something else– something that emerged from our subconscious.
A title, in this instance, would have served to confuse the real meaning.
And, of course, there is the issue of language and culture itself. If a title is important, what if it’s in a language the viewer doesn’t understand? Does the image cease to have meaning? Of course, not. Art, in general, and photography specifically, are universal languages. They speak to us all–regardless of our native tongues or cultures.”
Any Thoughts?
JoeB