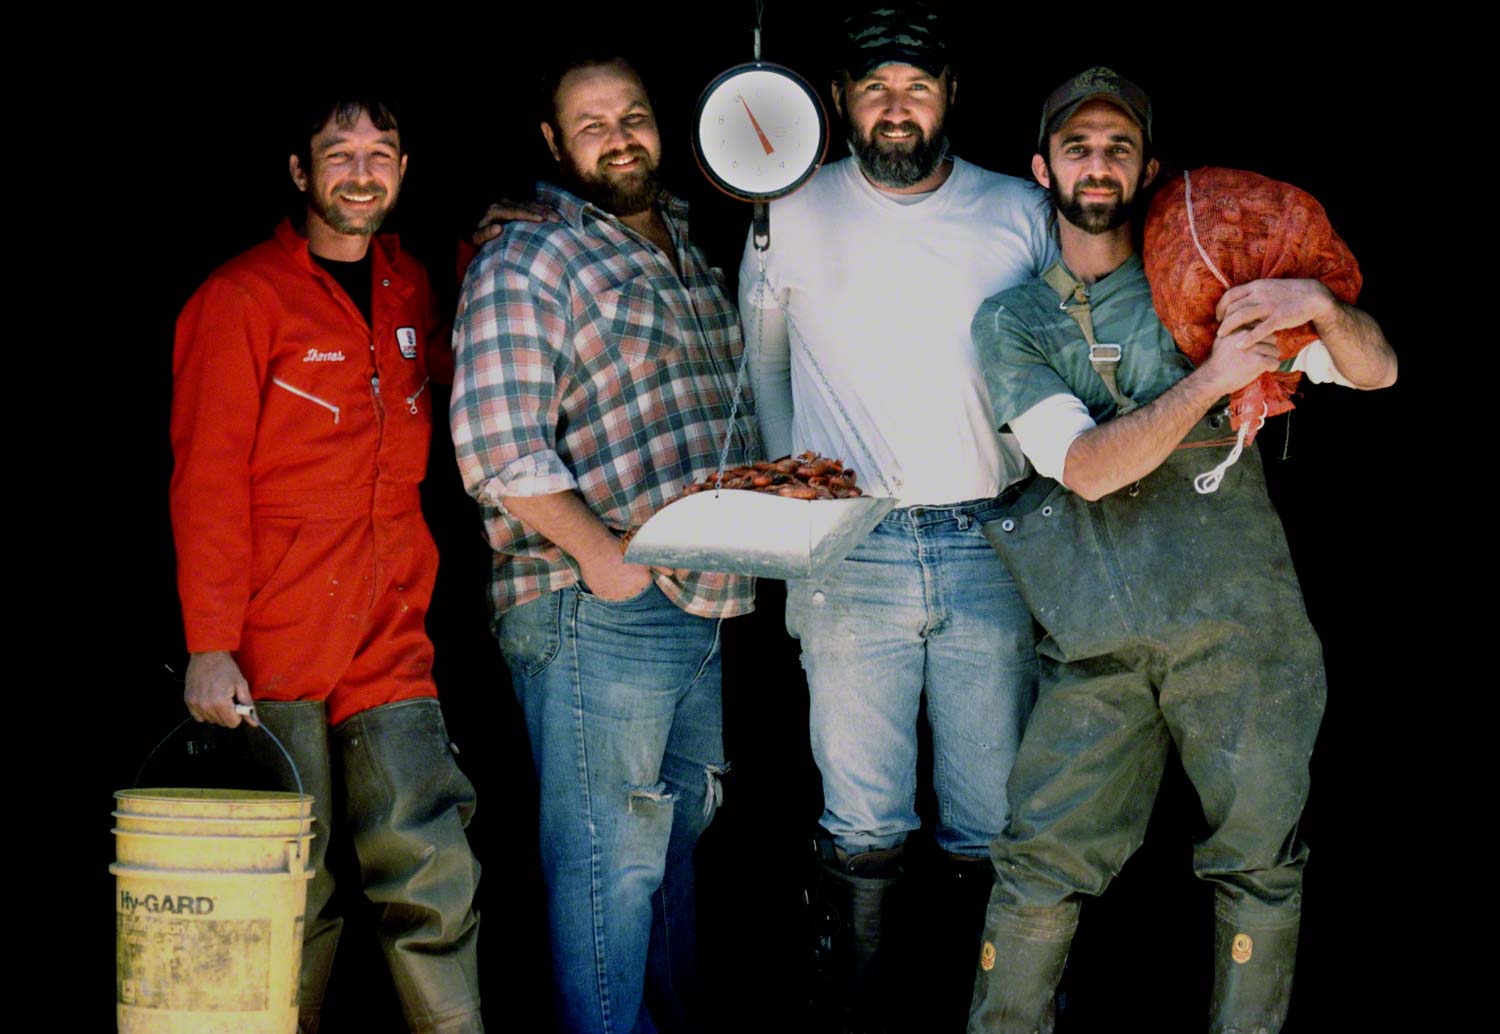
Quick Photo Tip: Get On Your Knees
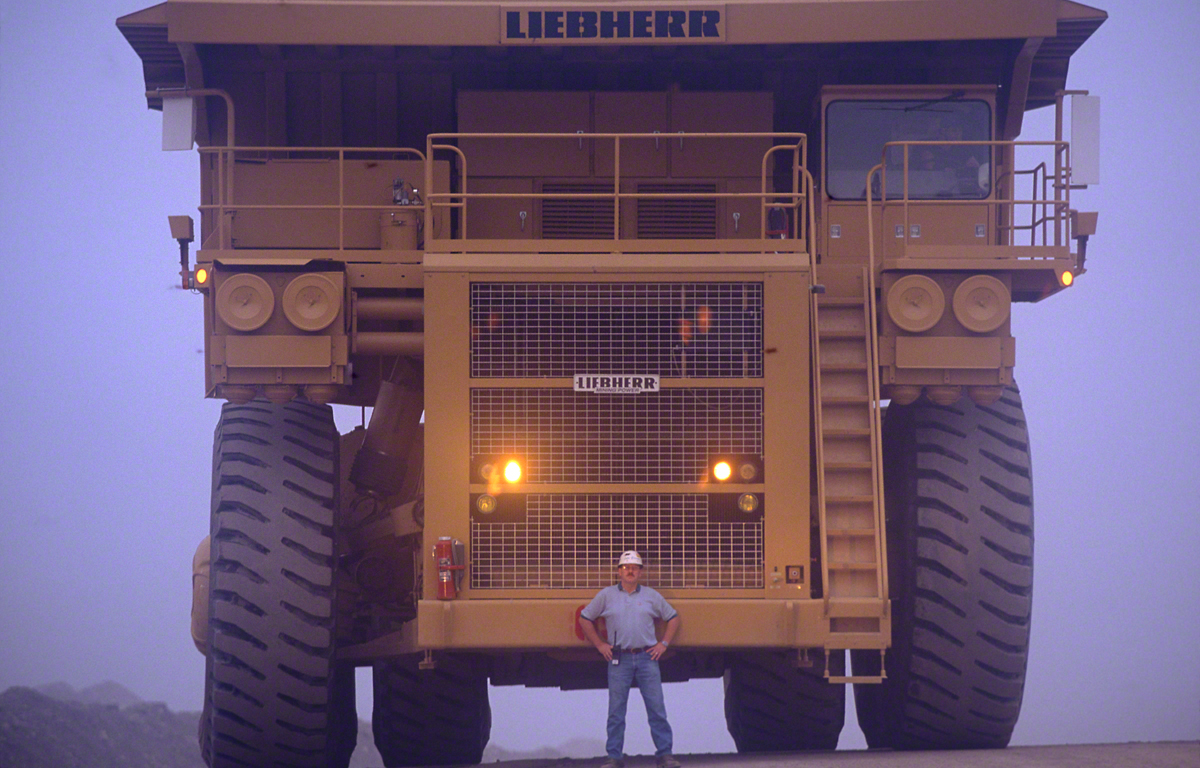
Before it closed, due to the passing of its founder Bryan Peterson, I had been teaching online with the BPSOP and I’m still conducting my “Stretching Your Frame of Mind” workshops around the planet for many years, and one thing, among many, stands out. My fellow photographers will almost always bring the camera up to their eye, and whatever that height is to the ground is what POV the photo will take.
One reason is that it’s the easiest way to shoot. No muss, no fuss, no dirt on the knee or shirt to wipe off….therefore no problem. But there is one problem, and that is all your photos will take on the same look. If that’s your intent, then to each his own.
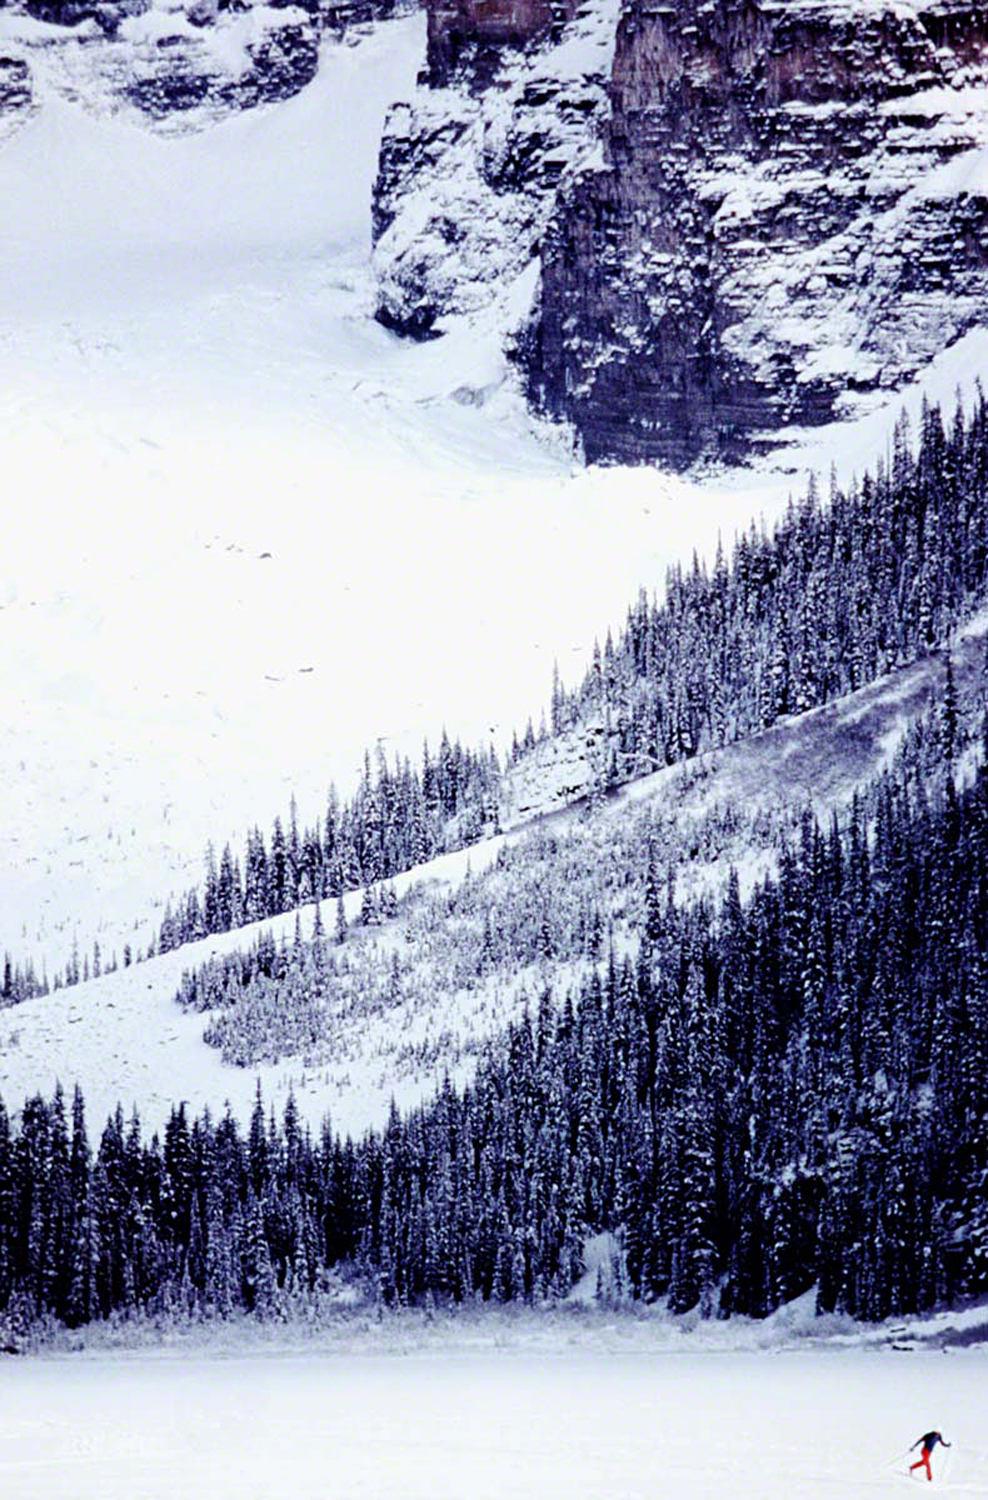
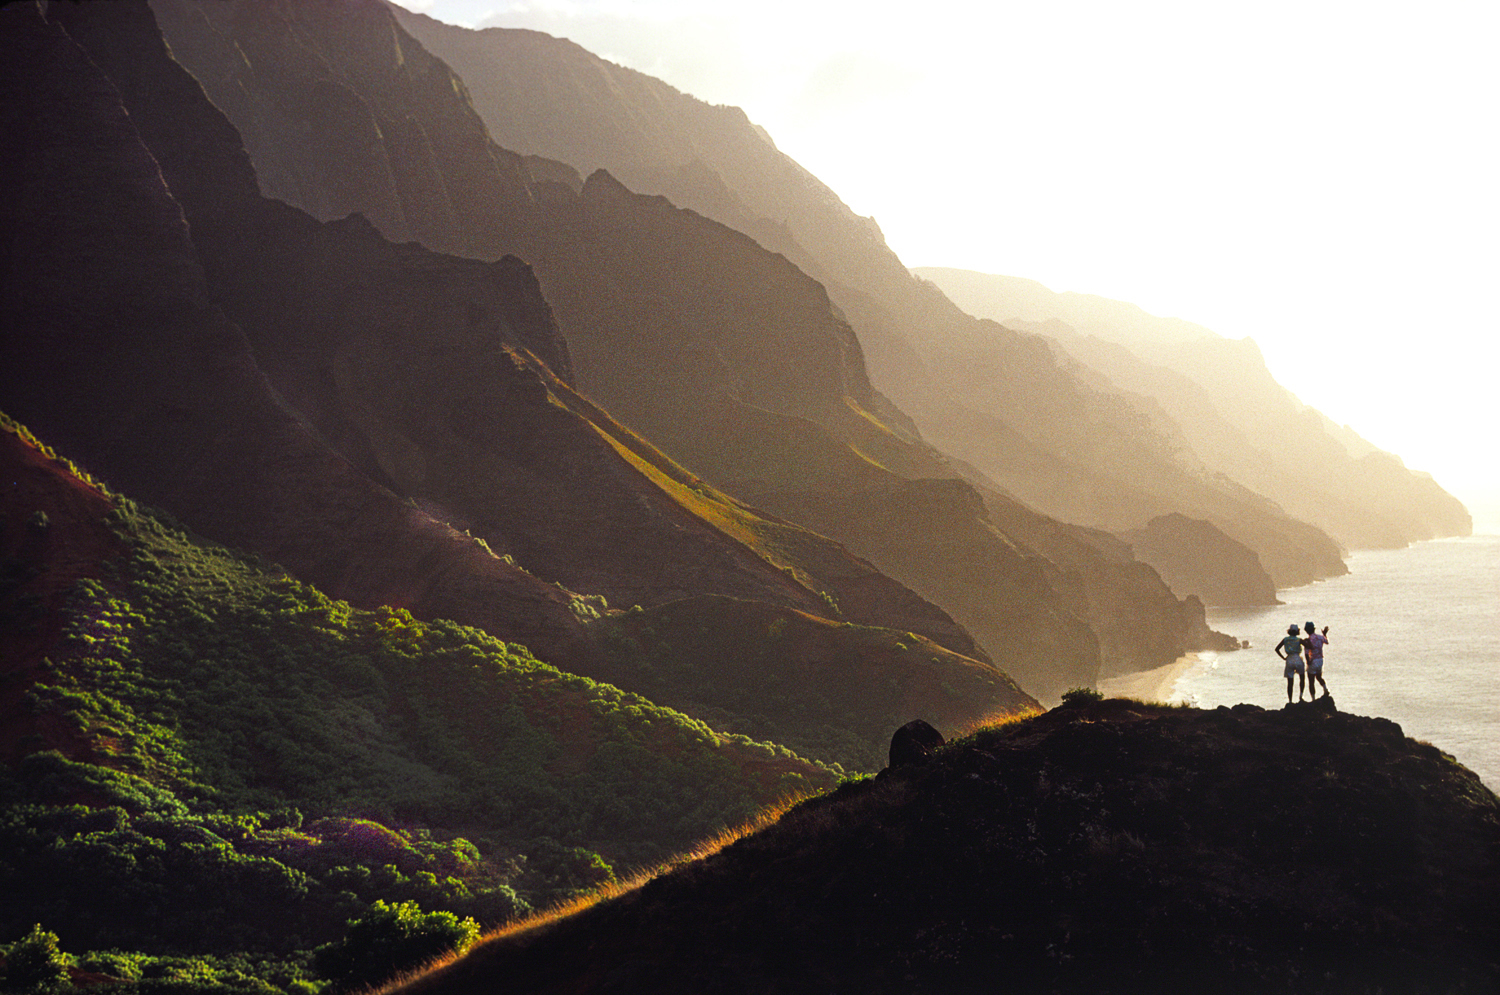
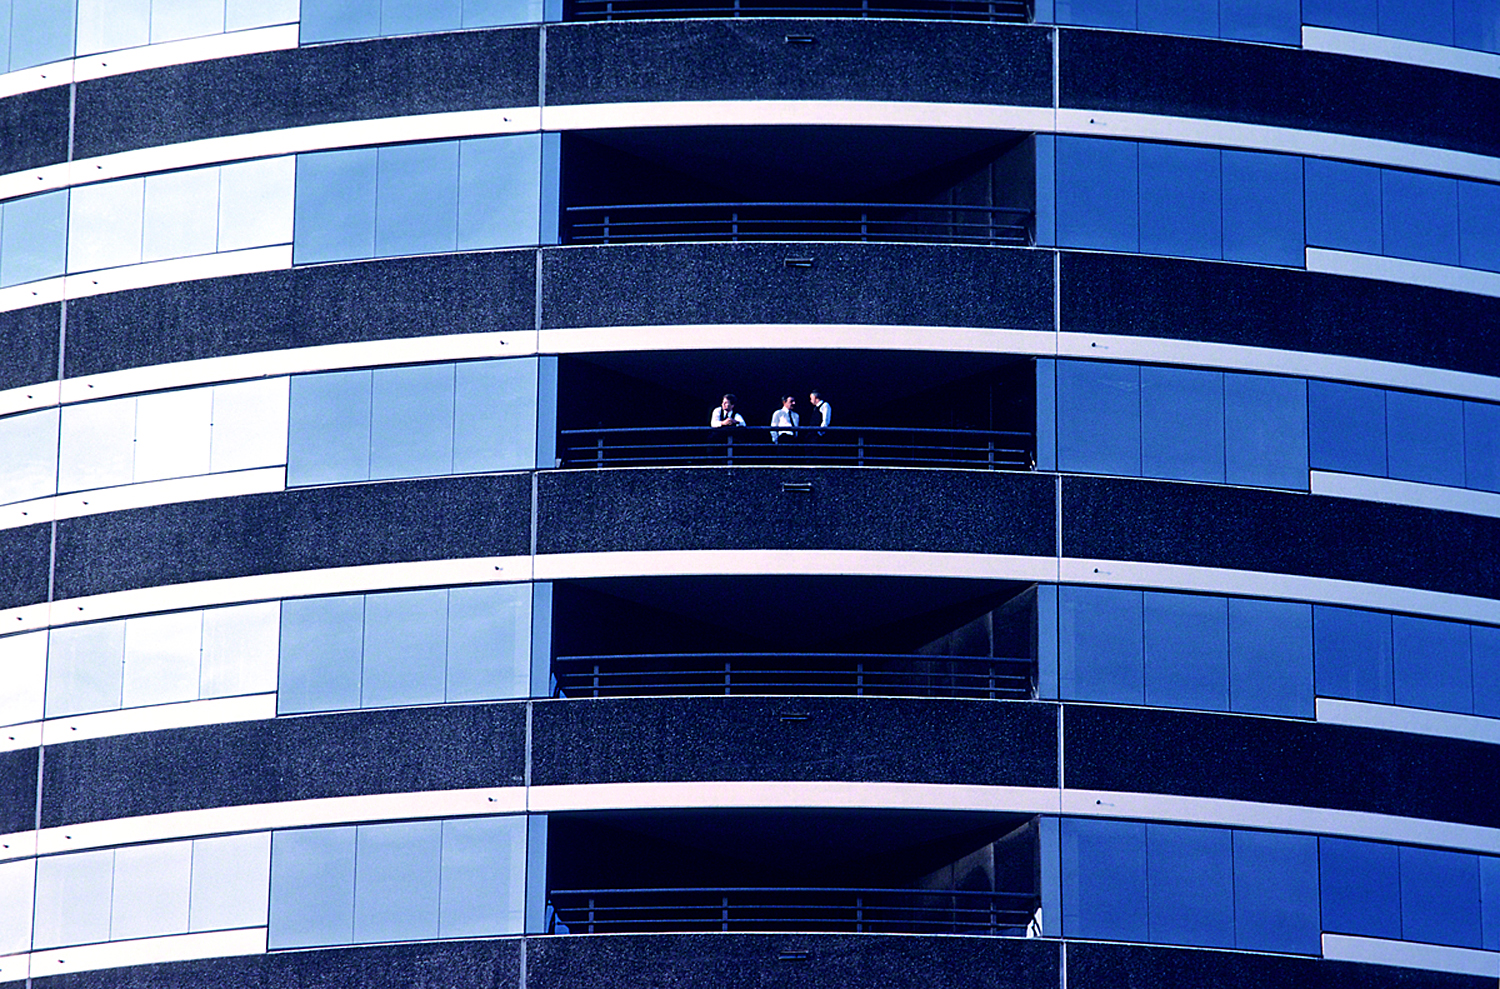
However, if you’re tired of all your photos looking the same, I suggest you approach your subject from a different point of view. Try looking at it from way down low, then way up high. Walk around and take a look from the side, then the back, then the other side. Of course the direction of the light is extremely important, and for me, dictates where I’m going to position myself.
If you’re able, try to combine both the light and a different POV. They can have a profound effect on the outcome of your end result, and can most definitely keep the viewer interested when you do.
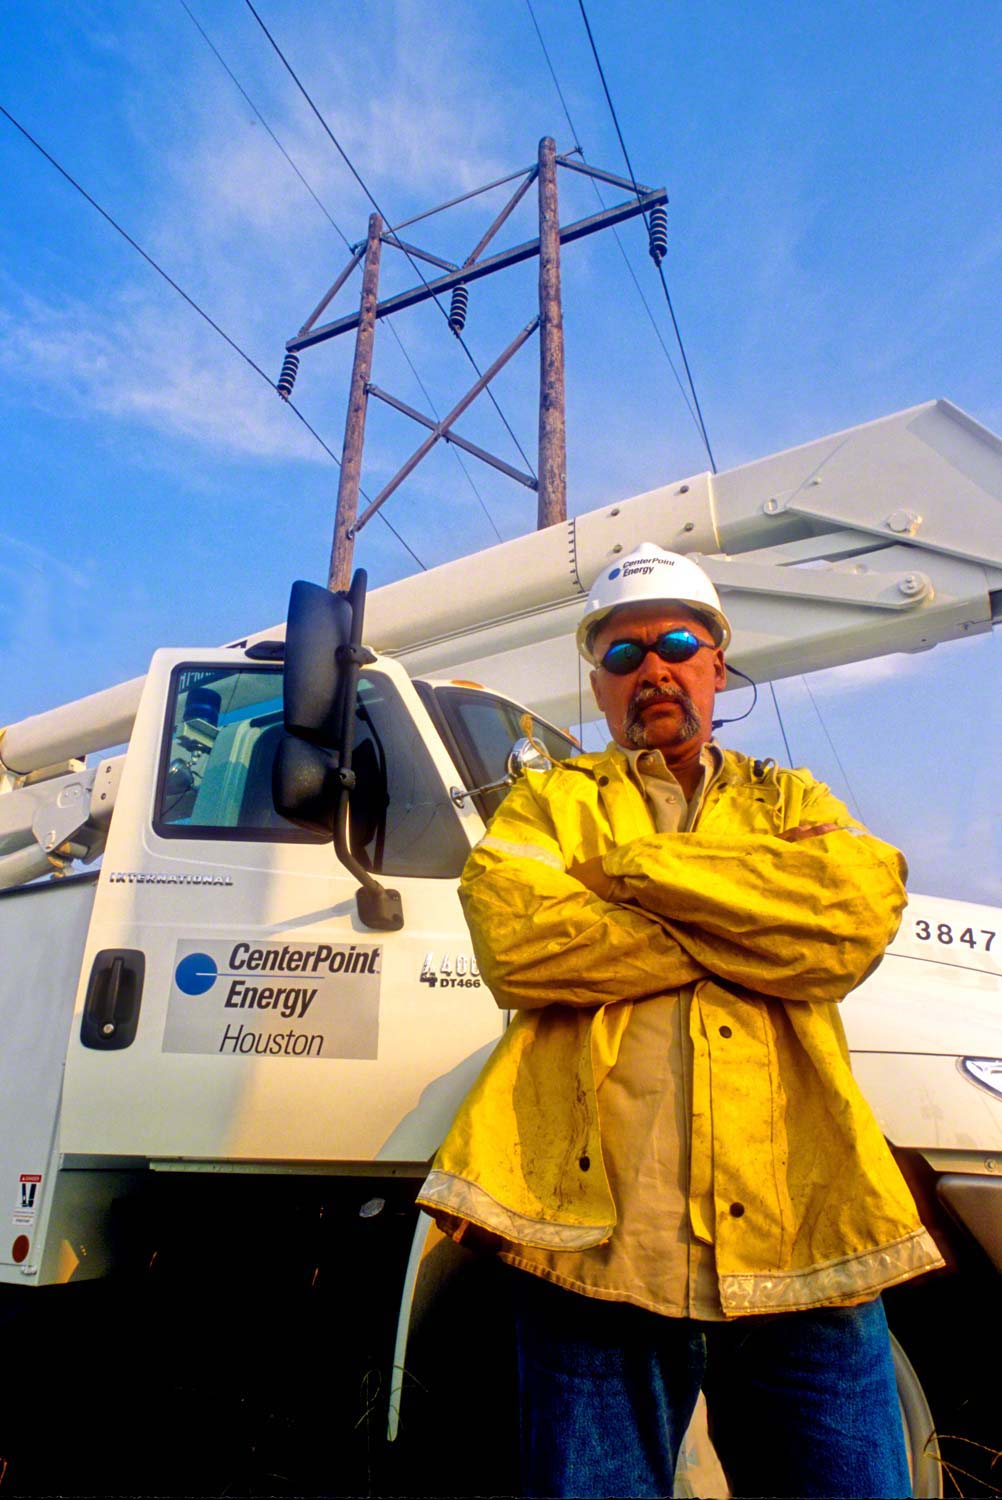
The above photo was taken as part of an advertising campaign for CenterPoint Energy; Houston’s main electric service provider. The client told the advertising agency who in turn relayed to me that they wanted to show how reliable their repair service was, and that their men were always there when you needed them most. You could be comfortable knowing that you were in good hands with the men at Center Point.
How do you represent that in a single photo? By your POV. To get their message across as quickly as possible, I wanted to show not only the man, but all the components as well, i.e., the power lines and poles, the truck, strength, and the man. To add the comfort level, I got down on my knees, and with a 20mm lens was able to capture all the ingredients…I made him larger than life.
Visit my website at: www.joebaraban.com, and follow me on Instagram: www.instagram.com/barabanjoe. Check out my workshop schedule at the top of this blog. Come shoot with me sometime.
JoeB