The buck always stops with me
When Harry S. Truman was president, he had a sign on his desk that said, “The buck stops here”. The phrase refers to the notion that the President has to make the decisions and accept the ultimate responsibility for those decisions. Truman received the sign as a gift from a prison warden who was also an avid poker player.
To digress for a moment, I grew up in KC Missouri, and one day our elementary class took a field trip to his library that’s in Independence, Missouri. He happened to be there and I actually shook hands with him.
So, what in the world does that have to do with photography???
For those new to my blog, I teach an online class with the BPSOP and I also conduct my “Stretching Your Frame of Mind” workshops around the planet. I work closely with photographers to get them to perceive and processes with the right side of their brain. I also show people to take matters into their own hands by using the elements of visual design and composition that they put on their Artist Palettes.
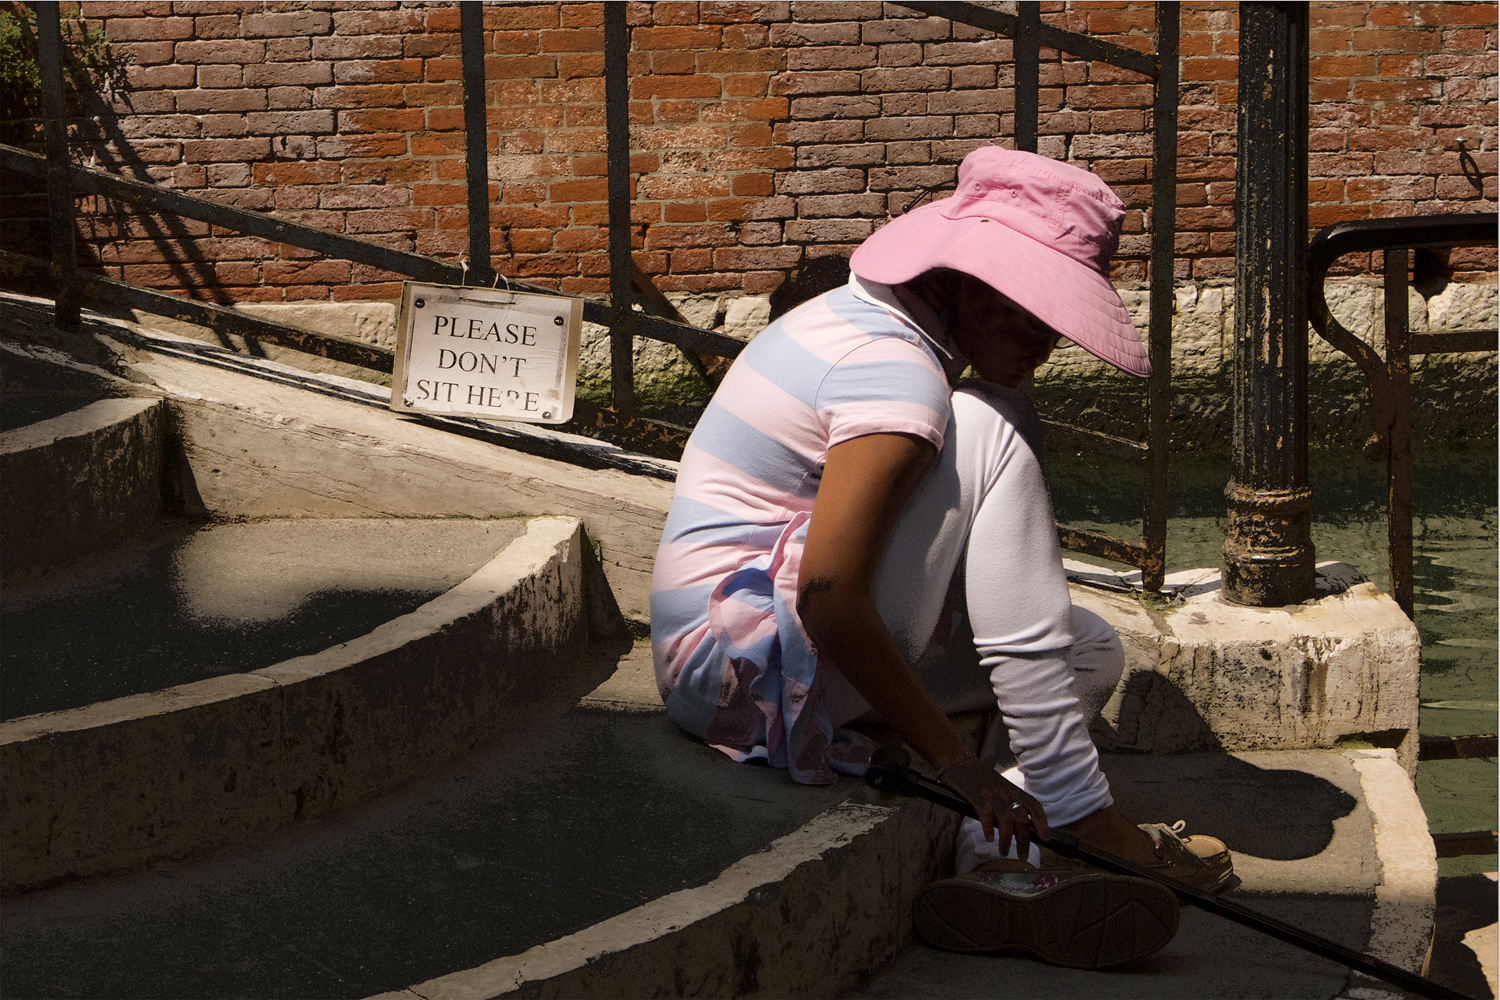
Besides mastering all the elements on your palette, the three most important ways to take your level of photography “up a notch”, is to use your 15 Point Protection Plan, pay attention to the Border Patrol, and check those four corners. If you’re diligent and make those a part of your thought process, you’ll be far better off. Conversely, if you go about your business that way you always have, you’ll have no one to blame but yourself.
I’ve heard it all after teaching since 1983, including these remarks:
- I didn’t read that far into the manual
- I didn’t bring the right lens
- It’s not what the president of my camera club said to do
- I left my filter case at home
- I only brought one card, and it’s full
- I didn’t charge all my batteries before I left
- I trusted my camera to make the right exposure decision for me
- I didn’t know it was going to be out of focus
- I guess I should have used a tripod
- I forgot to set my alarm
- I was hungry so I ate first
- I’ll just fix it later
And last but certainly not least…it wasn’t my fault!!!!
We are just like television commercial or feature film directors. The difference is that we direct still photographs. We are all responsible for the content of our images. Only we can make ourselves look good or bad. Don’t rely on excuses to make your way through the art of photography. If you just study all the things I’ve laid out to you in this post, that even means clicking on all the links, you’ll become a stronger photographer.
So, my fellow photographers, remember that ‘The buck stops with you’.
Visit my website at www.joebaraban.com, and check out my workshop schedule at the top of this blog. come shoot with me sometime.
JoeB