
Working with color on a gray day.
One of the recurring questions I get from students in my online class with the BPSOP, and the “Stretching Your Frame of Mind” workshops I conduct around the planet is how do I shoot in bad light?
Whether it’s hot and bright midday light or on a gray flat day, I approach it virtually the same way. Minimize or don’t show the sky. One exception is when you have a flat location like a landscape where everything is either above or below the horizon line.
You can bring out your graduated Neutral Density filters. The reason why I say that is because if you have the same object that’s both above and below the horizon line, the part of the subject above the line will be as dark as everything else in the composition above that line, but the part below the horizon line won’t. Making the photo look contrived and fake. I’m a firm believer in not letting the viewer know what I’m doing. It has to look real!!! That is if I want to have a good night’s sleep.

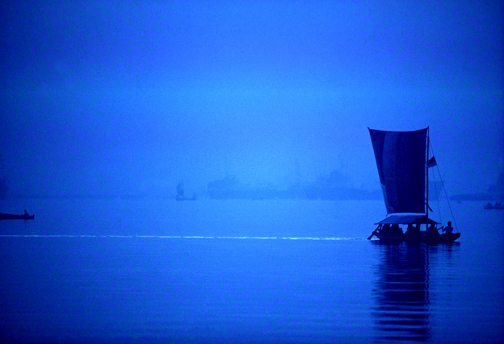
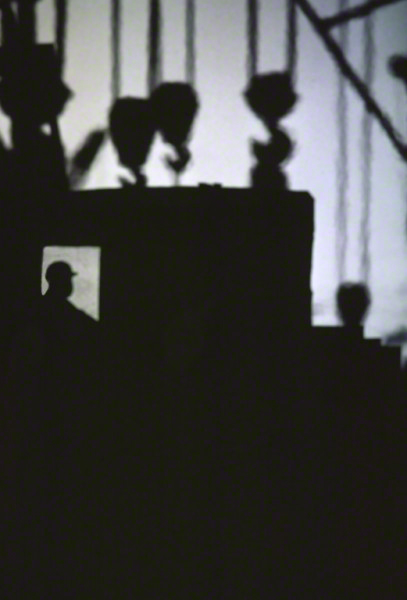
If I can’t minimize the sky on a gray day, I want to put something in it or change the way the sky looks. You have to take control of how the viewer is going to perceive the morning. Make sure it won’t matter to him by making an overcast day work for you. In this photo, of the two men standing in the boat, I broke up the foggy, overcast sky into four sections and created an ‘X’ to do it with.
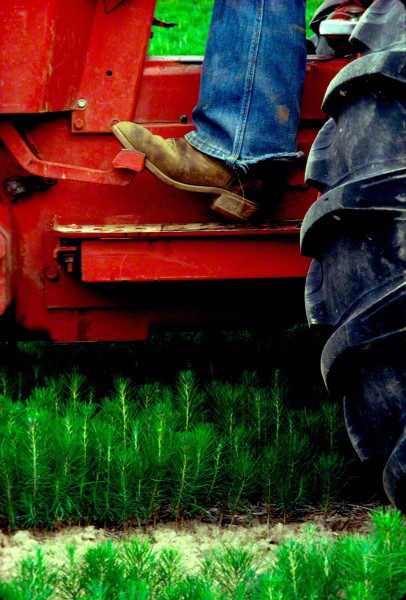
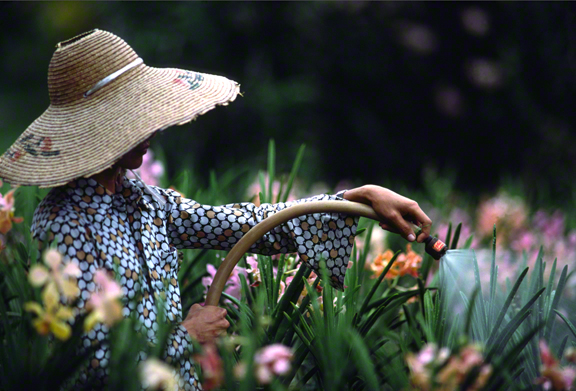
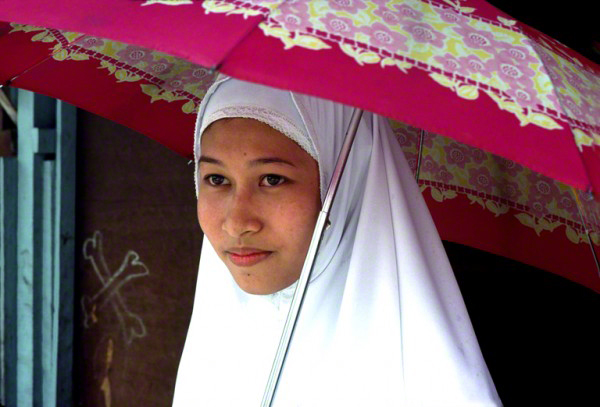
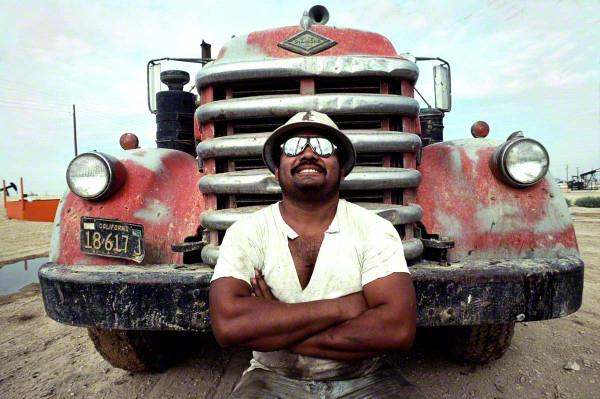
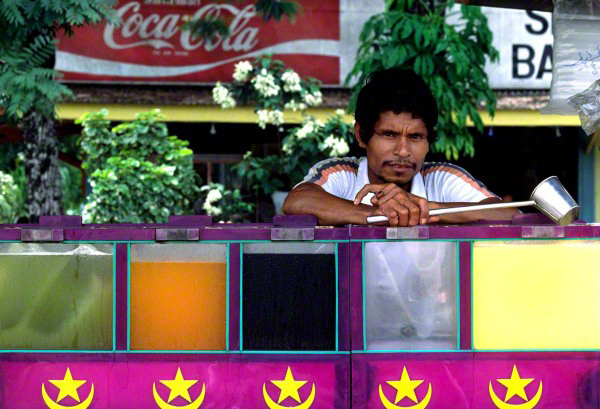
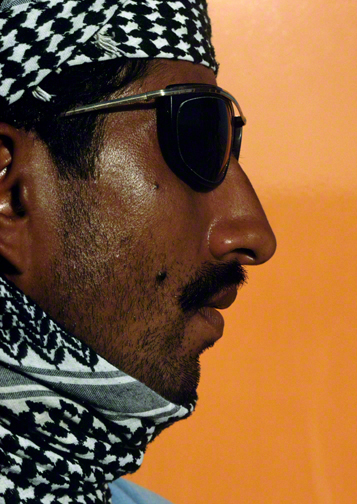
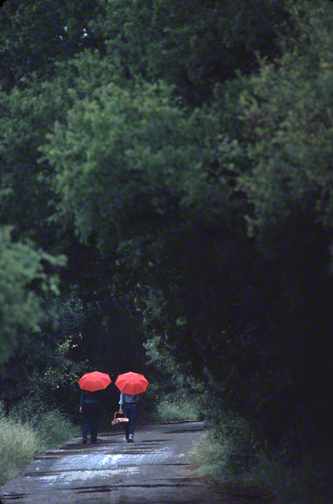
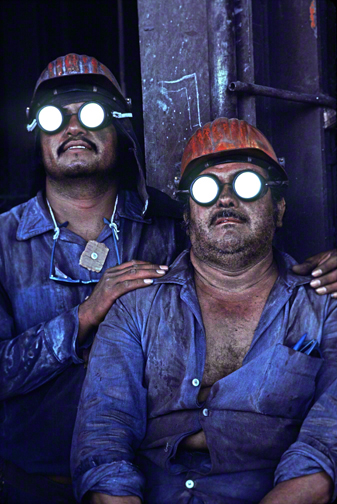
Introduce color to a gray day. Put it “up close and personal” to the lens and hide the gray, or arrange colors as a graphic design tool.
Try incorporating the elements of Visual Design into your composition: Pattern, Shape, Texture, and Line, will make a big difference when you make these elements the subject or one of the subjects.
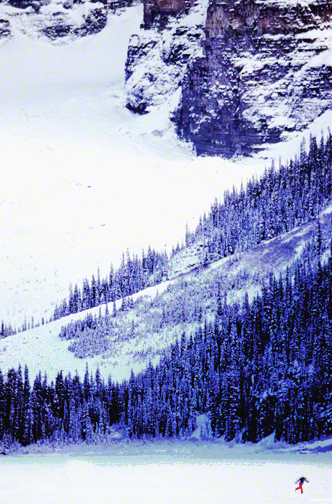
Take a look at some photos I shot in not so good light:


Visit my website at: www.joebaraban.com, and check out my workshop schedule at the top of this blog. Come shoot with me sometime.
JoeB


