≡ Menu

Four Part Harmony

One of my favorite topics to discuss with students taking my online BPSOP class,  and in my “Stretching Your Frame of Mind” workshops I conduct around the planet is the Light. Unless you’re street shooting where timing and and capturing a moment are important, Light is everything.

I’ve been a student of light for as long as I can remember, including those B/W years spent shooting with AP and UPI. I studied art and design, with a couple of semesters plodding through Art History, where we studied each of the Masters and later impressionists approach. This is where I learned notable techniques like Renaissance portrait lighting.

When I first started studying the Light, I broke it down in what I termed Four Part Harmony: Hue, Intensity, Direction, and Quality.

Hue: Refers to the color of the light. The color is dependent on the time of day you’re shooting. When the sun is low on the horizon, it appears warmer since it’s going through more atmosphere. As the sun rises in the sky, the color of the light becomes bluer. The reason being that it’s going through the shorter blue and violet wavelengths.

Intensity: The intensity of the light is associated with how hard or soft the light source is. When you consider the intensity, don’t think of it as being either bright or dim. It means a whole lot more than that. One needs to think about it in terms of how it will render the final outcome to your photos. When you consider the Hue, consider the intensity as well. The lower the light is to the horizon, the more atmosphere it’s going through making the light much softer than it is when the sun is higher and going through less atmosphere.

Cloud cover can have a huge effect on your images, mostly when the sun is high and it’s a day that’s considered partly sunny. It’s a good time to shoot as it’s referred to as open shade. The only drawback is that with open shade, it’s hard to create the third dimension (depth) since you need side light to accomplish that.

Using artificial light can greatly impact the intensity of the light. Aiming your flash directly at your subject will render it harsh and contrasty. Shooting through diffusion, or bounced off a white umbrella, or bounced off the ceiling will provide a softer light; it’s the only way I light when I’m indoors.

Direction: There are three basic ways to light a subject. Side, front, and back. The first thing I ever do, before raising the camera to my eye, is to determine where the source of the light is. I avoid front light like the plague…why? because Form is a basic element of visual design, and it refers to the three-dimensional quality of a subject. When you front light, you eliminate the third dimension (depth) and as a result you’re left with the other two…height and width. Front light provides the least amount of information.

When you sidelight your subject you create the third dimension…depth. A simpler concept is when you side light, you provide shading to your subject. Side light is also used to emphasize the texture of an object; or any patterns in your composition. It’s also a good way to separate the subject from the background.

Back light is when the source of the light is behind your subject. It’s my favorite way to light since it adds a rim of light around the subject. When I’m shooting something transparent, such as water, grass, flowers, leaves, etc.,  the back light makes those subjects glow. It also can add strong shadows, and as I always say, shadows are your best friend.

Quality: The quality of the light affects mood and drama. It also refers to the softness or hardness of the light source. What kind of look or mood you’re trying to create is determined by how the light is used. Harsh direct light gives you sharp and defined shadows, where a softer diffused or bounced light might not offer near as defined shadows, and sometimes none at all.

My favorite light is available light. As far as the quality of the light goes, most of the studio shooters I know, including myself try to emulate available light and will go to great lengths and expense to do so. I can’t tell you how many “North Light Studios” there are to rent in NY. I say North light because it’s the softest. Since it faces north, you’ll never get any direct sunlight coming in to affect your photos; and the light remails constant throughout the day.

Visit my website at: www.joebaraban.com, and check out my workshop schedule at the top of this blog. Come shoot with me sometime. I just announced my New York, New York Workshop beginning September 17th ,2019 and ending at noon on the 23rd. This will be my second workshop there and this time we’ll be shooting in all the five boroughs.

JoeB

{ 0 comments }

Anecdotes: Quaker Oats

Stay Lucy!!!!

For those of you that might be new to my blog, I was an advertising, corporate, and editorial photographer for over forty years and for the past ten years I have been teaching an online class with the BPSOP, and once again traveling the world only this time conducting my “Stretching Your Frame of Mind” workshops.

Over a glass of wine or martini I will often talk about some of the stories that would happen during my shoots; and they would usually make me laugh.

I was shooting the Quaker Oats annual report for Genisis, a graphic design firm in Denver, and one of the companies subsidiaries was Fisher-Price.

I loved working for Mike Miller (the owner) because he would just give me a list of photos he wanted, and then just turn me loose to come up with an idea that would visually illustrate the company.

I went to the local Toys-R-Us and shopped around for ideas. I saw this teetor-totter seesaw and immediately envisioned a shot. Btw, whenever I saw clearly something in my mind, I could always create it.

Scouting around neighborhoods looking for the best light to hit in an area late in the afternoon was a challenge. Since the prettiest areas were covered with large trees, finding just the right spot would take some doing. As was always the case, I would use my Sunpath program and  a hand bearing compass called a Morin2000.

With these I could pinpoint to the one degree exactly where the light would hit, what time it would, and how long it would be in the same spot; as it turned out my front yard was perfect.

My idea was to have two kids playing on it and since  there wasn’t a lot in the budget for professional models, I was just going to use my two daughters…they wouldn’t work for free, but for a dollar plus they got to keep the seesaw, we struck a deal; or so I thought.

When the time came, my daughter that was a year older decided that SHE WAS NOT going to come outside!!! Knowing that I had just a few minutes, I brought Lucy, our dog out with a leftover cheeseburger in my hand.

As luck would have it Lucy weighed more that Blair. I pointed to Lucy to get on the seesaw and gave her half the burger and told her to “stay”!!!

I ran back to the camera and was able to get off a couple of shots before I would have to run back and give Lucy another bite. I was able to do this a few times before I ran out of Lucy’s modeling fee. As you can see by her looking at me she was ready for either more cheeseburger or she was done. At that time she promptly got off and ran back to the house…and that was a wrap!!

Visit my website at: www.joebaraban.com, and check out my workshop schedule at the top of this blog. Come shoot with me sometime. I just announced my New York, New York Workshop beginning September 17th ,2019 and ending at noon on the 23rd. This will be my second workshop there and this time we’ll be shooting in all the five boroughs.

JoeB

{ 0 comments }

My Favorite Quotes: Ralph Waldo Emerson

I break rules

Ralph Waldo Emerson was someone I studied  in my English Literature class in college. I wasn’t a fan of poetry, so most of what we read was a tad on the boring side. He did write some interesting essays, and was considered an “American Transendentalist”. In a couple of words, they believed that each individual could transcend or move beyond the physical world; I was a hippie wannabe back then so I sorta dug it!!!

I digress.

I’ve pretty much been someone that always ‘colored outside the lines’, and have always promoted this thought process to my online students with the BPSOP, and to those that have signed up for my “Stretching Your Frame of Mind” workshops.

That’s the reason I specifically remember this quote that Emerson once said, “Do not go where the path may lead. Go instead where there is no path and leave a trail.”

How I can relate this quote to photography is relatively easy, especially when you’ve had to defend it countless times to those that prefer to travel the safe road; the road most traveled.

These are the photographic naysayers that resist anything that deviates from what they learn at camera club meetings, while shooting with friends, or what they read in photography magazines.

More broken rules

I’m talking about those pesky rules that are the shackles that hinder creativity. You all know them in one form or another: The Rule Of Thirds, The Leaning in Rule, shooting into the sun, The Rule of Odds, The left to Right Rule, and here’s a couple a student told me: Avoid the color red, and never shoot a building straight on…YIKES!!!!!

In my opinion these rules can only do one thing, and that is to take you down a one way road to mediocrity. Ansel Adams once said, “There are no rules for good pictures, there’s only good pictures.

So my fellow photographers, the next time you grab your camera and head out, give yourself an assignment. Study up on all the rules (just in case they haven’t already been hammered into your brain) and do exactly the opposite of what you read.

You just might be surprised with what you comeback with. I for one would love to see the results. Take the road less traveled and leave a trail for others to follow.

Visit my website at: www.joebaraban.com, and check out my workshop schedule at the top of this blog. Come shoot with me sometime.

JoeB

{ 0 comments }

Out of the comfort zone

Part of my conversaions with  those that sign up for my online class with the BPSOP is how to make the viewer an active participant when composing our photos.

Humans rely on on the perception of the environment that surrounds them, and we as photographers can manage what the viewer perceives and processes when looking at the information we lay out to him in the form of a photograph.

As Westerners we were brought up to read from left to right. As a result, that’s the way we perceive, from left to right; that’s our comfort zone.

While it’s always nice to keep the viewer in his or her comfort zone, sometimes it’s also good to take them out of that zone of contentment. How you ask? By composing your photos so the viewer has to go move from right to left instead of left to right.

In the above photo, I was at the lower level in the main train station in Berlin and immediately saw this Vanishing Point. I pointed it out to a few of the photographers that had signed up for my “Stretching Your Frame of Mind” workshops I conduct around the planet. A Vanishing Point a very important element of composition to move the viewer around the frame.

Standing in a position to shoot it from right to left, I didn’t have enough time to walk down and show people what it looked like from left to right. Take a look at the image now that I’ve flopped it in Photoshop.

The actual way we perceive

I  certainly don’t condone doing this after the fact, it’s merely a way to show the power we have as photographers to control how the viewer perceives and processes our photos.

So, the next time your out and about with your camera, find a location and subject matter that you can compose either from left to right or right to left and see the amazing difference for yourself.

Visit my website at: www.joebaraban.com, and check out my workshop schedule at the top of this blog. Come shoot with me sometime. I just announced my New York, New York Workshop beginning September 17th ,2019 and ending at noon on the 23rd. This will be my second workshop there and this time we’ll be shooting in all the five boroughs.

JoeB

{ 0 comments }

And that was that!

As most of you know, one of my favorite topics to discuss with my fellow photographers is “The Light” . You also have heard me say that the only thing that would upstage great light is in street shooting where capturing a moment in time or stopping an action is more important.

In my online class with the BPSOP, and in my “Stretching Your Frame of Mind” workshops I conduct around our planet I have what I call my “Personal Pearls of Wisdom”. These are thoughts and ideas I’ve accumulated over the course of my forty-eight years as a professional photographer and my thirty-two years as a workshop instructor and teacher.

One of these Pearls that I’ve been mentioning for a very long time is, You find the light and you’ll find the shot. Time and time again when I’ve been out shooting the light has saved the day for me. I’ve also found that after all these years, the light can make just about anything look good.

Sometimes I find the subject first with light already working to my advantage, and sometimes I find the light first and place a subject in it. Since I’m not one of those so called purist that refuse to change anything in their composition ( but have no problem altering said composition in post-production), I have no problem…why you ask?

I guess it’s because of my background being in painting and not in photography. I still consider myself an artist/painter, I’ve just changed the medium from a paintbrush to a camera. To me, a camera on a tripod is just like a blank canvas on an easel…I paint…I make pictures the same way I use to paint.

In the above photo I wandered into a small church because I just happened to notice that the sun was coming up and striking the large windows on the east side of the building.

Well to remind my fellow photographers of a quote said by a famous photographer named Eddie Adams, as I was contemplating what I was going to do with this great light streaming through the windows the priest came through the door and began smiling and welcoming me.

“OMG” I thought to myself (no pun intended), I couldn’t believe my good fortune. I immediately asked him if I could take his portrait and he said he would love it; because he needed a new picture of himself.

I placed him in the light and that was that…end of story!!!!

So the next time you go out shooting look for the light all around you, and more than likely there will be a photo there just for the taking!!!

Visit my website at: www.joebaraban.com, and check out my workshop schedule at the top of this blog. Come shoot with me sometime. I just announced my New York, New York Workshop beginning September 17th ,2019 and ending at noon on the 23rd. This will be my second workshop there and this time we’ll be shooting in all the five boroughs.

JoeB

{ 0 comments }

My Favorite Quotes: Jimmy Jones

It was all about “good timin”.

Okay, so you’re looking at the title of this post and you’re scratching your heads wondering just who in the hell Jimmy Jones was; certainly not a famous photographer.

As I’ve stated before, the quotes in this category are not necessarily written by well known photographers or even painters. That said, they are quotes from artists in their own right.

I realize that I might be showing my age, but in 1960 a man named Jimmy Jones wrote one of my favorite songs…”Good Timin”, and it’s one of the concepts I’m always mentioning to students in my BPSOP online class, and to those that signup for my “Stretching Your Frame of Mind” workshops I conduct around the planet…why you might be asking yourself?

When I was recently walking around with my fellow photographers on the streets in Berlin, I noticed that they were usually too quick or sometimes too late to click the shutter; missing the peak of the action. Btw, Berlin is not the only time I’ve seen this happening.

In the case of being too quick, I watch people bring their camera up to their eye when they see something they want to photograph and just start clicking away. Needless to say I’m talking about something that moves i.e., a person, car, animal,  etc., and not some stationary subject.

There’s always the chance that your timing might be perfect, but I’m here to tell you that the odds are that you’ll be too early or too late. Okay, so now you say why not start shooting right away so you’ll be sure to get it.

The answer (based on fifty years of shooting) is that in the case of a person, once they see you they won’t continue any action for one reason or another; in other words you might just have one shot at it…literally!!!

The solution? What I do is have my camera down at my side and slightly behind me (being un-obtrusive as possible) with my finger on the shutter release. Once I see where it’s going, I quickly bring my camera up and take the shot and at least get it “in the can”. Then I continue until I feel that whatever it was that made me bring my camera up was over.

As far as being too late, the same sort of applies. I have the same camera down at my side and (always) at the ready. If I’m on time, then being too late is moot. I’m looking for that moment in time when I’m able to stop an action leaving it un-completed; one of the ways to create visual tension. It’s all about being aware of your environment and constantly looking all around for posible ‘keepers’.

In the above image taken during my workshop in San Miguel, I was stading outside my house early in the morning and saw this woman cleaning the sidewalk. The sun was coming up right down the small cobblestone street, and as she was sweeping she was kicking up a little dust. Because it was backlit it seemed to glow, so I waited until I could get the most dust…with my camera at my side with my finger on the shutter release.

She looked at me and since I was not theatening she lost interest. For one brief moment she stepped into the street and began sweeping. I was able to get off one shot before she saw me and ducked back into the doorway.

Here’s the link to my song: https://www.youtube.com/watch?v=modfq47onwU

Visit my website at: www.joebaraban.com, and check out my workshop schedule at the top of this blog. Come shoot with me sometime. I just announced my New York, New York Workshop beginning September 17th ,2019 and ending at noon on the 23rd. This will be my second workshop there and this time we’ll be shooting in all the five boroughs.

JoeB

{ 0 comments }

Anecdotes: Shell Rotella Oil Calendar

Happy Halloween!

I love writing a post for this category. It conjures up such great memories that I can re-live through this blog. It’s also a story that I will sometimes share with my online students with the BPSOP, and also my fellow photographers tha join me in one of my “Stretching Your Frame of Mind” workshops I conduct around our planet.

Many moons ago, I was asked by the advertising agency that handled the Shell account to shoot the upcoming yearly calendar. Once a year truck drivers from all over the country gathered in a city for the chance to be picked for the calendar; and party in the evenings at the same time.

Among eighteen-wheel super rig truck drivers this is a really big event, and usually a couple hundred of them show up. They spend several days in a huge truck stop washing their trucks, polishing the chrome, and adding Armor-All to their tires.

They do all this for the chance to be one of twelve that make it, since the calendar is distributed all over the country.

To back up a little, every year after they have decided on a city they would rent a huge warehouse that was opened on both ends so each truck could drive in, park in front of a huge white seamless, be photographed, and drive out. I knew that it was going to be hard and time consuming with literally no feeling of accomplishment; creatively speaking that is.

July

That year they picked Nashville but I told the art director that I really wasn’t interested, and gave him an alternative idea. “Why not let me take each month and come up with an idea for it and shoot all twelve on location; and shoot a portrait of the truck’s owner in front of his truck?”

He liked the idea and ran it up the chain of command. Well, low and behold the top guy loved it and approved the fairly large budget.

I sat down with my producer/location scout and told her my ideas for each month and to find me several locations that would fit the bill. I sent her a couple of days ahead of time to start the proces. The art director and I arrived and while she was still scouting, that the art director and I walked around and picked the twelve trucks that we liked the best.

For October I wanted to do something that said Halloween, and found the perfect red-orange truck for it. Needless to say, the owner was thrilled and honored, and when I told him what I wanted him to do and wear, he just looked at me and a very big grin began to run from ear to ear.

We found an old cemetery and obtained permission to shoot there one evening. I rented several small one thousand watt spots and positioned them behind the truck and various headstones. We dressed him then I used a small softbox for his face. The final touch was to fog it up so all the lights would be backlit and the ‘very scary’  mood set.

I have to say that in all the years of shooting, this is right up there for the most fun a photogrqpher could ever have.

Visit my website at: www.joebaraban.com, and check out my workshop schedule at the top of this blog. Come shoot with me sometime. I just announced my New York, New York Workshop beginning September 17th ,2019 and ending at noon on the 23rd. This will be my second workshop there and this time we’ll be shooting in all the five boroughs.

JoeB

{ 0 comments }

Food for Digital Thought: Editing

My final pick

One of the more common conversations I have with either the people that sign up for my online classes with the BPSOP, or the ones that take one of my “Stretching Your Frame of Mind”  workshops I conduct around the planet, is the art of editing; and take my word for it, it is an art.

These photographers when submitting an image for me to critique, will invariably choose the wrong one…that is if they shot more than one variation…which they should have!!!

It all goes back to keeping the viewer around as long as possible, and that is all about two important factors: The psychology of Gestalt, and my ‘Artist Palette’ that has all the elements of visual design and composition on it.

I recently was asked to help edit three-hundred and eighty images down to sixty for his second book. When we were discussing an image, his reasons for keeping it in were sometimes to subjective. In other words it was a location that held certain emotions and memories to him.

Well, that’s all well and good, but the viewer won’t have those feelings. To him it’s an objective visual reaction, and the photo will have to stand on its own merit…unless he always around to explain his thought process or adds some text under the photo. Here’s a great post that will help. One of the lines in it goes like this:

“REMEMBER THAT BELOVED SUNSET OR SUNRISE YOU HAVE–SO EXCELLENTLY CAPTURED, SO EXPERTLY PRINTED AND FRAMED–MAY BE JUST ANOTHER SUNSET TO SOMEONE ELSE”.

Trust me I know how difficult it is to delete one of your very favorite ‘children’…after all, isn’t that what they are?

My second choice

When I edit, almost all the time I have several different photos of the same subject. I will usually put them up on my monitor and comapre them side by side. I’m looking for various things: Things that should have been in the composition, but weren’t. Things that were in my composition, but shouldn’t have been; I always use my fifteen point protection plan before clicking the shutter, but I will sometimes miss something. Did I remember my border patrol? Checking my four corners?

When looking at each image, was I successful in keeping the viewer interested for six to eight seconds? Did I move him successfully around the frame? Was my photo balanced as far as the negative and positive space?

The two photos you see were part of several I shot of the woman during my workshop in Cuba. I narrowed it down to these and finally decided on the one at the top. I’d love to have your comments.

So my fellow photographers as you can see there’s a lot of variables when trying to pick the right photo. Whether it be to print, a webside, or whatever suits your fancy, editing is not for the faint of heart!!!

Visit my website at: www.joebaraban.com, and check out my workshop schedule at the top of this blog. Come shoot with me sometime. I just announced my New York, New York Workshop beginning September 17th ,2019 and ending at noon on the 23rd. This will be my second workshop there and this time we’ll be shooting in all the five boroughs.

JoeB

{ 0 comments }

I was recently mentoring a student that was just beginning to take the plunge into being a full time professional photographer. He was setting up a portrait shoot in his semi-new studio and showed me his lighting setup; using his son as a stand in. He ws having trouble getting the background to show up…even a little.

I finally spotted the incident meter and new immediately why he was having trouble getting the light balanced on the son’s face and a much darker background.

It’s one of the very important pieces of information on light I always share with my online class with the BPSOP, and my “Stretching Your Frame of Mind” workshop I conduct around the planet.

Okay, there are two different ways to read the light. There is incident light, and there’s reflected light.

Incident light is the light falling on a subject, and reflected light is the light reflecting (bouncing) off a subject. For the past forty years, when I take a reading, I take a one degree spot reading of a scene or subject (reflected) because it will be  more accurate. BTW, it’s a hand held meter made by Minolta; they aren’t made anymore but you can find them on Ebay. Incidentally, I’ve been reading that the hand held meter is gaining popularity.

I’m sure you have all seen a photo that has both white and black people in it. In almost all examples, the black person looks darker that the white person…Why?

Because the black person absorbs more light than he reflects; much less than the white person. If you were to take an incident reading of both people standing right next to one another, you would get the same reading…you’re measuring the light falling on them. It’s the same falling light, and it doesn’t know where or what it’s landing on.

If you were to take a reflected reading of both their faces, there would be a big difference between the two people. When I’m shooting both people in one shot, I always have the black man stand next to the edge of the frame, so I can bounce some extra light on him to bring him up to the same exposure as the others. Yes, I know you can do all this in Photoshop To a point), but like myself, there’s a lot of photographer’s still out there that like doing things in the camera. For me, not only does it make you a better shooter, but it’s a lot more challenging…and I love a challenge!!!

The same goes with other subjects and scenes. Take a look at the above photo of the Lobster fisherman holding the trap. First of all, I knew to the degree where the sun was going to come up by using my Sunpath software and my Morin 2000 hand bearing compass.

I read the early morning sky somewhere between the brightest and darkest part, then the light on his face. When both readings were the same (reflective light), I knew it was time to shoot. As the ambient light got brighter, in order to keep the exposures the same, I had him move the lantern closer to his face until I had lost all the colors of dawn  in the sky behind him.

If I had used an incident meter, I would not have been able to get as close a reading as I did…why? Because the sky was reflecting (reflected light) a completely different exposure than the one falling (incident light) on hs face.

I’m all into having complete control which is why I like to read one degree of reflected light at a time, and shooting photos “in the camera”, because I like the process and the challenge.

So, getting back to my mentoring student problem: The light falling on the dark background and the light falling on the subject were being read exactly the same. If he had been reading the reflected light off the background and the reflected light reflcting off the subject’s face, he could have easily adjusted for it…which he finally did!!!

Visit my website at: www.joebaraban.com, and check out my workshop schedule at the top of this blog. Come shoot with me sometime. I just announced my New York, New York Workshop beginning September 17th ,2019 and ending at noon on the 23rd. This will be my second workshop there and this time we’ll be shooting in all the five boroughs.

JoeB

{ 3 comments }

After a beautiful sunset

I have always been surprised when someone in either my online class with the BPSOP, or in my “Stretching Your Frame of Mind” workshops I conduct all over our planet asks me what I mean when I say not to forget to shoot in the Blue Hour.

As a result these same photographers will get to a location maybe a few minites before the sun comes up or will pack up when the sun sets (or even sooner) and head for home. All I can tell you out there that you’re missing out on some quality time.

OK, maybe for some of you out there I need to explain exactly what I mean by the Blue Hour, and let’s get the technical stuff out of the way first:

Depending on where you are on our planet and the time of year, the blue hour occurs when the sun  is between -6 to -8 degrees below the horizon. During the blue hour the sun is so far below the horizon that only the blue and violet wavelengths are  scattered and visible in our sky; while the red and yellow wavelengths pass through into the rest of the universe.

As the sun comes up (golden hour) the blue and violet wavelengths diminish leaving the red yellow and orange to start taking over; this is what’s referred to as dawn. Dawn lasts until the sun breaks the horizon, and at that point it’s sunrise.

After a gray overcast sunset

Conversely, Sunset (golden hour) is when the sun is nearing or on the horizon, and it’s followed by dusk when there’s no direct sunlight anymore. The red, yellow, and orange wavelengths are fading and the blue and violet are becoming dominant; this is the blue hour…then only darkness.

Btw, blue hour happens even when it’s overcast so don’t pack it in and go home. The length and strength depends on how much cloud cover there is.

I love shooting in the blue hour. It’s moody and magical and can often make up for not so good photos you’ve taken during the day; especially if for some reason you were late for the golden hour.

Since it requires longer exposures and slower shutter speeds, unless you’re using ancillary lighting, you best finish up any portraits before the sun is too far off the horizon.

I like shooting landscapes scenes with structures in them, cityscapes, silhouettes, and anything that has water as one of the main subjects or dominates the foreground. Red and white car lights are great subjects, filled with visual interest and tension.

So, my fellow photographers, next time you go out either go out earlier for the morning blue hour or stay late after the sunset. You’ll thank me for it!!!

Visit my website at: www.joebaraban.com, and check out my workshop schedule at the top of this blog. Come shoot with me sometime. I just announced my New York, New York Workshop beginning September 17th ,2019 and ending at noon on the 23rd. This will be my second workshop there and this time we’ll be shooting in all the five boroughs.

JoeB

{ 0 comments }

I got up close and pesonal

I’m quite sure a lot of you have heard this at one time or another by lots of different people in lots of different situations. It’s an important expression that’s been around for a long time, and I personally have been using it since the middle eighties in my “Stretching Your Frame of mind” workshops, and in the my online class I teach with the BPSOP. I don’t claim to be the author of it, but I figure after teaching this concept for thirty-five years, whose to say I didn’t??? At least, I can say that it’s one of my favorite Personal Pearls of Wisdom.

It’s a phrase I’ve been using for a while and one that occasionally appears in Cyberspace… ” Get up close and personal”. I’ve  added… “get so close it hurts, then get closer”.  I often quote a very famous photographer named Robert Capa who once said, ” If your pictures aren’t good enough, you’re not close enough”. For those that know who Robert Capa was you know he was a war photographer that was always close to the fighting.

Relax, I’m not suggesting you go out and get close to that kind of action, but I am suggesting you get close to your subject, be it a person, place, or thing. Sometimes it’s even a good thing to be so close that you don’t show all of it. This falls under one of the concepts of Gestalt called ‘Closure‘.

One reason I like to get close is to achieve depth. Since the camera has but one eye (the lens) it can only see in two dimensions, height and width. You can trick the lens and create the third dimension…depth, by getting up close and personal.

By getting close to your subject  you’ll be anchoring it in the foreground, (and the best way to do this is with a wide-angle lens), you’ll create what I call layers of interest. This will keep the viewer around longer as he goes from your anchored subject in the foreground to the background. If you can place enough elements in-between, then he have more to discover on his or her way to the horizon…or implied horizon.

In the Psychology of Gestalt, we want to take control of what the viewer sees in our composition. It’s all about visual perception, and how the viewer will react to our photos. I like a strong reaction so in the photo of the Egyptian, I wanted to really get a reaction, so I got about as close as you could get without having to follow up with any ‘marriage vows’!!!

Take a look at some more examples of getting “up close and personal”:

Visit my website at: www.joebaraban.com, and check out my 2019 workshop schedule at the top of this blog. Come shoot with me sometime. I just announced my New York, New York Workshop beginning September 17th ,2019 and ending at noon on the 23rd. This will be my second workshop there and this time we’ll be shooting in all the five boroughs.

JoeB

{ 2 comments }

Food For Digital Thought: The Bigger Picture

Paying attention to the big picture.

I’m writing this post after a Skype conversation and photo review from a photographer that’s taking my mentoring program. Like others, she took my online classes with the BPSOP, and to date, has joined me on two of my personal workshops I conduct all over the place.

Our conversation was based on my 15 Point Protection Plan, and how valuable it is as far as taking her level of photography what I refer to as…Up a Notch.

What it eluded to was her focusing in on small parts of the composition, the subject, and highlights that were so blown out as to distract. Now, ordinarily, I love to blow out the highlights, when in doing so I make them the subject or at least a secondary subject.

Btw, don’ t ever let anyone tell you to never do that (clip the highlights) because all they’re really trying to do is to take you down a one-way path to mediocrity.

I digress.

It’s not just about a subject or mulitple subjects and/or centers of interest.  It’s important to pay attention to the Bigger Picture as well.

It’s like a recipe. Ok, you’re having a dinner party, and you spend the morning shopping. You finally begin to cook, and your’re reading down the list of ingredients and one of them isn’t measured right or left out entirely; that will impact the finished meal.

My guess is that you were having a glass of wine and excited that good friends were coming over, and weren’t paying close enough attention. You won’t realize it until you sit down and start eating. By then it’s too late.

The analogy I’m drawing is similar: You get up all excited, because you have the day to go out and shoot. You gather all your gear, and head to that location you’ve been dying to photograph.

You’re so excited because the light is great that you have forgotten to use your  15 Point Protection Plan, your Border Patrol, and the four corner check.

Yes, I realize that you can fix things in post-processing…but NOT all the time. Don’t count on it, especially when you try to darken a really distracting blown out highlight…that ain’t happening.

So, my fellow photographers, when you go out next time think about The Big Picture and not just your subjects (s).

Visit my website at: www.joebaraban.com, and check out my workshop schedule at the top of this blog. Come shoot with me sometime. I just announced my New York, New York Workshop beginning September 17th ,2019 and ending at noon on the 23rd. This will be my second workshop there and this time we’ll be shooting in all the five boroughs.

JoeB

{ 0 comments }

Quick Photo Tip; Auto-Focus

Manually focused

First of all, Auto-Focus is a luxury not a necessity. Back in the old days, I mean the days right after the dinosaurs disappeared, I had to focus my own camera; oh the horror!!

Imagine working for Associated Press and United Press International (like I did) and covering sports; the  NFL for example. A pass play is called and the receiver and the guy covering him ( a combined weight between five and six hundred pounds) heading your way…in a big hurry. You have a 200mm lens on and it’s the days before auto-focus so you have to follow them coming at you while continuously trying to keep them sharp; by manually focusing. It’s extremely difficult.

Nowadays, all those SI photographers standing on the sidelines have cameras that focus automatically; as well as doing everything else for them. Hell, who can miss?

I digress

Have you ever tried to focus on something in front of a wall and your auto-focus sensor goes nuts? Well, this could be caused by a lack of subject contrast, or the auto-focus system is not able to detect an edge in order where to focus. Well, what do you do? You set your camera to manually focus and…no problem!

I will often have a student that has taken my online class with the BPSOP, or in one of my “Stretching Your Fame of Mind” workshops tell me that in a similar situation they will auto focus on the subject and then refocus on the background.

Manually focused

Well, that’s all well and good if you have all day. What if you have just seconds of beautiful late light? Those additional steps can make the difference in losing the shot altogether.

For me, I manually focus all the time when I’m shooting environmental portraits. I will often put my subject close to the edge of the frame (mostly looking out of the frame). The reason I like to do this is to generate Visual Tension. I will compose my shot and since I have my subject close to the edge, I manually focus on the person and then determine what DOF I want.

From almost fifty years of shooting, I know that light is so fleeting and if I take just another second, I’ve missed the shot.

Visit my website at: www.joebaraban.com, and check out my workshop schedule at the top of this blog. Come shoot with me sometime. I just announced my New York, New York Workshop beginning September 17th ,2019 and ending at noon on the 23rd. This will be my second workshop there and this time we’ll be shooting in all the five boroughs.

JoeB

{ 0 comments }

New York, New York: The Five Boroughs

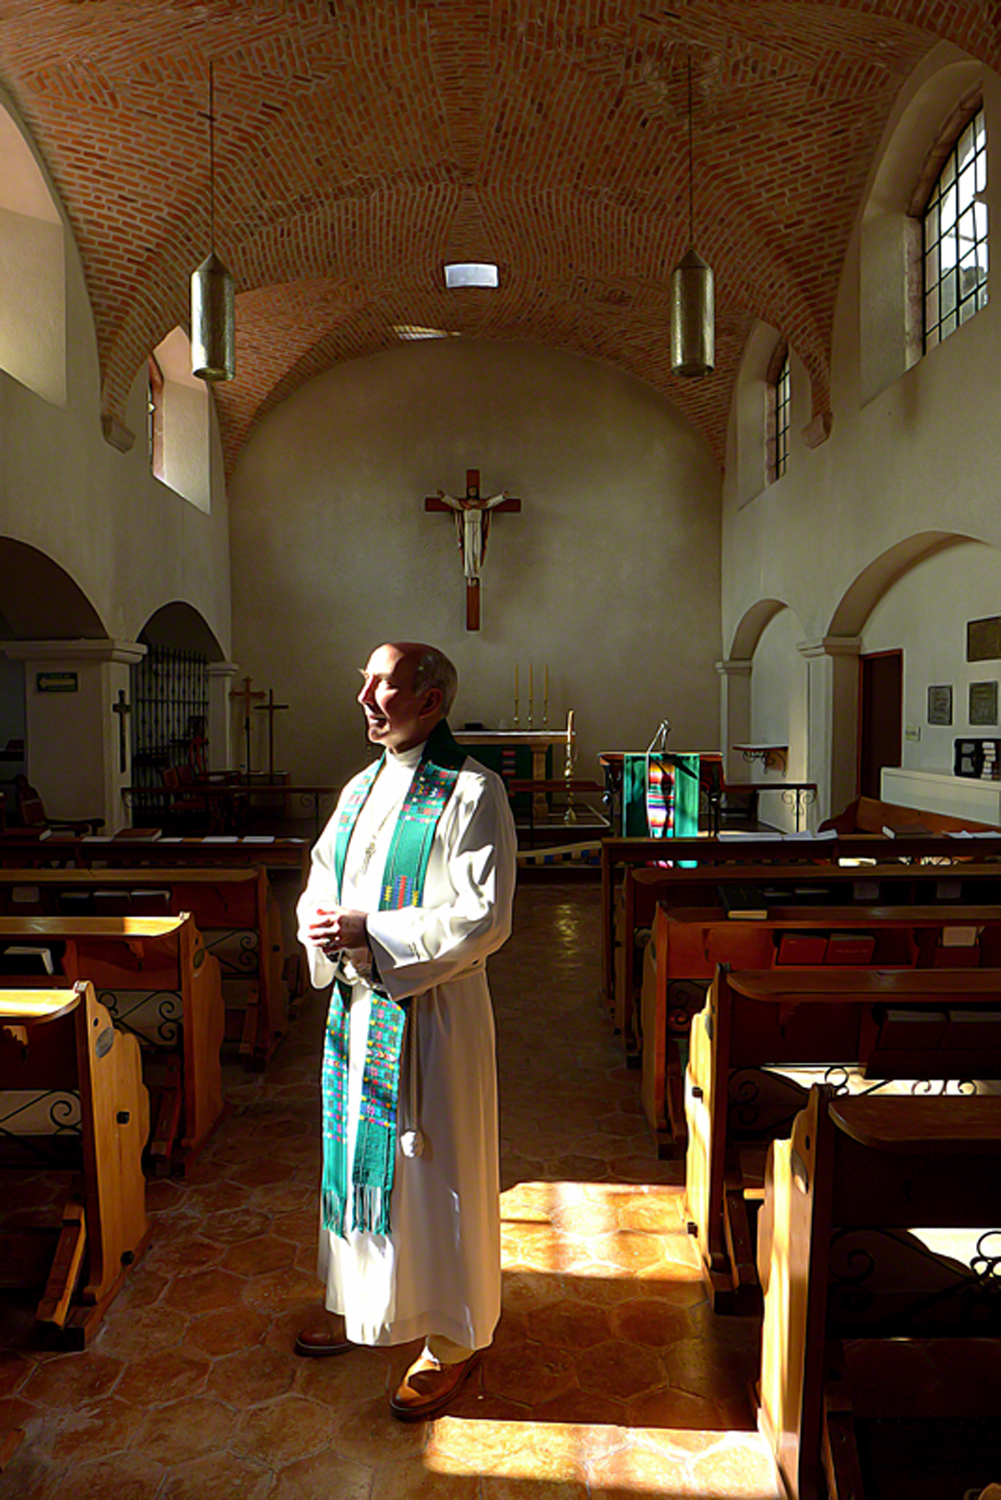
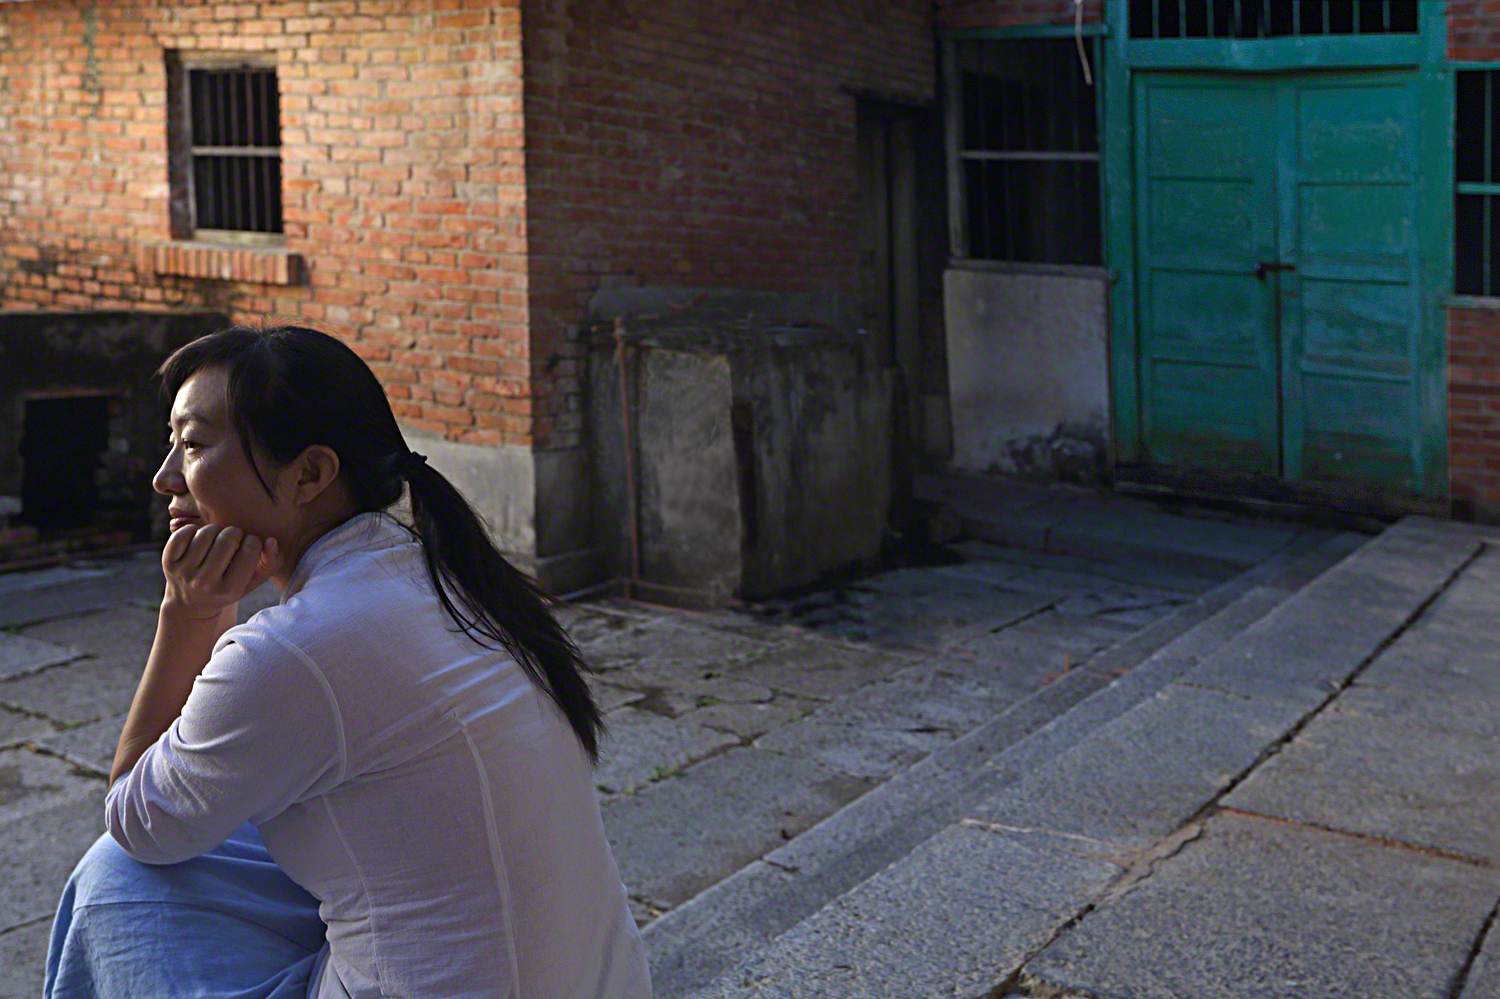
NEW YORK: THE FIVE BOROUGHS

Several years ago, I conducted a very successful workshop in New York, which was focused on one borough…Manhattan.

Since then, I’ve talked to several of the people that were in that workshop, as well as others that wanted to attend but for one reason or another couldn’t make the time to join me.

I’ve had enough interest to do another one, but this time I’ve decided to shoot in all five boroughs: Brooklyn, which has the greatest number of occupants, followed by Queens, Manhattan, The Bronx, and Staten Island.

The dates of the workshop will be the Meet and Greet the evening of the 17th. of September. A five full day workshop ending at noon on the 23rd.

In my fifty-year career as an advertising/corporate/and editorial photographer I’ve shot many assignments in Manhattan, but in all those years I never photographed in any of the other boroughs. Having said that, I, for one, am really looking forward to spending time seeing and photographing the other four.

The following are some of the locations we’ll be concentrating on, starting again with MANHATTAN:

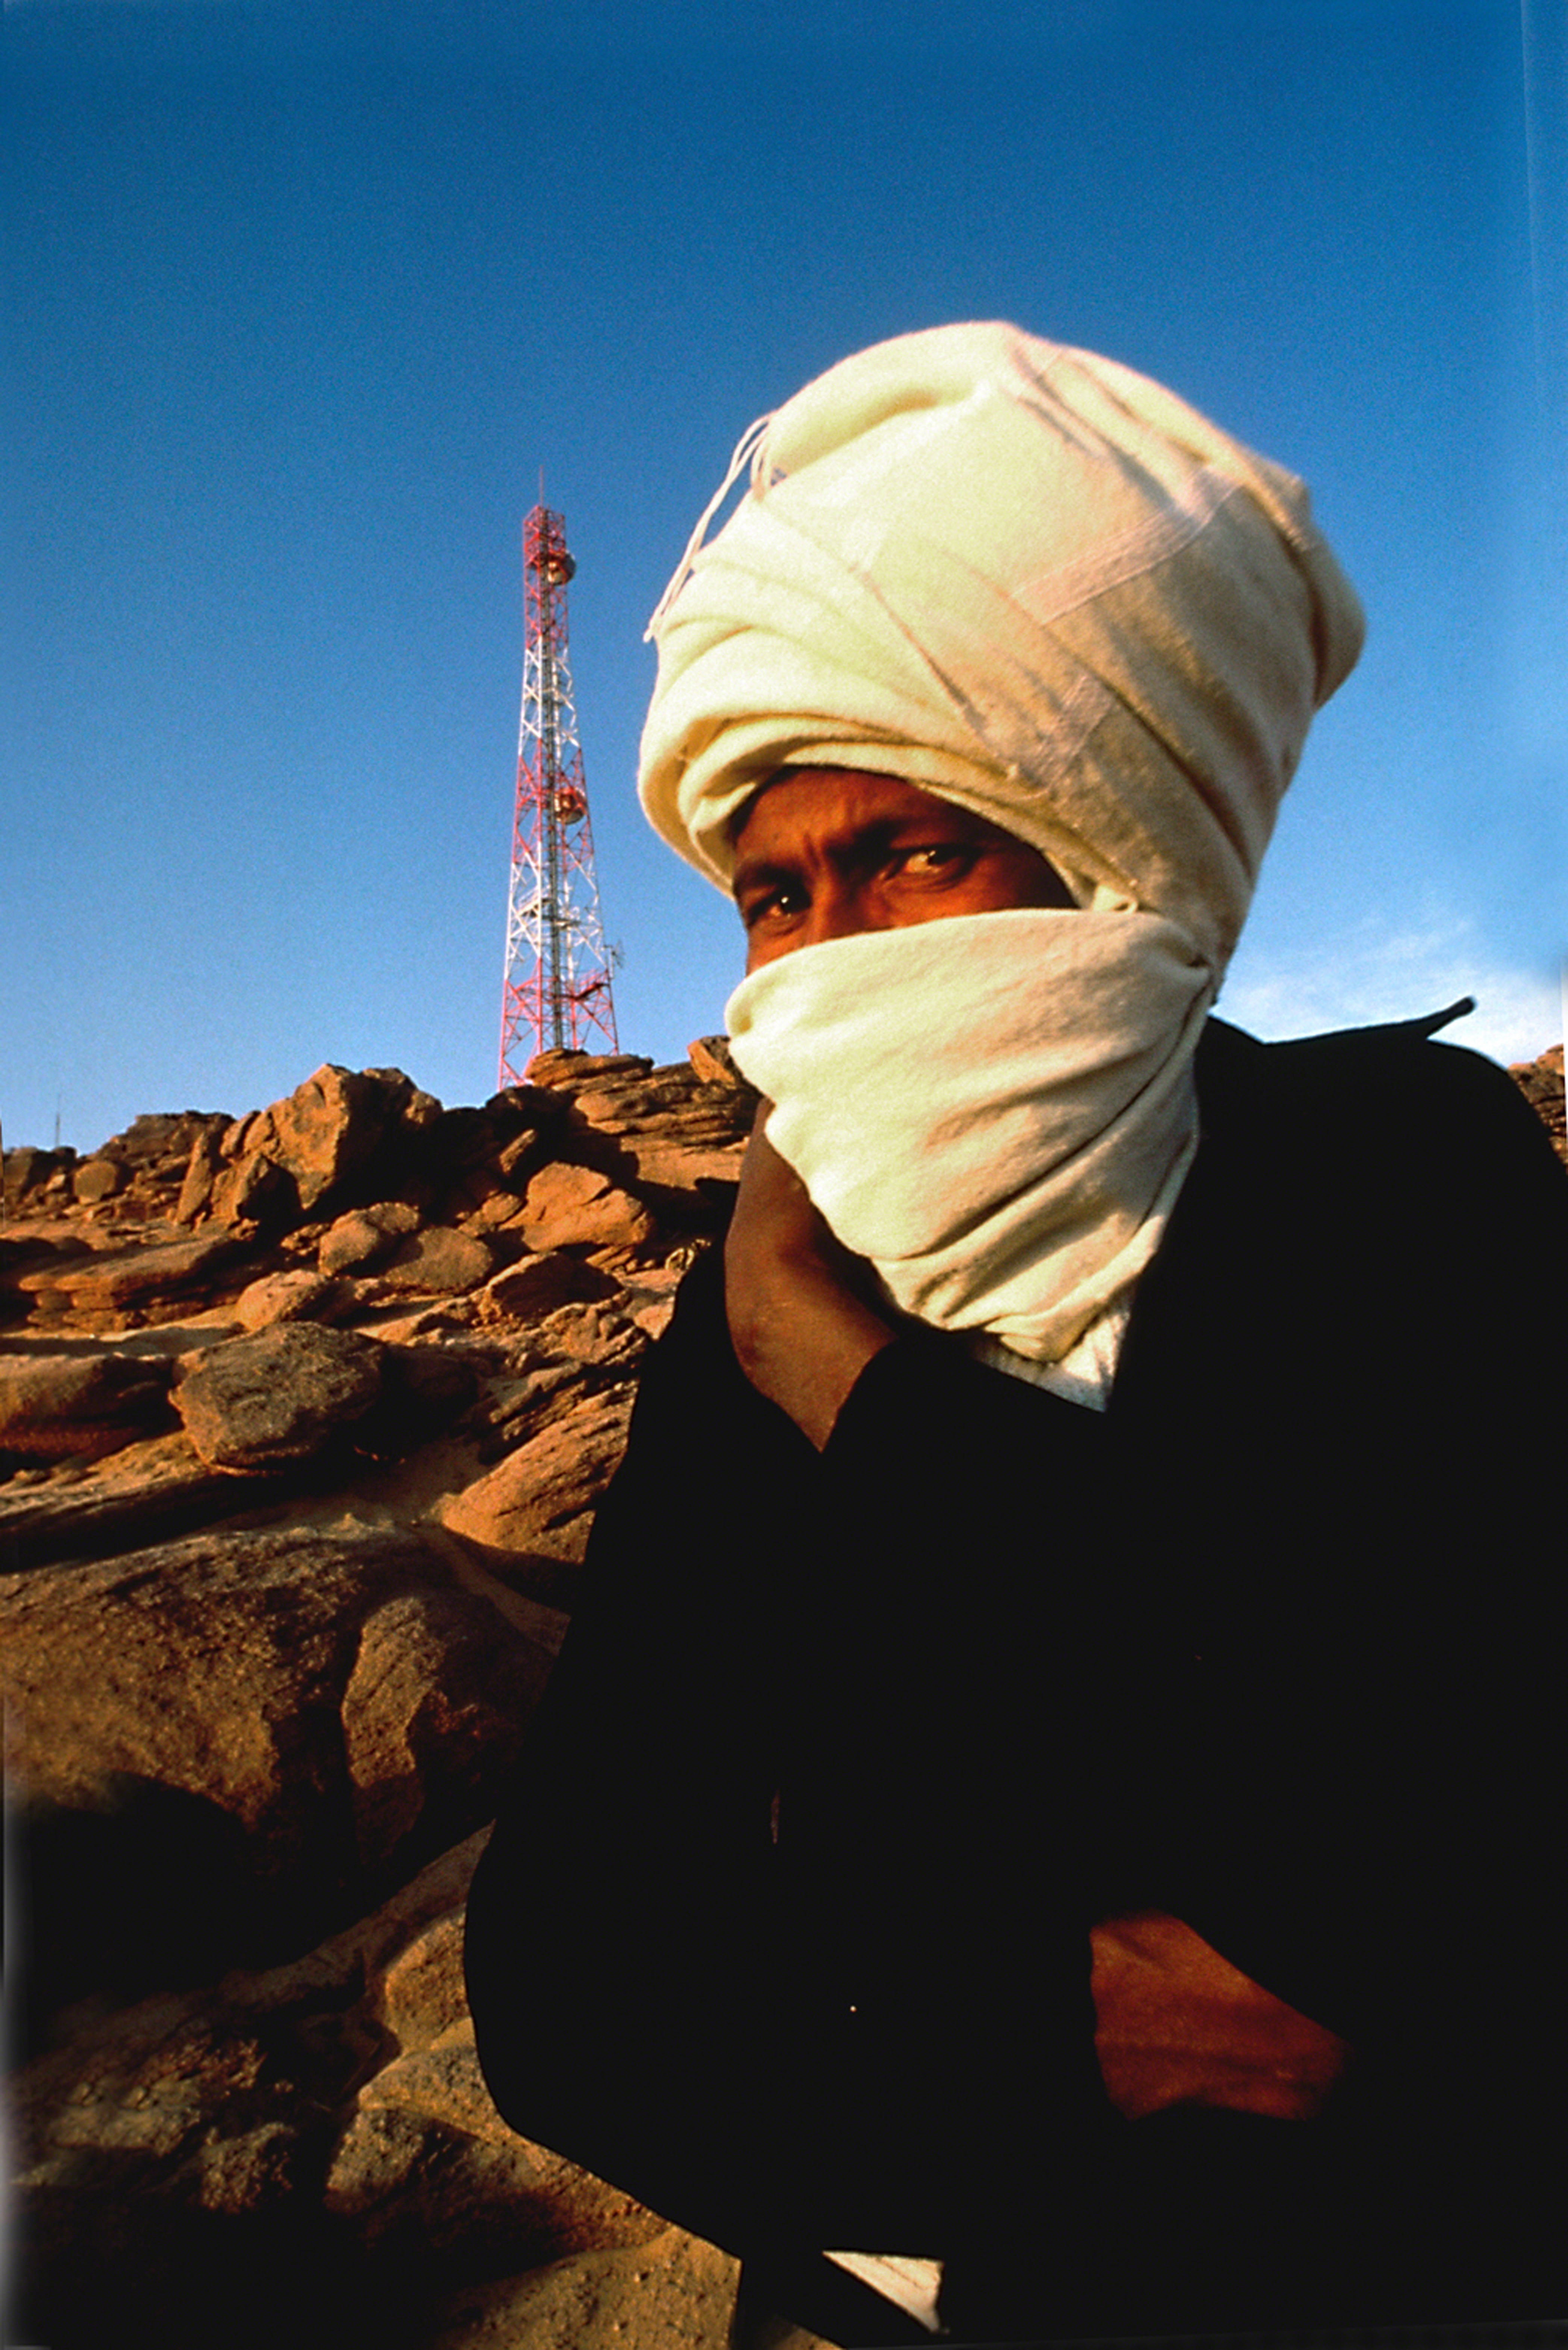
Last time we went on a special ninety-minute hard hat tour of Ellis Island, and it was in a word…AWESOME!

This time we’ll be returning, but the tour will be different. Unlike the last tour, this tour will be approx. 2 1/2 hours, and we’ll be taken to places that were not included in the last tour.

In addition, this time we will be allowed to bring tripods which will give us so much more latitude in extremely low light areas.

Lastly, while we’ll be accompanied by a SEI guide, the events are structured without interpretation, so the entire time can be devoted to photography. For those non-shooters, the guide will be available to answer questions and talk about the history of the hospital.

ROOSEVELT ISLAND: Roosevelt Island is considered pat of Manhattan, and there are several locations that I will be scouting ahead of time to give photographers the best possible locations during the best possible times of the day: https://duckduckgo.com/?q=roosevelt+island&t=h_&ia=images&iax=images

During the first workshop, we spent a morning on the Brooklyn Bridge, and people really enjoyed the shoot. Depending on other venues and logistics, this would possibly be a “command performance” for incredible views of the Manhattan skyline and the East River.

BROOKLYN:

Bushwick Street Art and industrial buildings: https://duckduckgo.com/?q=bushwick+street+art&t=h_&ia=images&iax=images&iai=http%3A%2F%2Fstephenesherman.com%2Fwp-content%2Fuploads%2F2016%2F09%2Fbushwick-street-art-donrimx.jpg

DUMBO PARK/WAREHOUSE DISTRICT:

https://duckduckgo.com/?q=washington+street+in+dumbo&t=h_&iar=images&iax=images&ia=images

CONEY ISLAND: I can’t think of a better location to wind up a day of shooting. To be there in the late afternoon to people watch, photograph color, and the rest of the elements of visual design; as well as the gesture of light is something I have not done before and I’m so looking forward to it (not to mention having a Coney island hot dog):

https://duckduckgo.com/?q=CONEY+ISLAND&t=h_&iar=images&iax=images&ia=images

QUEENS:

FLUSHING MEADOWS STATE PARK: In 1939, this was the location of the World’s Fair, and people from all over the world came here to experience the Unisphere, Pavilions, food, and entertainment.

The park currently serves the people as a recreational center. The park has become, “a symbol of unity among every race that attends it”.

https://duckduckgo.com/?q=flushing+meadows+state+park&t=h_&iar=images&iax=images&ia=images

GANTRY PLAZA STATE PARK: From the images I’ve provided, this looks like a marvelous place to be in the late afternoon into the Blue Hour to end the day;

https://duckduckgo.com/?q=gantry+plaza+state+park&t=h_&iar=images&iax=images&ia=images

THE BRONX:

One couldn’t consider visiting this borough without spending some time at probably the most famous zoo in the country…THE BRONX ZOO:

https://duckduckgo.com/?q=bronx+zoo&t=h_&iar=images&iax=images&ia=images

I would suggest your longest lens (maybe even a doubler) to photograph the animals so they will appear in a natural environment. I have done this at the Houston Zoo and it works great!!!

LITTLE ITALY AND ARTHUR AVENUE: A wonderful location to just walk doing some street shooting and stopping for a late lunch:

https://duckduckgo.com/?q=little+italy+and+arthur+avenue&t=h_&iar=images&iax=images&ia=images

CITY ISLAND: Another great place to end the day:

https://duckduckgo.com/?q=city+island&t=h_&iar=images&iax=images&ia=images

STATEN ISLAND:

SNUG HARBOR: This is a collection of 19th century buildings set in an eighty-three-acre park; home to aged sailors. Considered the “Crown Jewel” of Staten Island, it’s an unrivaled reminder of 19th century sailing: https://duckduckgo.com/?q=snug+harbor&t=h_&iar=images&iax=images&ia=images

RICHMOND TOWN: The town of Richmond has been here since the 17th century and is an extraordinary living history village and museum complex.

It will be taking us back in time while offering a great photographic escape from the other locations we’ll be visiting throughout the boroughs of New York:

https://duckduckgo.com/?q=richmond+town+staten+island&t=h_&iar=images&iax=images&ia=images

As has been the case in all my other workshops, a daily schedule has always been put forward in the initial description I send out.  For this workshop logistics are very different, if for no other reason than its New York; need I say more??

Having said that, the final daily schedule will be based on me personally scouting each one of these sites several days in advance. The daily schedule will be handed out the evening of the meet and greet. The one thing that will remain the same will be the daily morning critiques that are conducted right after breakfast.

The locations in each one of the boroughs will be the ones listed above, but the specific days and times won’t be assigned until I’ve scouted all the sites. It is all-important that in each location we have enough time to spend while making sure that people are not tripping over one another; as well as a smooth transition from one location to another…so we’re not, as they say, “burning daylight”!!

For those that have taken anywhere from three to ten workshops with me, you know your experience is my number one priority.

Like all the others to date, this will be no exception. It will be one you’ll always remember; especially for those that have never shot with me or have never been to this incredible city.

Because of the distances we’ll be traveling to the other boroughs, I’ll have a private van/bus to move us around and make us more comfortable. This way you’ll be able to bring all the equipment you want.

The cost of the workshop will be $1750.00 and that will include the meet and greet, van/bus transportation, and my famous final dinner.

This special Ellis Island tour is $200.00 per person plus the ferry and is included. If you decide not to take the tour, the price remains the same…no refunds.

For all non-shooters, the fee will be $750.00 which will include everything but the daily reviews; which are for the shooting photographers. All other expenses will be up to the photographers and or non-shooters.

A non-shooter would be a spouse (many of them come), partner, friend, mother-in law, or relative.

As in previous workshops, I’m now in the process of talking to several hotels to stay at for the workshop, including having the meeting room there. We will try to get a workshop rate as we have done in the past.

Past participants know, it will be a reasonably priced four-star hotel (for the area) located in the Seaport area of New York. For those that prefer to stay someplace else, you’re more than welcomed to do so.

Once we decide on a hotel, I’ll let everyone know so you can book your reservations yourself. It’s a lot easier to do it this way, as people are looking for different size and priced rooms and it will eliminate mistakes by the “middle man” …that would be me!!

My workshops are limited to ten photographers, not counting the non-shooters. I can tell you several people have already asked me to hold a spot, so if New York has been on your bucket list, I suggest you give it serious thought to signing up sooner rather than later.

I hope to see some old friends there, meet new ones, take great photographs, share an occasionally martini, dine on great food, come back with wonderful images, and have a wonderful time in the process.

As ‘old blue eyes’ would say:

“Start spreading the news,

I am leaving today.

I want to be a part of it

New York, New York”

Joe

Here’s just a few testimonials from past workshop attendees:

I just finished taking Joe’s workshop. I simply cannot recommend it highly enough.  I cannot adequately express my gratitude to Joe for his approach to teaching and his willingness to share his tremendous wealth of knowledge. Learning about critical elements of design and the discovery of the artist’s palette has changed the way I make pictures, and the way I look at the world. This has been a truly outstanding experience with an outstanding teacher. Thank you, Joe!

Alain

I recently completed my third workshop with Joe Baraban, and all I can say is that I will be coming back for more. All aspects of the workshop were fantastic. Joe’s approach to teaching, the shooting locations, the daily reviews, the accommodations, the planning and organization, and the communications were all at the highest level.

From the “meet and greet” reception the first night, to the final dinner, Joe paid strict attention to every detail to make sure we were well taken care of…all the time. Joe’s selection of locations are always diverse and challenging and present many, many opportunities for great shots and learning.

The daily reviews are a wonderful educational experience as you discuss your own work as well as the work of the other photographers. Joe teaches how to “make pictures”, not just take them. The quality and creativity in my images continue to ratchet up a notch with every workshop as I continue to learn from Joe.

I highly recommend Joe’s workshops and online classes.

Nick

I just finished taking Joe’s workshop and again it was nothing short of extraordinary. Because of Joe and the ideas and concepts he teaches, I see everything differently now. Whether I’m driving along a country road or watching TV, I now see negative space, vanishing points, color, light, texture, pattern, line, angle of reflection, tension, perspective – everywhere.

Knowing these critical elements of design have truly not only changed how and what I photograph but have changed the way I look at the world in a very real way.

I cannot adequately express my gratitude to Joe for his caring and expertise and if you are considering taking a class or workshop with Joe think no more as I cannot recommend him highly enough. Just DO IT!!!

Shauna

Joe Baraban’s workshop is first rate and pitched at a level that in my opinion would provide a strong learning experience for any photographer, no matter their level or their primary area of photographic interest.

Joe is attentive, and his workshops are well prepared and illustrative of the concepts being put forward. Better yet, supplementary tips and advice were passed along to participants in neat little packages with titles like “The fifteen-point inspection plan”. His photo critiques are honest and very helpful. A number of us would definitely take a second, third, and fourth workshop offered by Joe.

Murray

I attended Joe’s Paris workshop and received a lot of valuable information in less than a week.

Joe’s workshops begin with an informal meet and greet where all the participants and spouses are able to meet each other with food and wine.

Usually, each day start before dawn with an air-conditioned private bus trip to a pre-scouted shooting location. Joe gives suggestions for shooting before and during each shoot. He moves around to each photographer during the shoots and gives “hands-on tips” and suggestions that are wonderful and instructive.

Each day there is a very constructive critique of the work that was shot the day before. Joe has everyone involved and he asks people their opinions.

I have not attended many formal workshops and I was happy that the comments of the other shooters and those from Joe were very helpful and allowed everyone to get real feedback so soon after shooting.

I can truly say that the workshop immediately helped me, and I believe that my photos have much improved. It was a wonderful experience and made me a better photographer. It also gave me a chance to make friends with the other photographers.

John B


I wanted to learn more about Joe’s approach to visual design and making great photos after taking one of his online courses.  As a former painter, I really relate to his focus on visual design elements as his artist’s palate and it all came to life in this workshop.


He is an excellent teacher and it was wonderful to experience this with a group of very talented photographers who supported each other and did some great work.


The format of learning the design principles and discussing them in relation to Joe’s images and the work from the class was a great way to learn – I look forward to future workshops.


Cynthia


{ 0 comments }