Think, feel, and see
W. Eugene Smith is probably one of if not my favorite photographer. Since the beginning of my career as an advertising, corporate, and editorial photorapher, I shot mostly black and white. His images made a profound impact on the way I was starting to see, and I identified with just about all of them.
Bur recently, I discovered a side of him that I really felt made us kindred spirits; and it was all about the ways I approach teaching.
I teach an online class with the BPSOP, and I also conduct my “Stretching Your Frame of Mind” workshops all over the planet. I teach my fellow photographers how to incorporate the elements of visual design into their images, so when I read what Gene Smith said, I immediately saw so many parallels to the way I do things.
He said, “If I can get them to think, get them to feel, get them to see, then I’ve done about all I can as a teacher.”
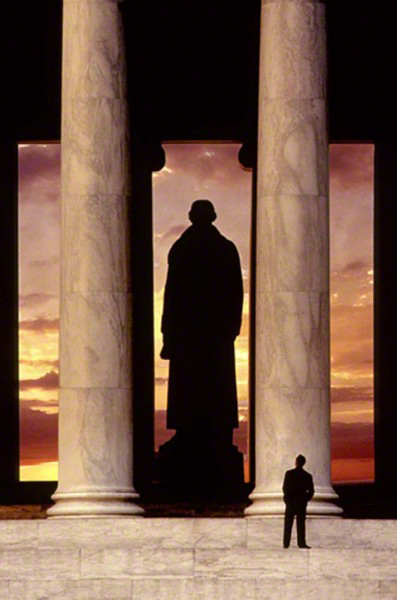
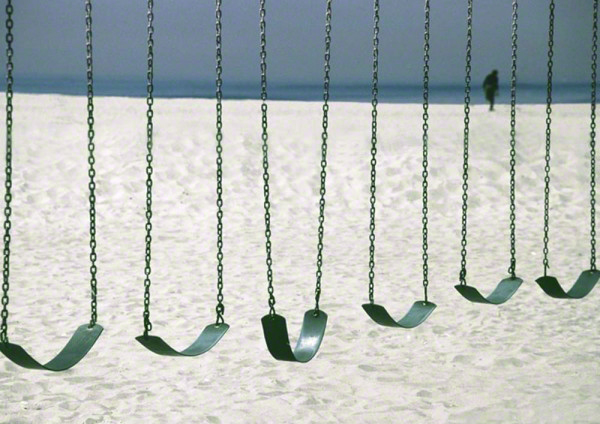
Get them to think: One of the most common threads between photographers is that they’re in a rush to click the shutter. Sometimes that’s necessary, as in street shooting when a ‘moment’ occurs and you have to be fast to get it. Most of the time it’s not that important. What happens is that you wind up having to spend time in front of a computer to fix what you didn’t see when you ‘rushed to judgment’.
Think about what you’re doing when you’re trying to convey a message to the viewer. It can be any subject, i.e., landscapes, portraits, still lifes, etc. If the viewer doesn’t know what you’re trying to say/show, he won’t spend much time working to figure it out.
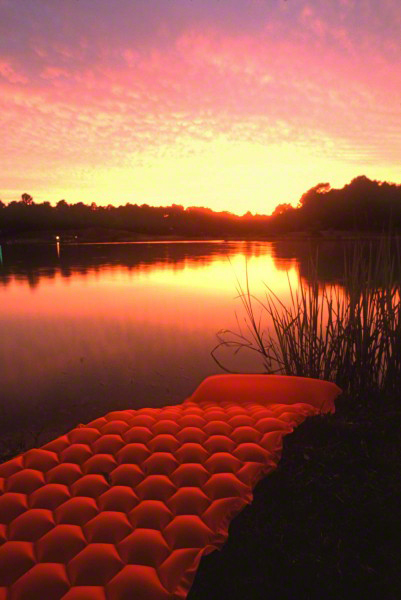
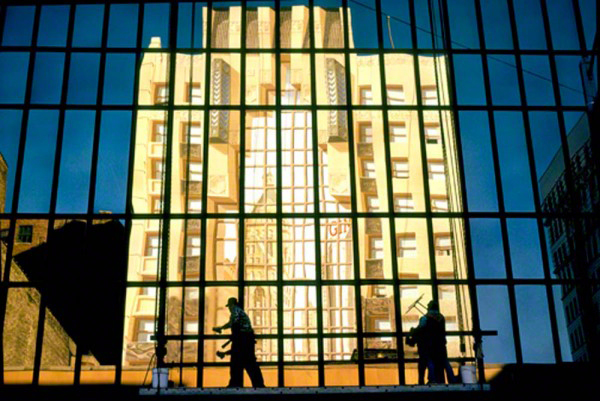
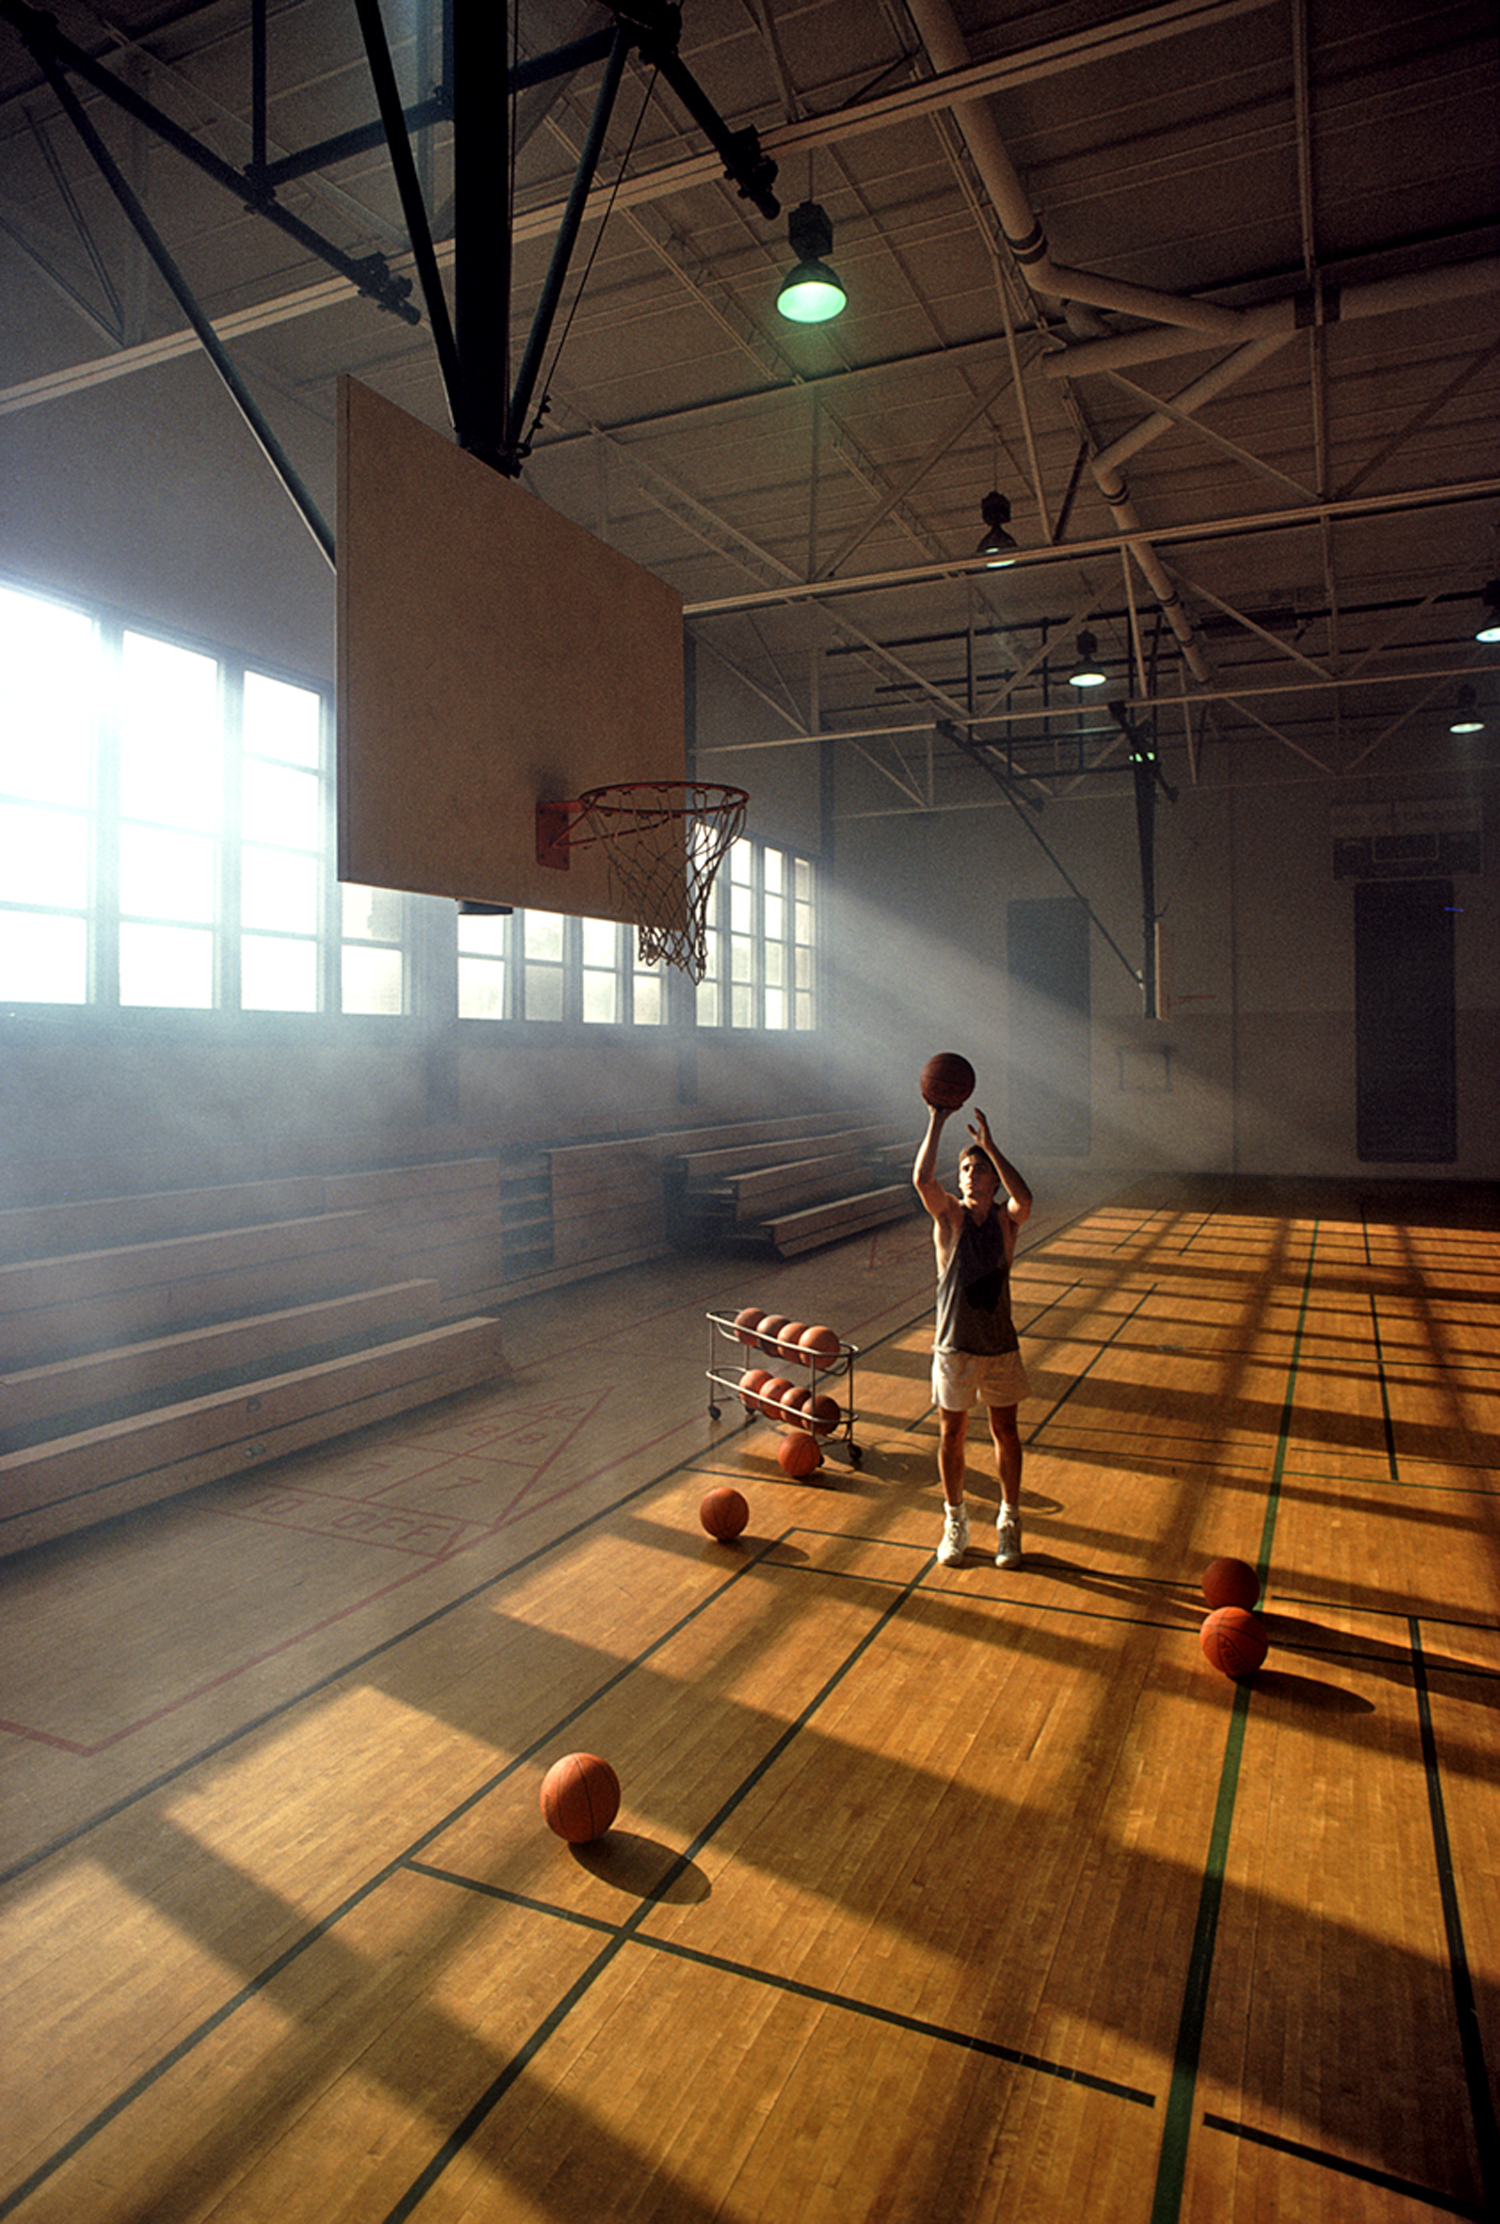
Get them to feel: Well it’s all about the difference between taking and making pictures. It’s about the total immersion into your new found passion and craft. It’s about mastering the light and understanding exposure. It’s about getting some dirt on your shirt or at least your knees. It’s about taking on the challenge of being a good photographer, not a good computer artist or digital technician. Let me explain further:
Determining the light and the direction it’s coming from before you raise your cameras up to their eye to me is the most important factor. Making your own decisions as to the correct exposure to use instead of letting the camera and lightroom do the work for you, scouting ahead of time and pre-visualizing your ideas in your mind then executing it, and spending more time than the “I came, I shot, I left” frame of mind I find happening all the time.
The “I’ll fix it later” mentally that has come along with the digital era, has sucked the life and breath out of the right side of our brain; the creative side. Why should I bracket when I can do it in lightroom? Why should I worry about the horizon line being straight when I can just use my straightening tool later in front of my computer? It just goes on and on.
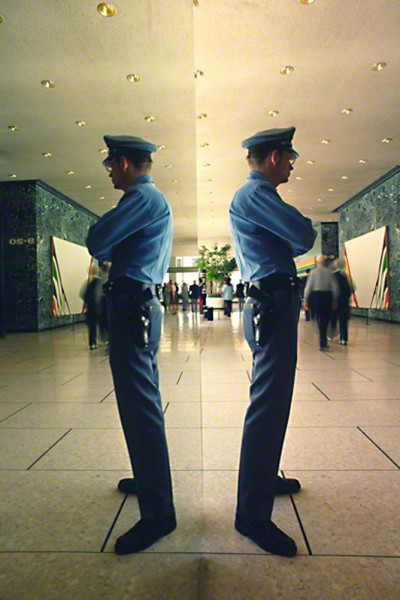
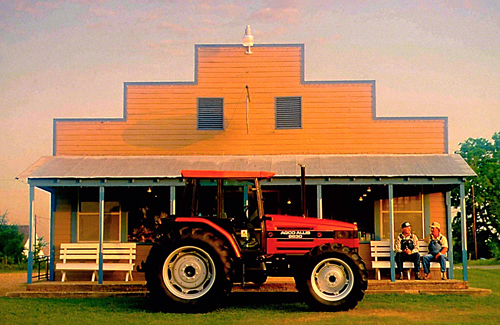
Get them to see: Is it just a tree? I talk a lot about right and left brain thinking. The left brain is the analytical side while the right side is the creative side.
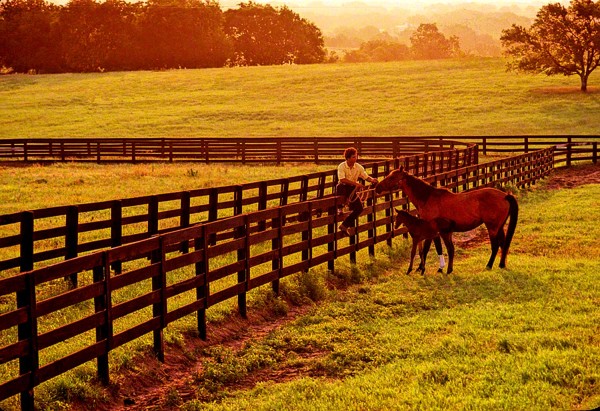
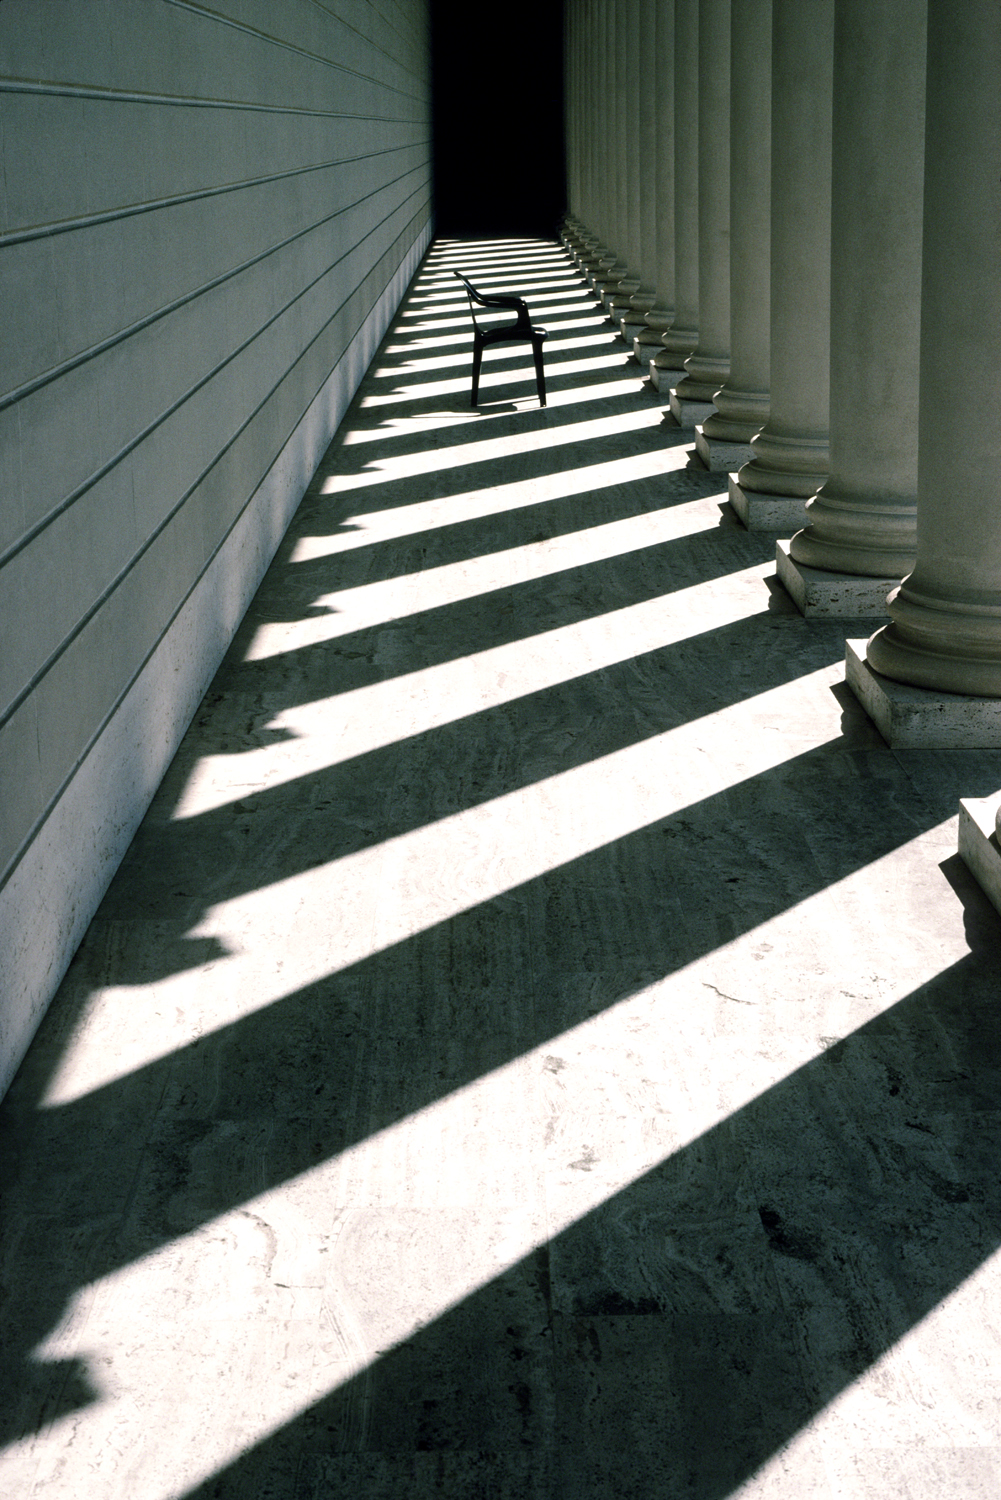
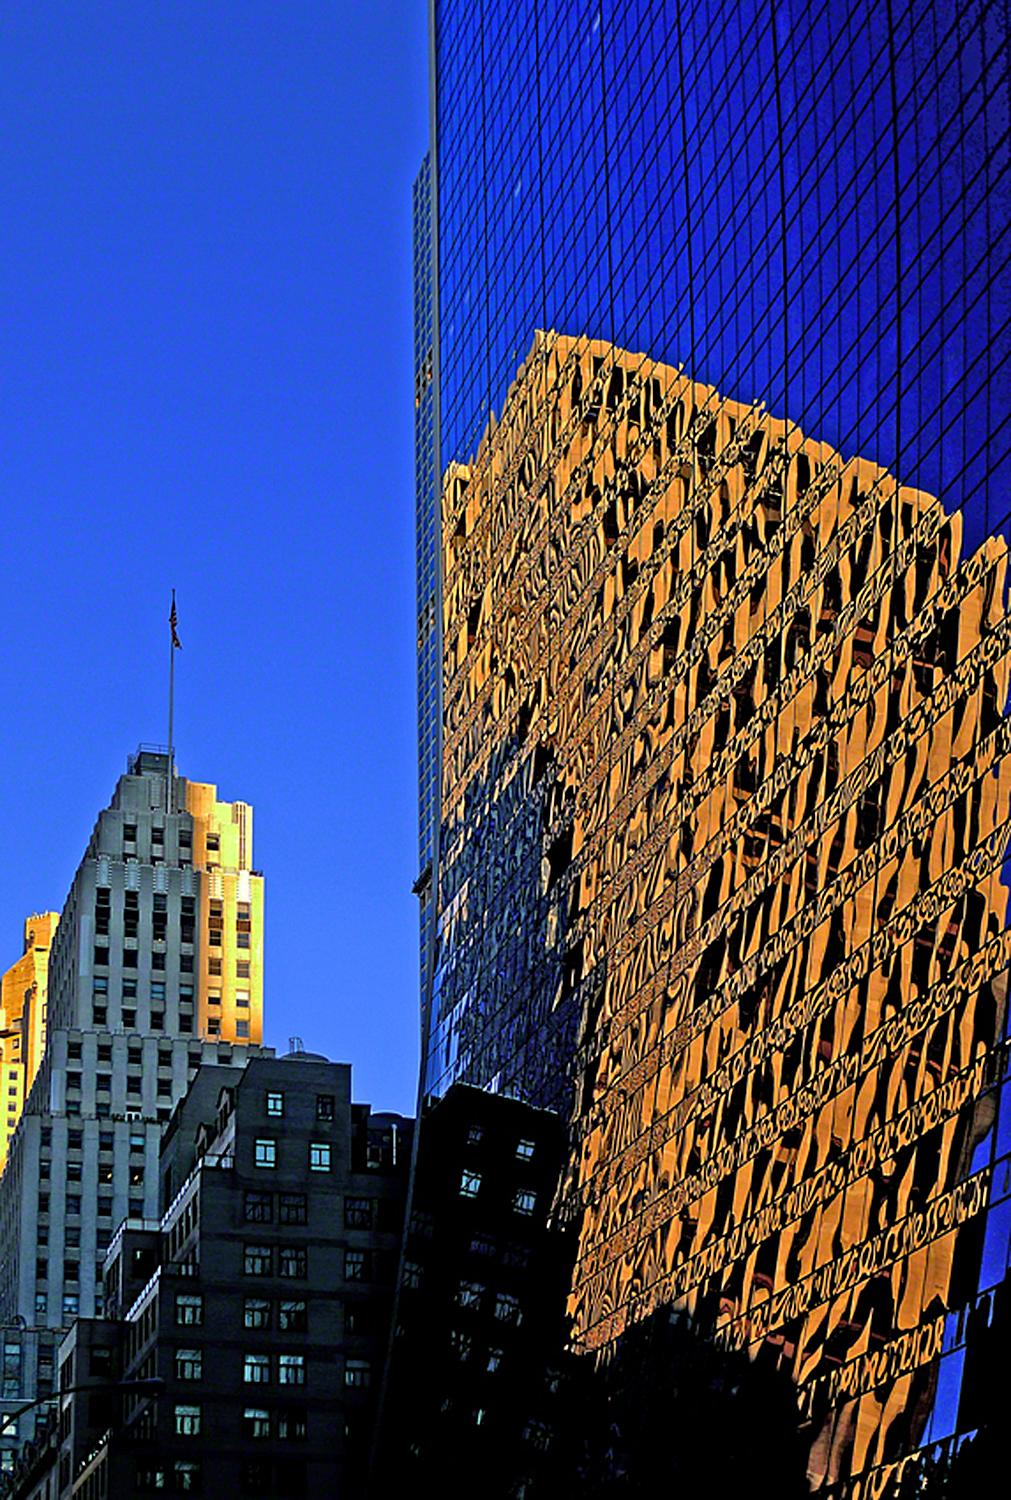
For example, if you were to look at a fence around a little league baseball infield, the left side would see a fence around a little league baseball infield. If you were to look at that same fence with the right side of your brain, you would see Pattern, Shape, and Line; three of the basic elements of visual design.
Make sure that when you’re out shooting don’t view things as they are and what you first see, look past those initial reactions to things so you can see what else they represent. It will open so many other photo possibilities.
Visit my new website at: www.joebaraban.com, and check out my workshop schedule at the top of this blog. Come shoot with me sometime.
JoeB