Did it do what I intended?
This is the seventh post in a series I call “did it do it”.
In my online class with the BPSOP, and in my “Stretching Your Frame of Mind” workshops I conduct, I talk about my “Did it do it” list for creating good photos with strong compositions. These aren’t rules (followers of my blog know that I don’t like rules), they’re merely guidelines to use when out shooting. If you can remember these guidelines, you have a very good chance in taking your photos what I refer to as “Up a Notch”.
I call this post “did it do what you intended”:
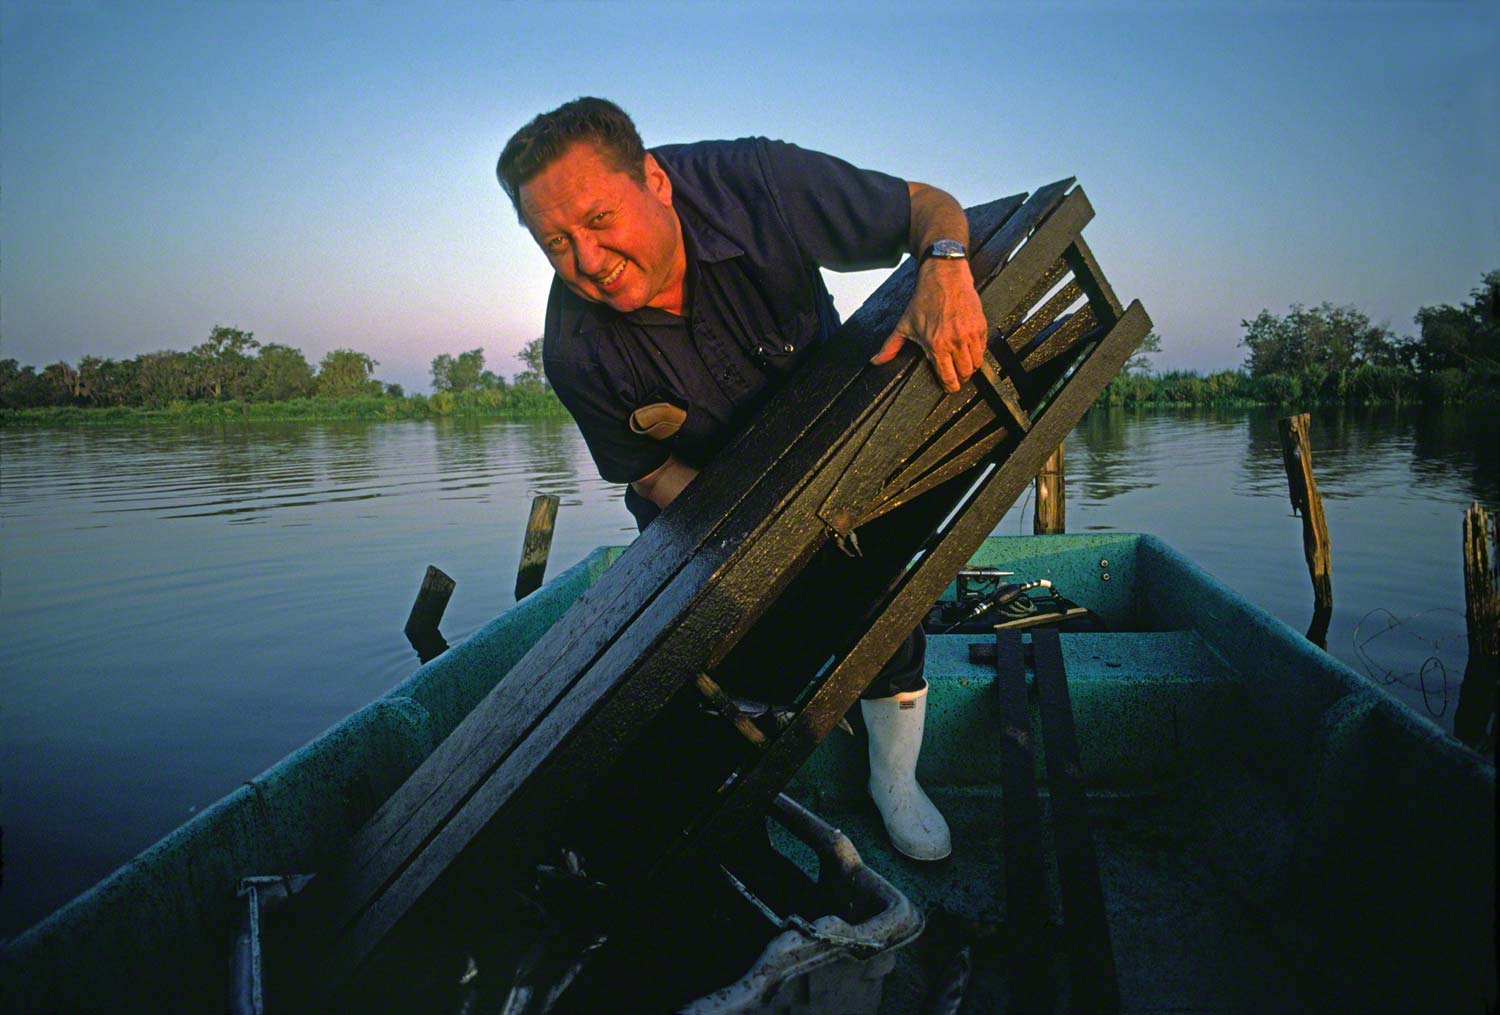
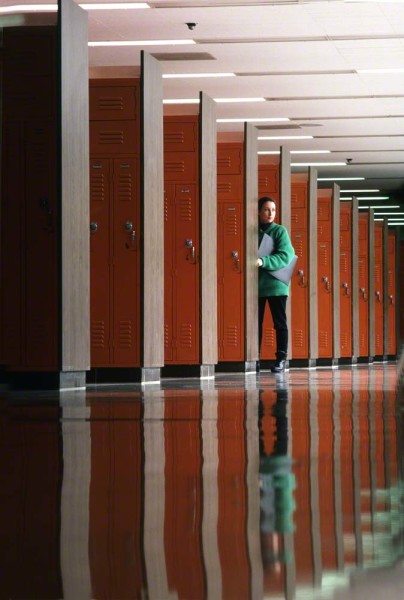
So many of my students will submit a photo and tell me what was in their mind the second before they clicked the shutter, but what they were thinking didn’t transfer to the final composition. The key to remember is that you won’t be around to explain what you were thinking, and what story if any you were trying to get across to the viewer. It has to be a quick read, and unless it’s an abstract intended for the viewer to interpret it the way he or she wants, it has to be able to stand on it’s own…without you there.
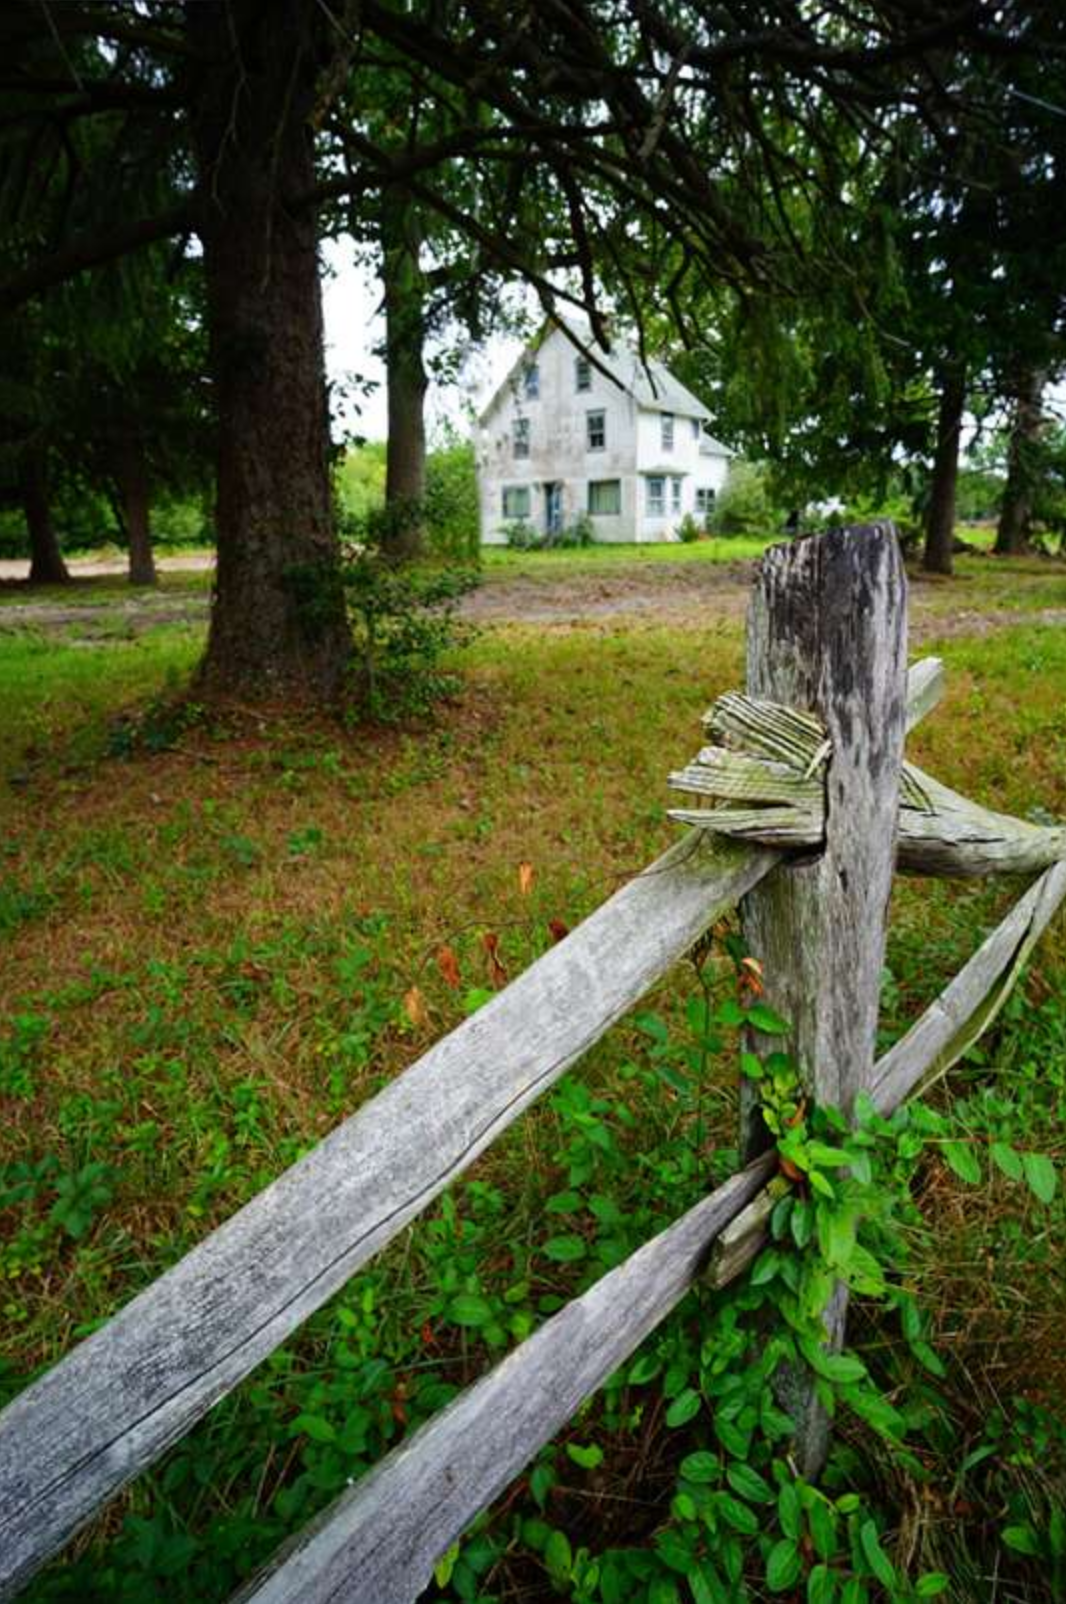
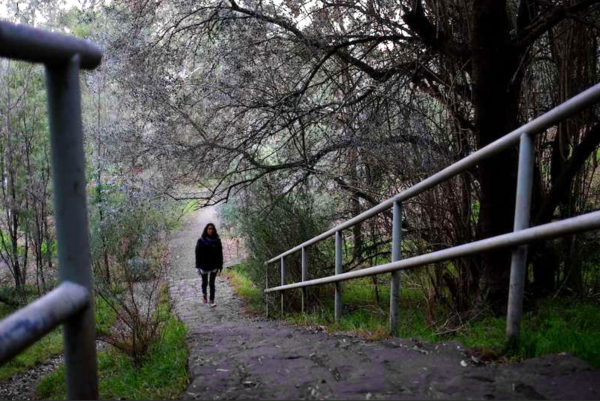
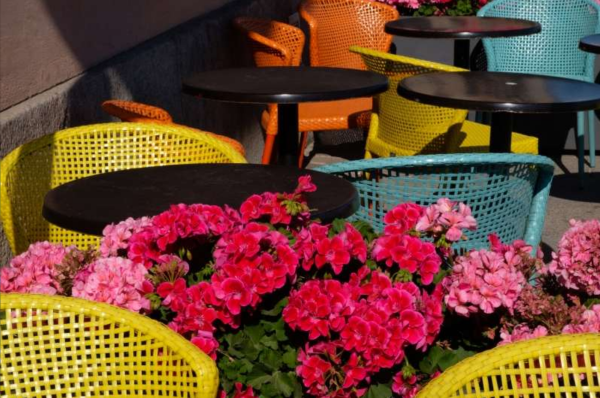
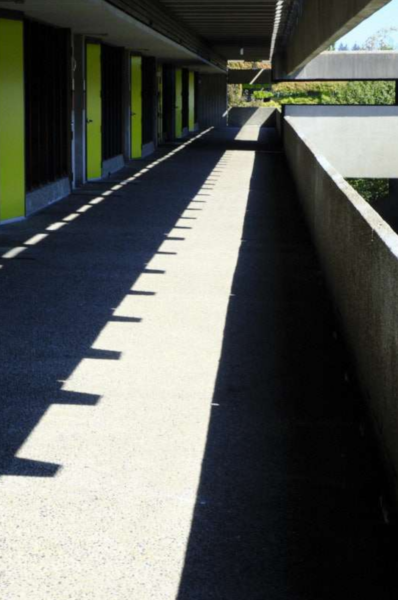
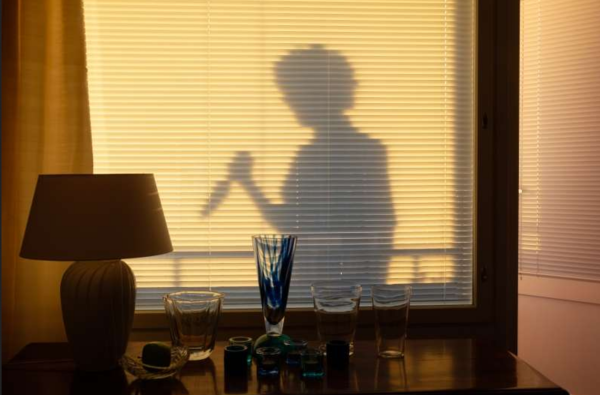
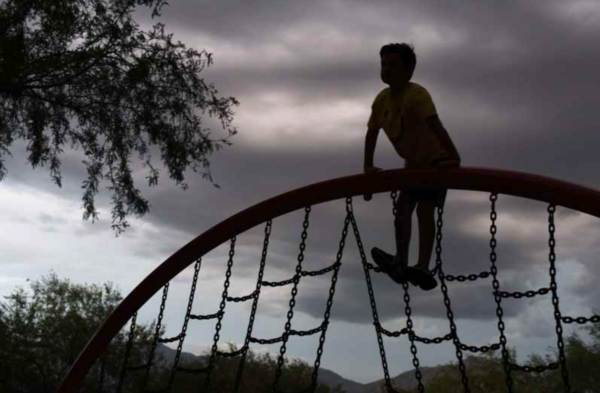
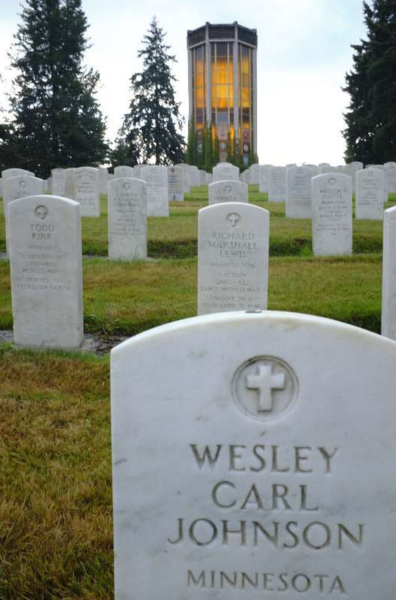
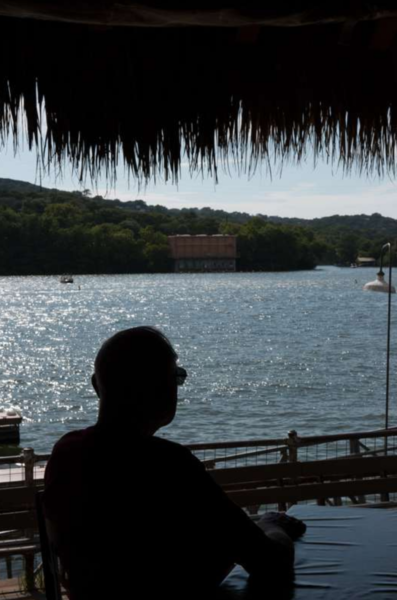
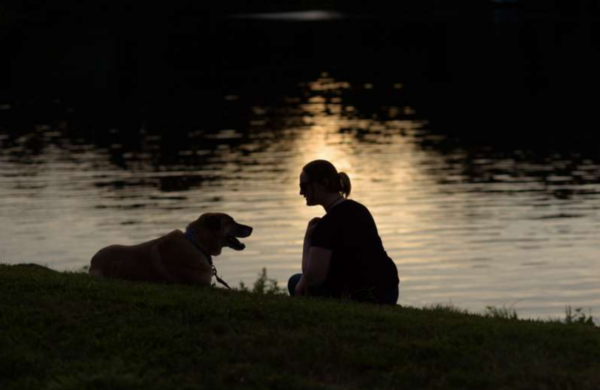
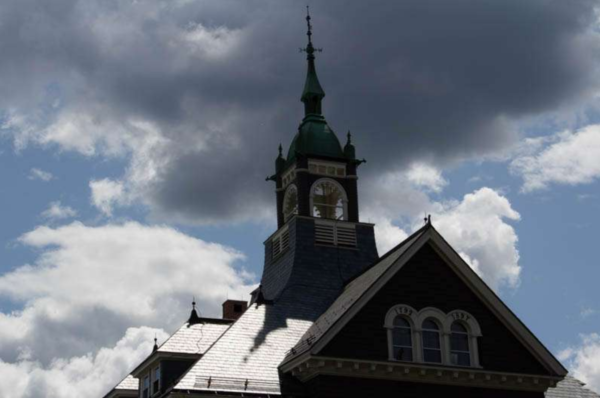
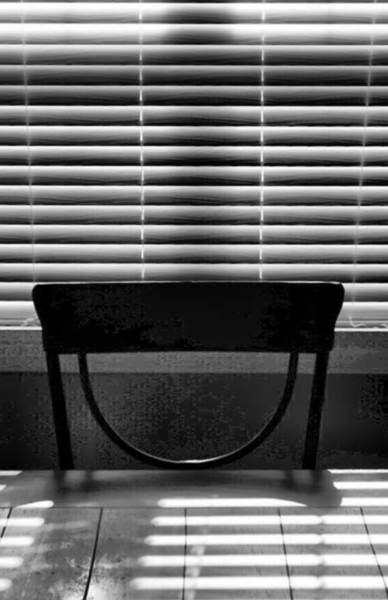
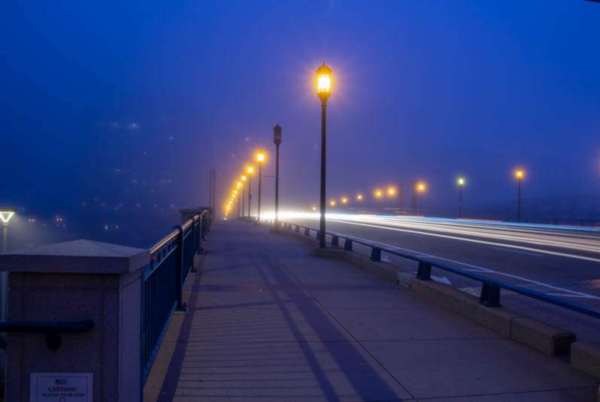
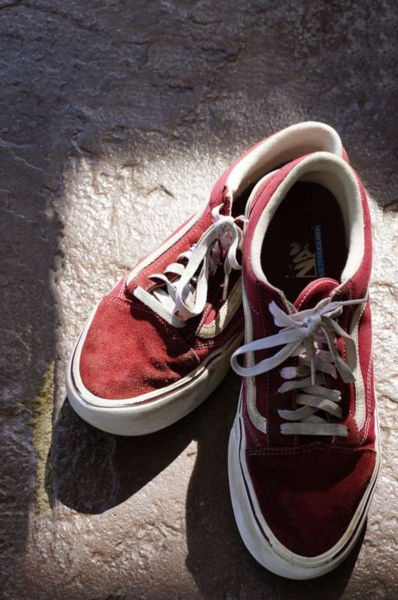
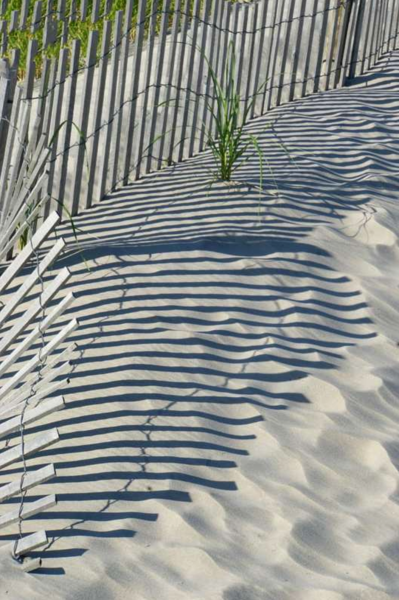
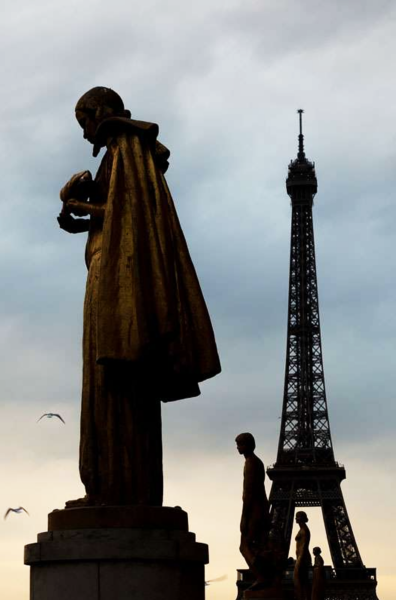
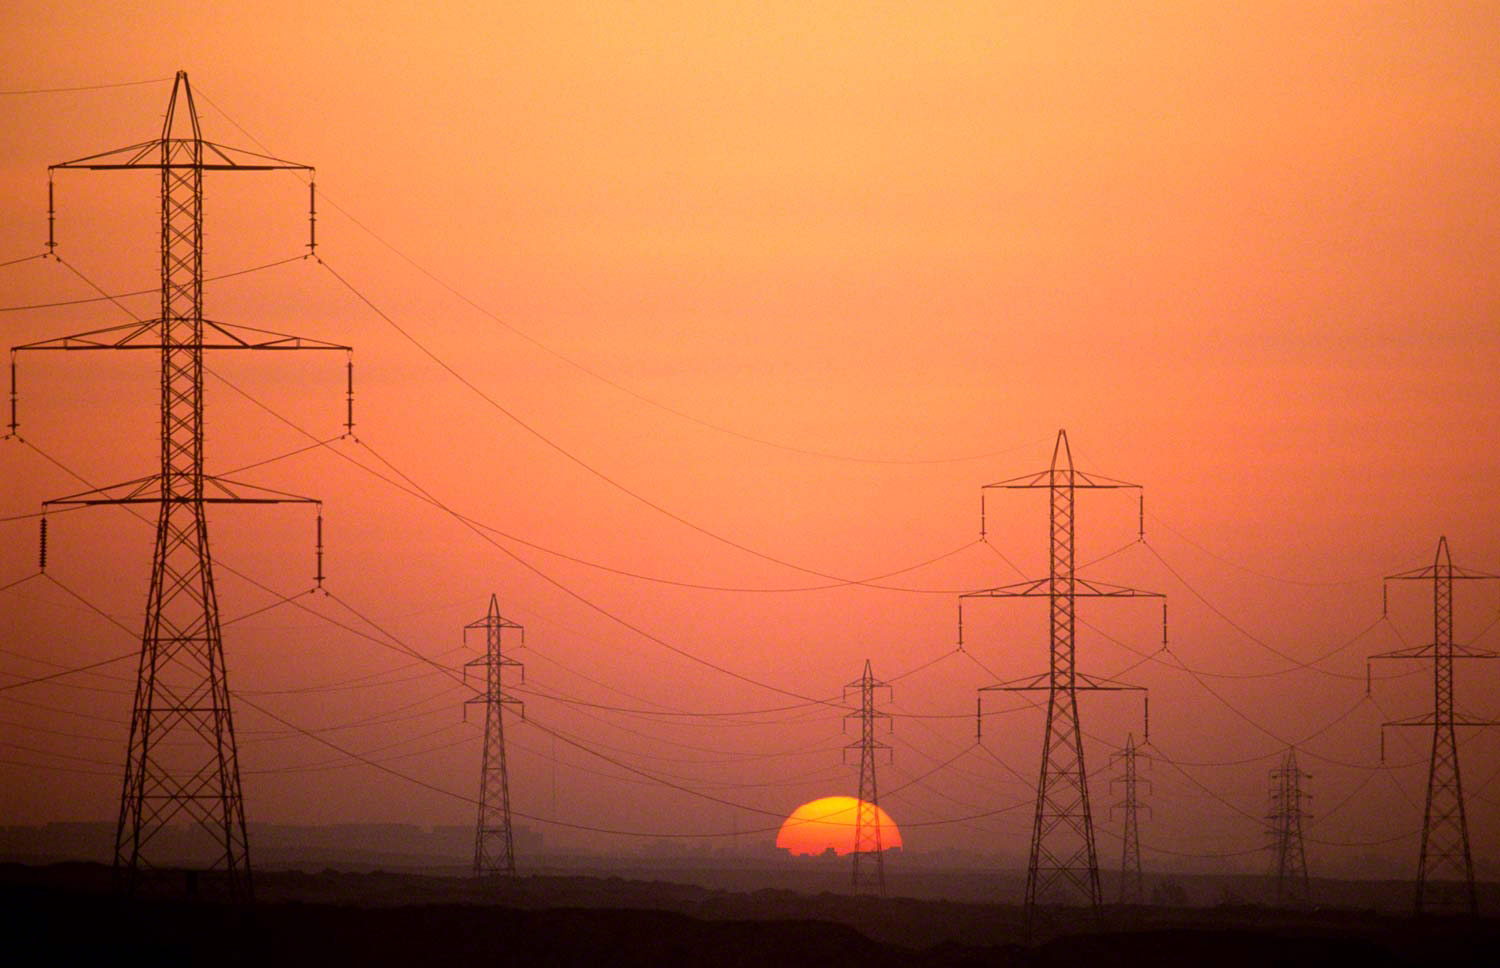
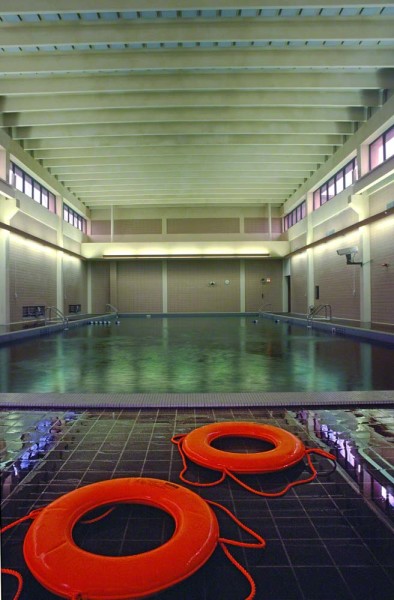
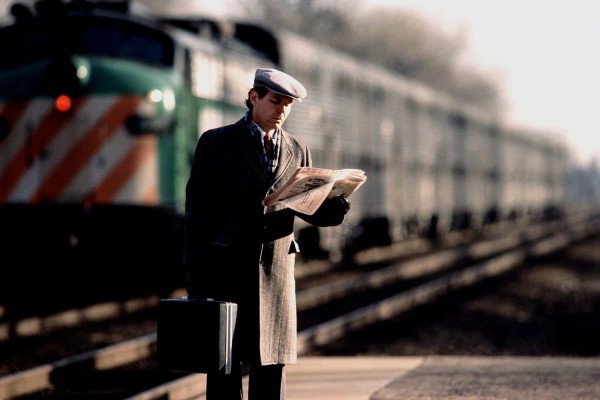
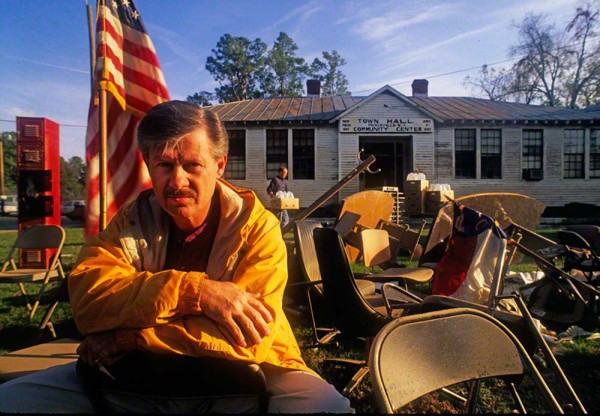
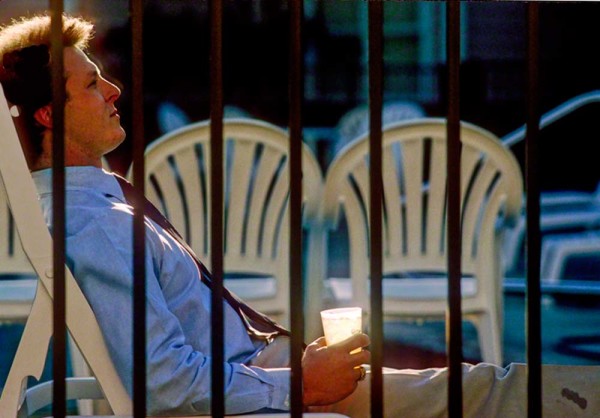
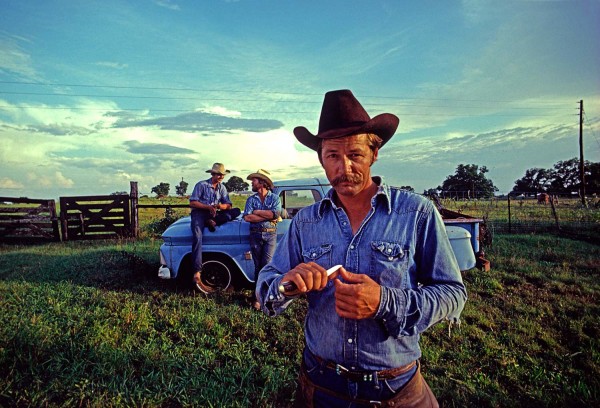
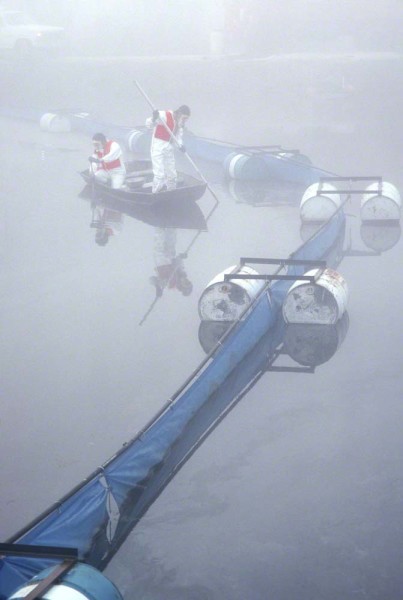
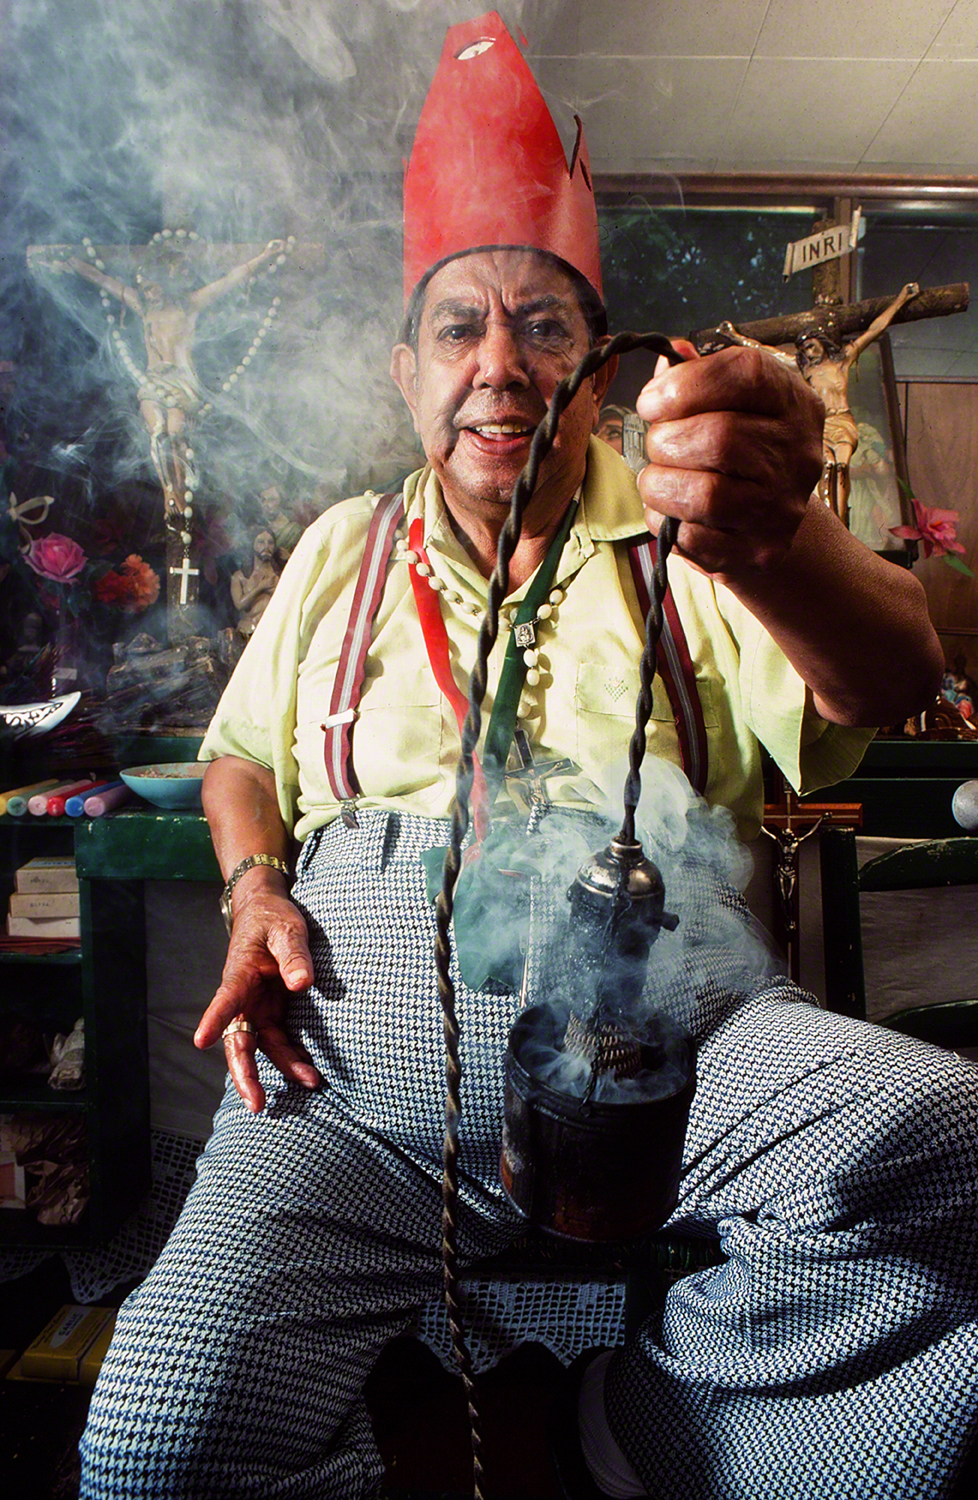
“Consider the scene and its outcome” has been a phrase I’ve been telling my students since the eighties when I first started teaching workshops. Make sure your photo passes the too esoteric muster. If you want to convey loneliness, keep what you put in your frame to a minimum…one person, one house, etc; not a crowd somewhere off in the background or an entire neighborhood. If you want to convey mystery and add drama, don’t shoot in the middle of the day. Shoot either early or late when the long shadows and contrast can help out. Above all, always make sure you consider “The Whole Enchilada“.
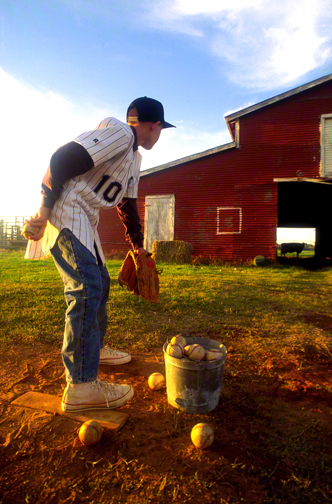
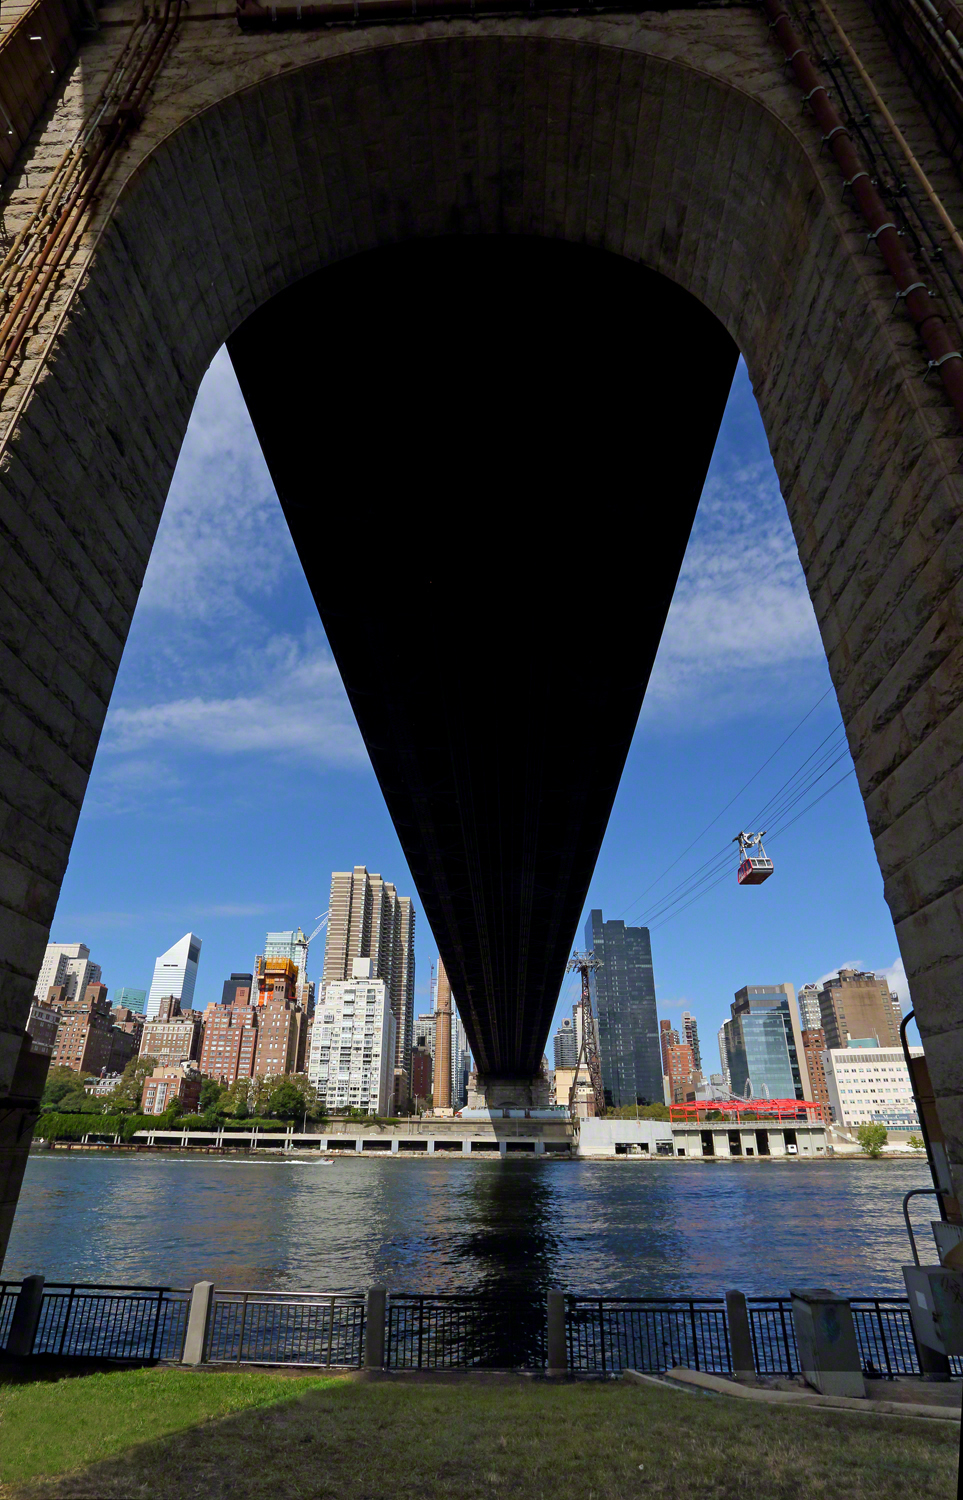
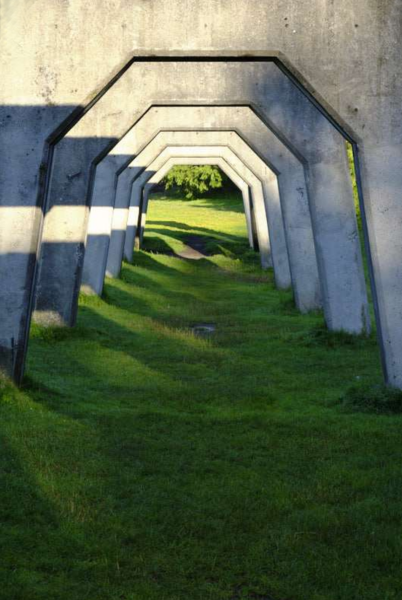
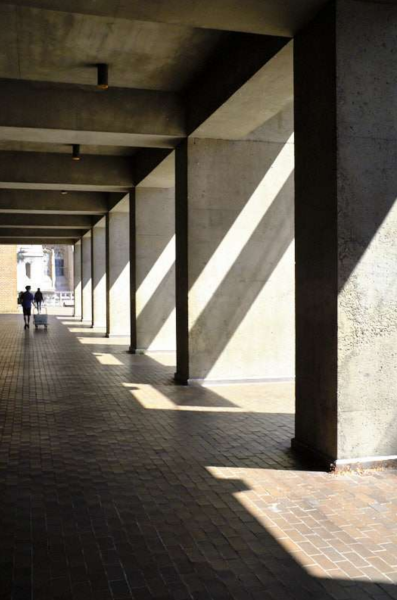
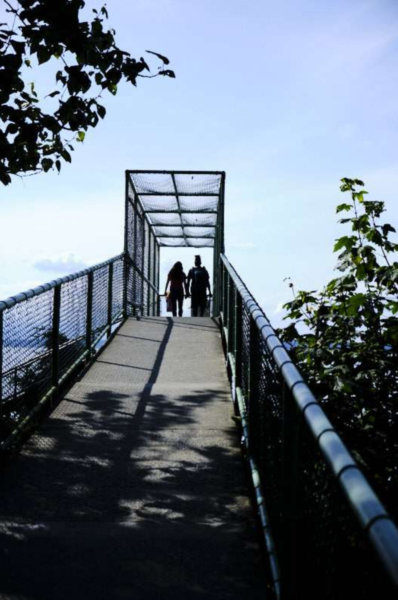
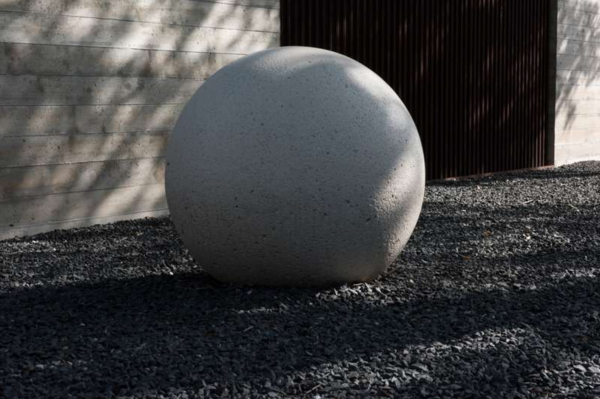
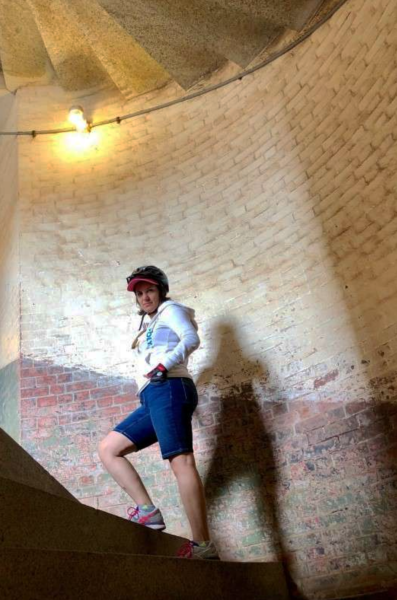
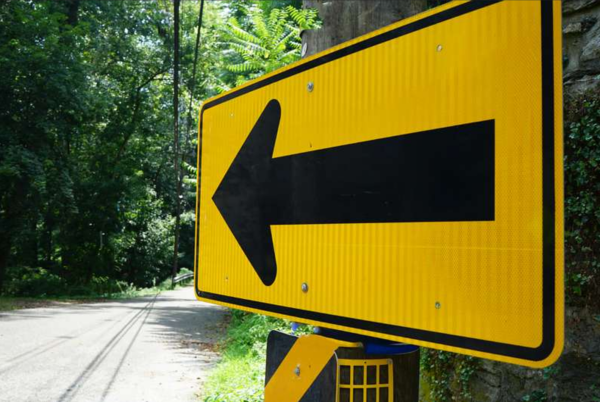
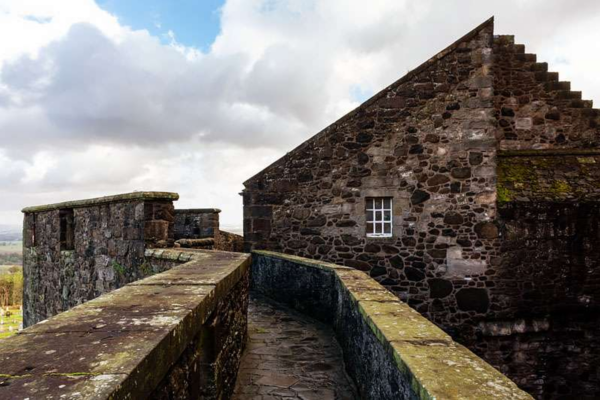
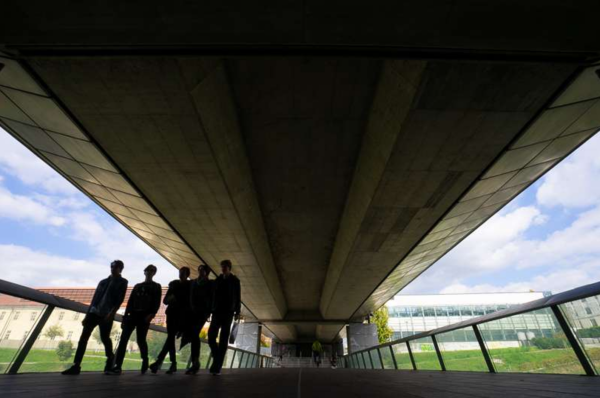
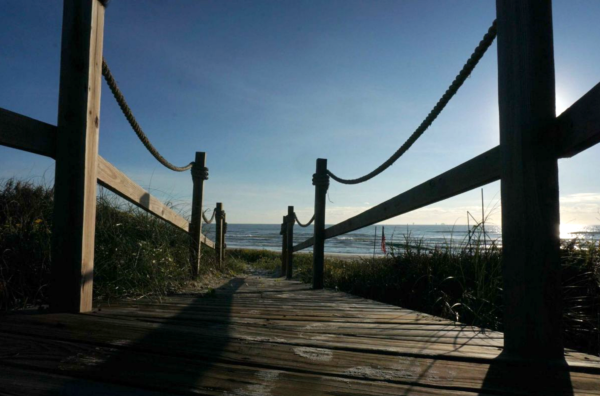
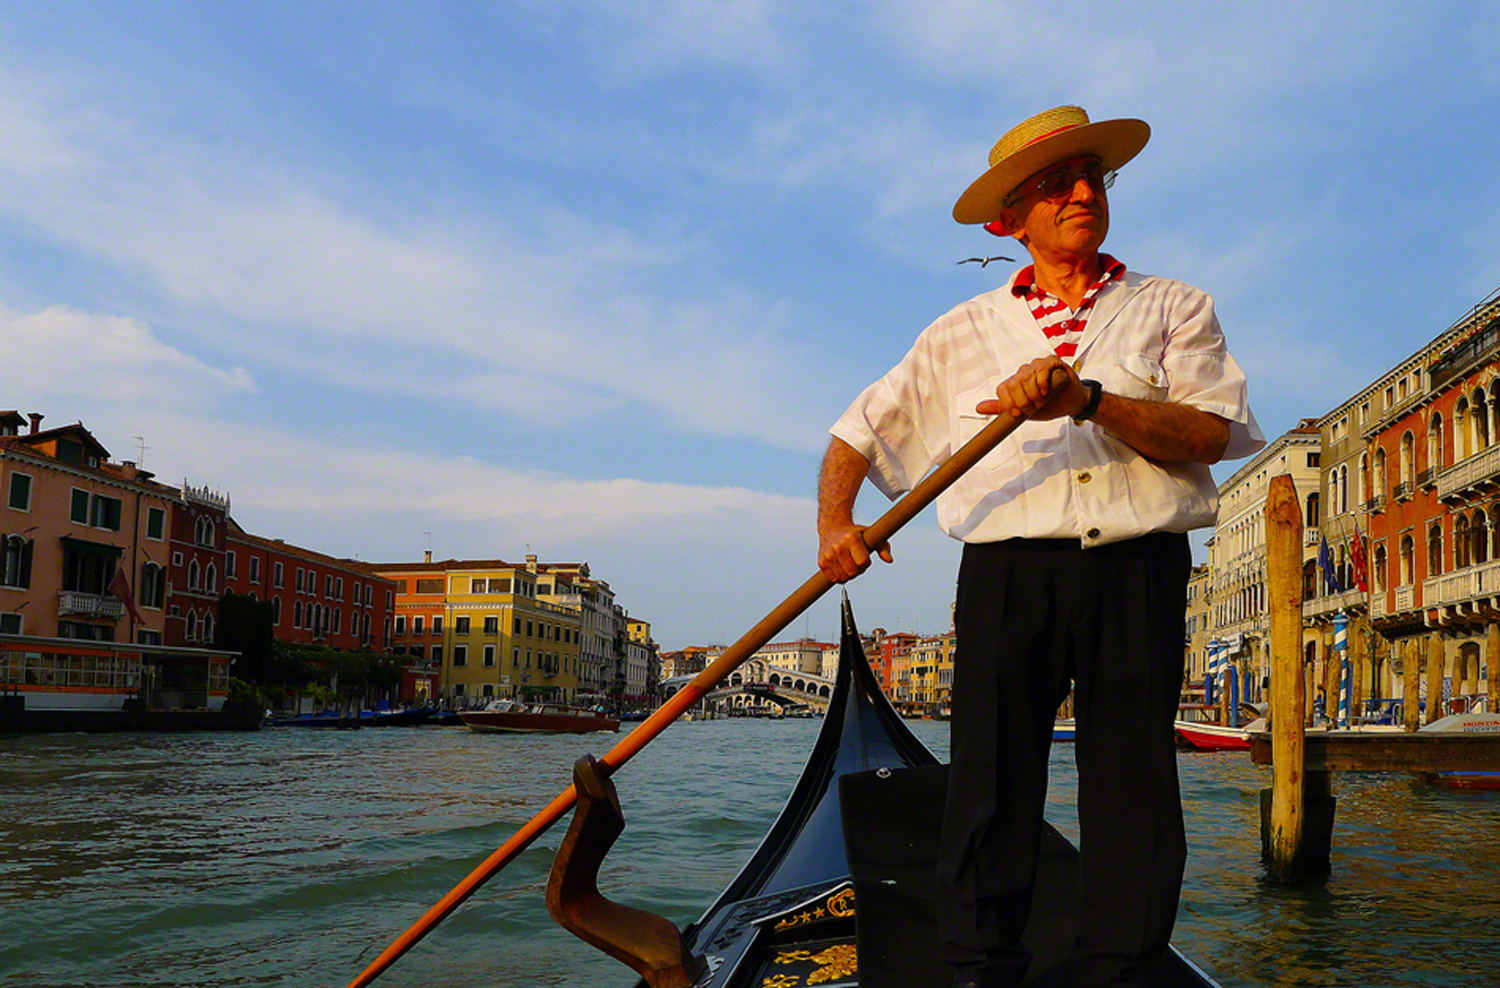
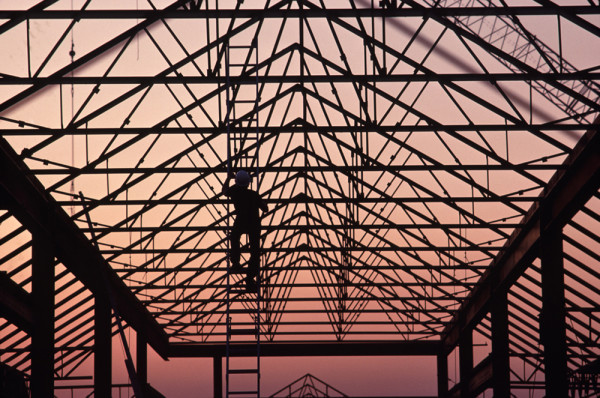
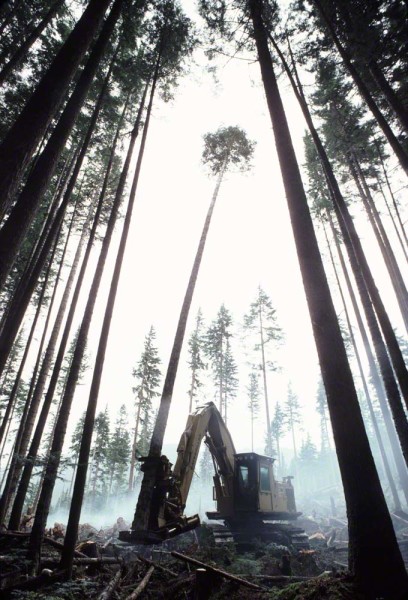
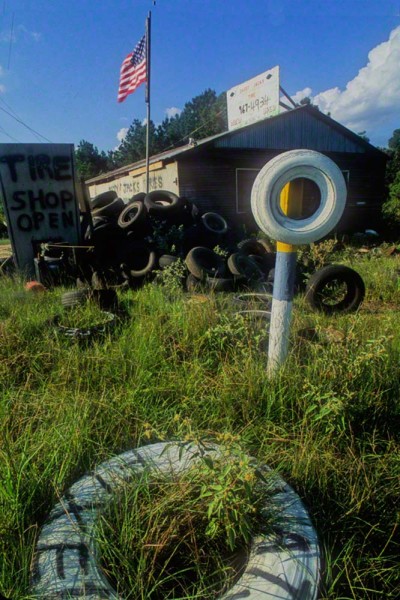
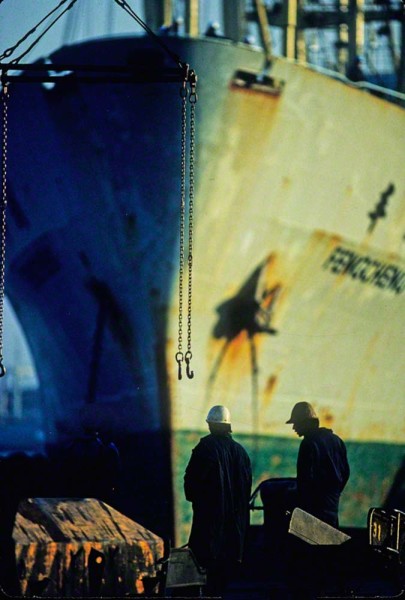
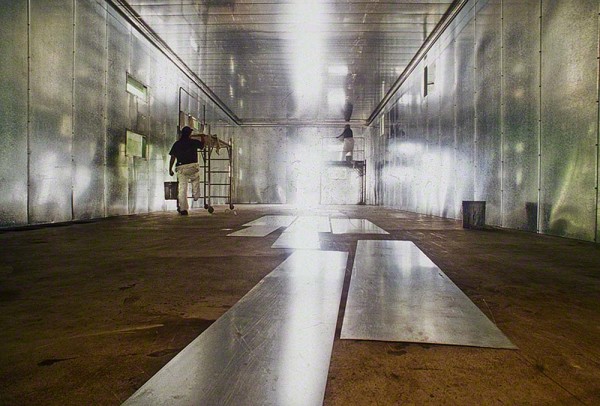
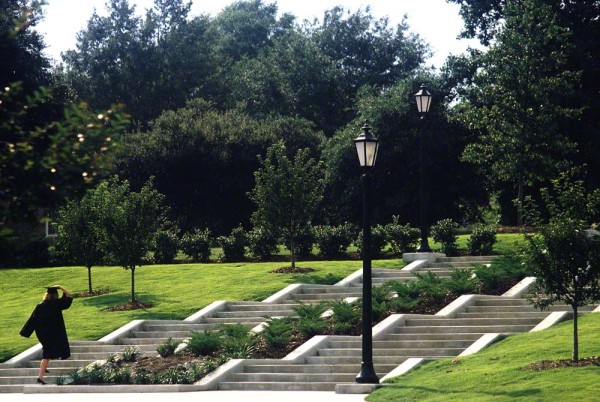
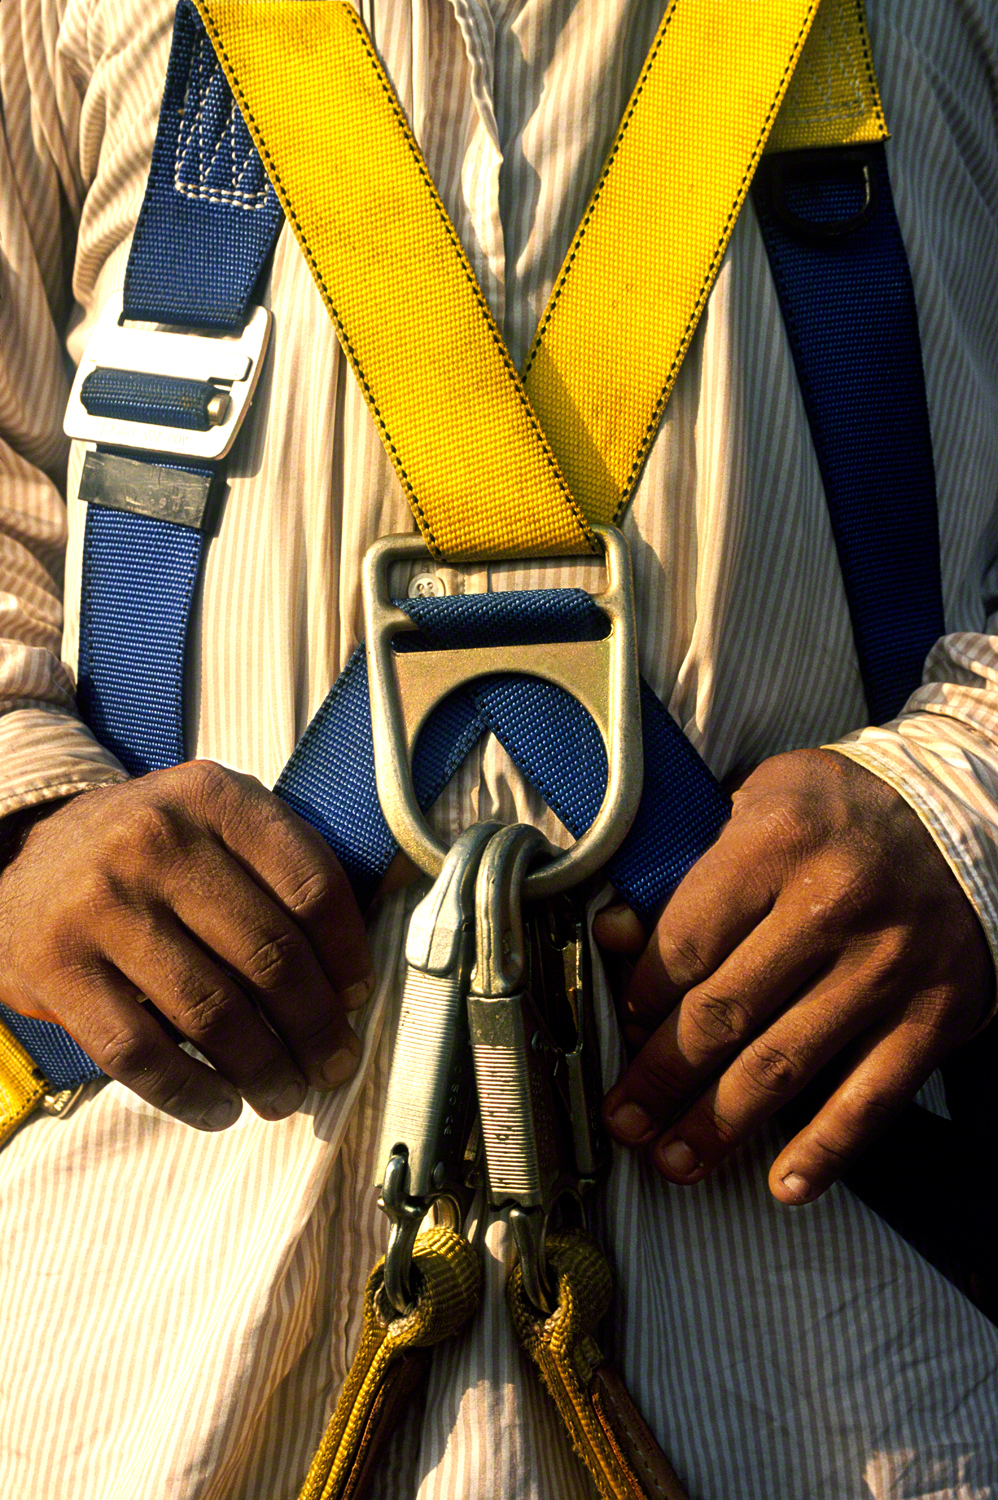
If you want to show how vast the area in your viewfinder is, or how large a building is, then put something in the frame that will show the scale. Something that the viewer will recognize and know its actual size.
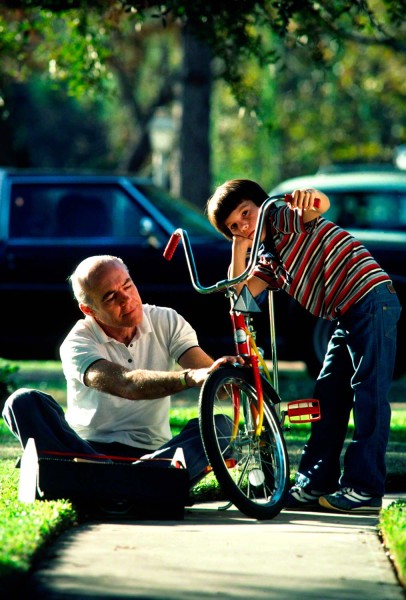
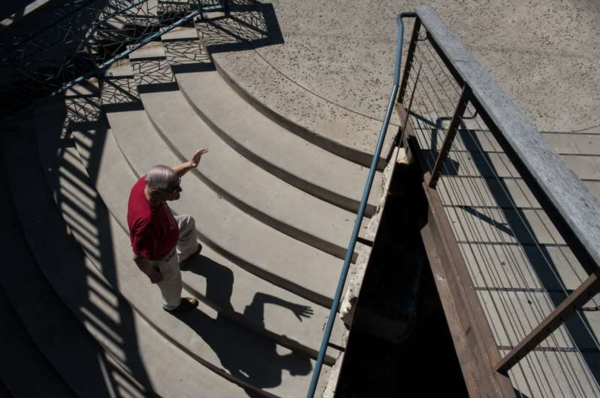
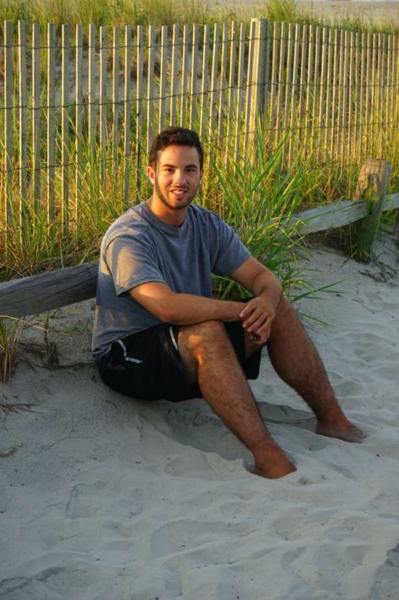
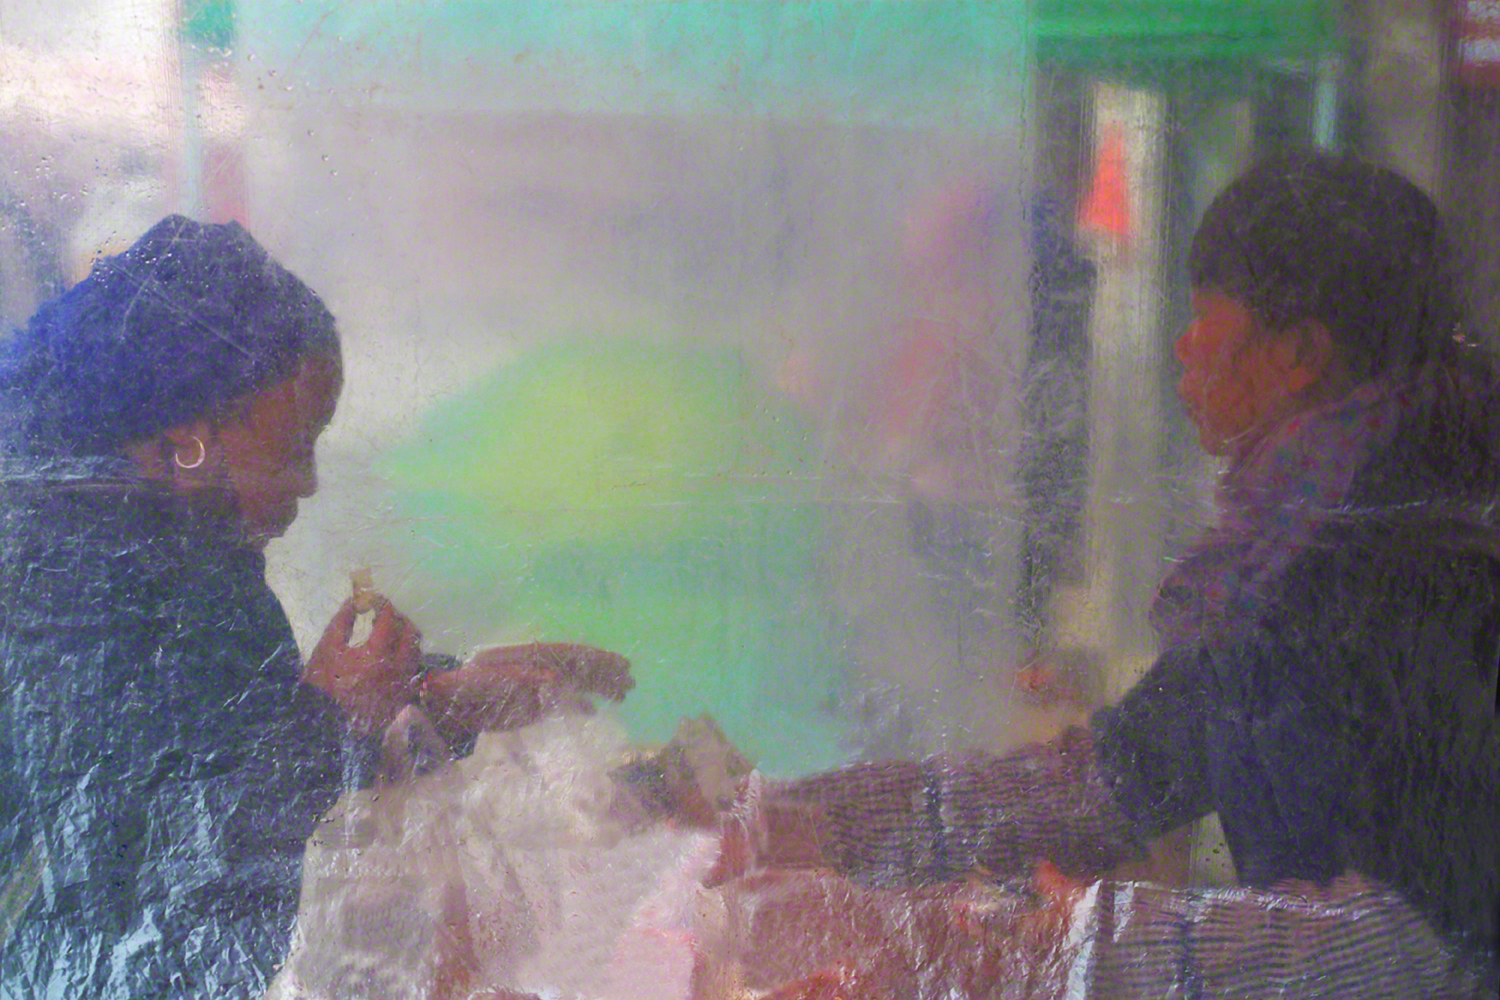
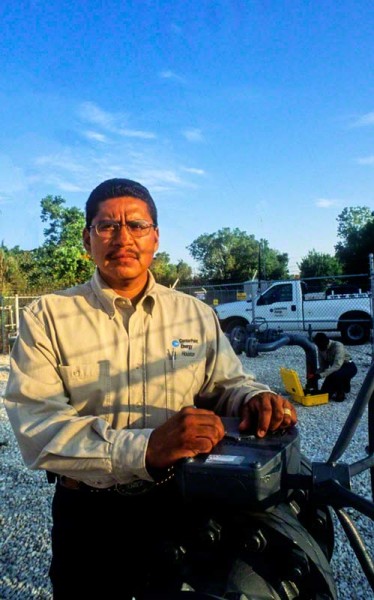
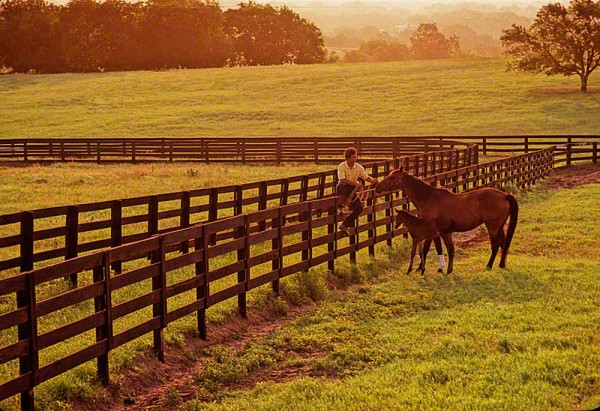
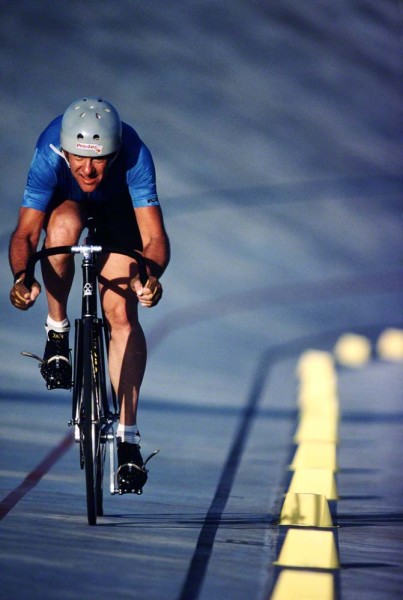
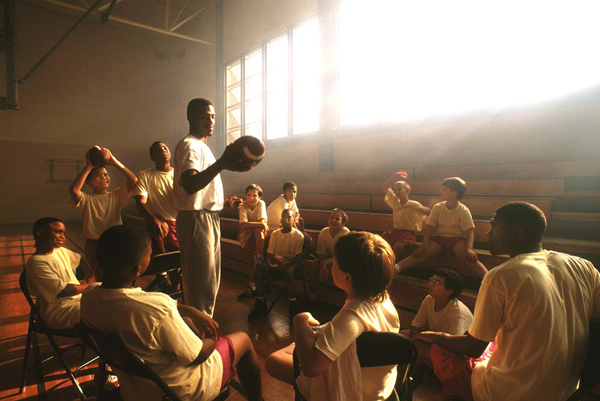
In the above photo, the message Toyota, my client, wanted to get across in this full page ad was their ‘mentoring program’ where several well know athletes would go around to middle and high schools and talk about their occupations, and what it takes to achieve their goals.
Visit my brand new website at: www.joebaraban .com, and check out my 2019-2020 workshop schedule. Come shoot with me sometime.
JoeB