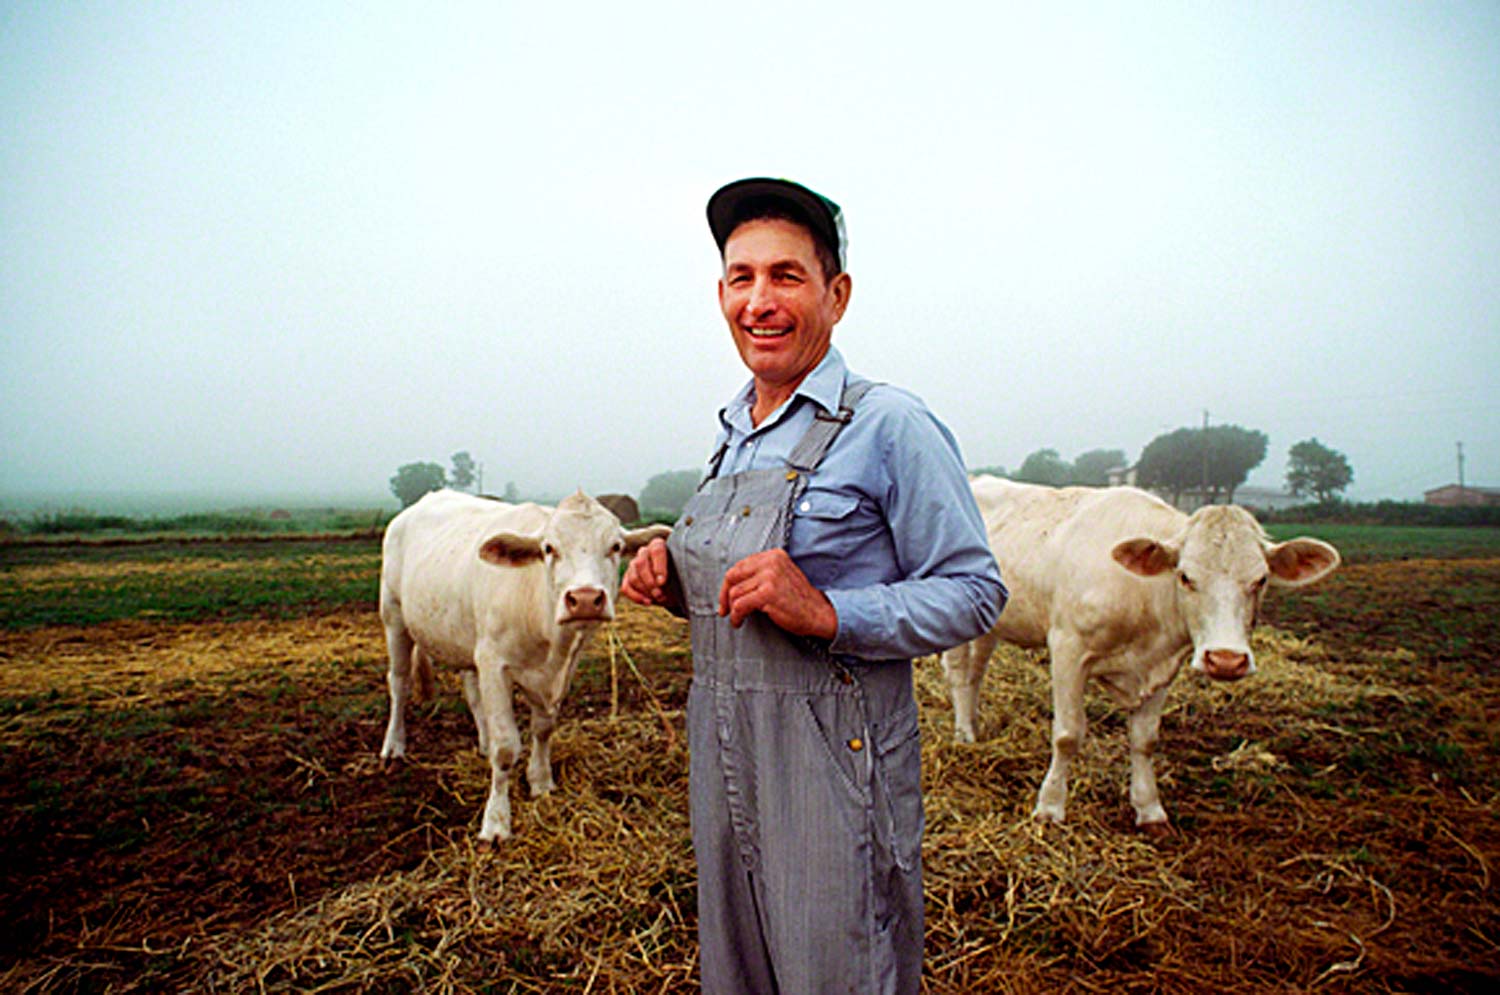
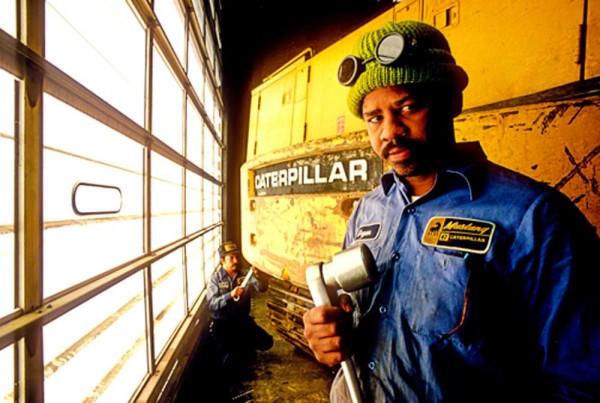
 As I tell my online students with the BPSOP and in my “Stretching Your Frame of Mind” workshops I conduct around the planet, there was actually a time when you had to create your pictures in the camera. During that period of time which goes back before most of the new age digital photographers were crawling around looking for our pacifier, Kodachrome was the film of choice.
I shot Kodachrome 25, and when I needed high-speed film I switched to Kodachrome 64. Not only was the word Adobe linked to a type of house in the Southwest, but you had to wait until your film came back from the lab before you could breathe again.
What that did for photographers like myself was to make us rely solely on our own wits and knowledge of the camera.
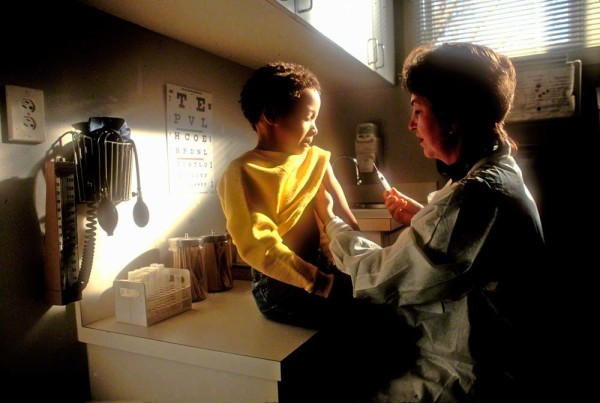
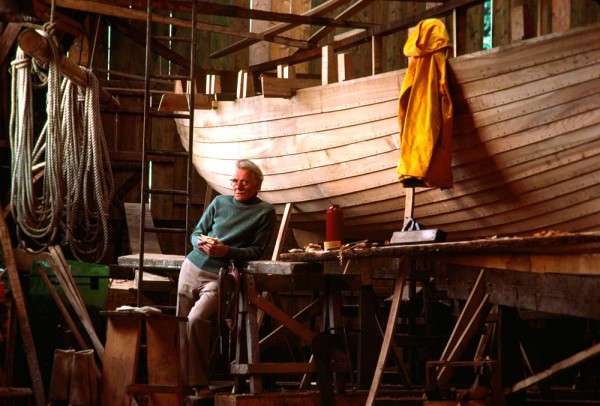
We had to know that 1/250th of a second at F/4 was the same exposure as 1/125th of a second at F/5.6, and 1/60th of a second at F/8. We also had to know that the depth of field would change according to the aperture.
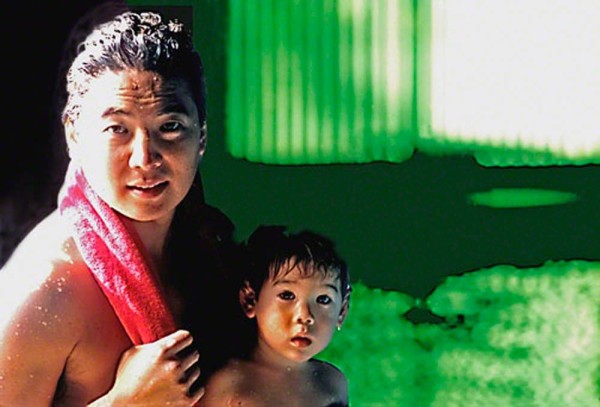
Don’t get me wrong, I love CS5, and especially the content-aware tool!!! Now, if I can’t move to the right or the left to remove a telephone pole growing out of someone’s head, I use that tool as part of my thought process; however, I would rather embrace the challenge of creating my photographs in the camera.
For me, the reward is knowing that I’m a good photographer that can solve problems and not a computer artist or digital technician that relies on a machine to fix something I could have taken care of at the point of conception…that is at the point that my camera and I created/made a picture together.
🙂
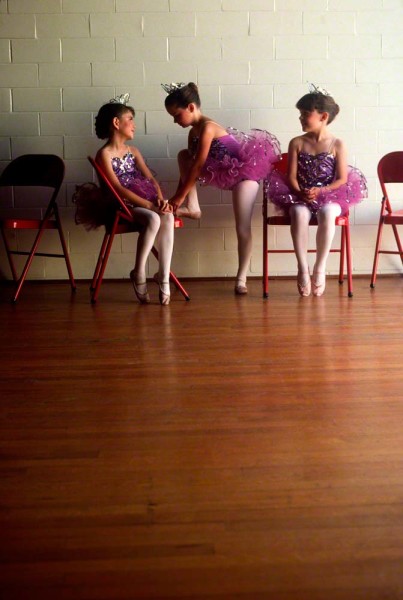
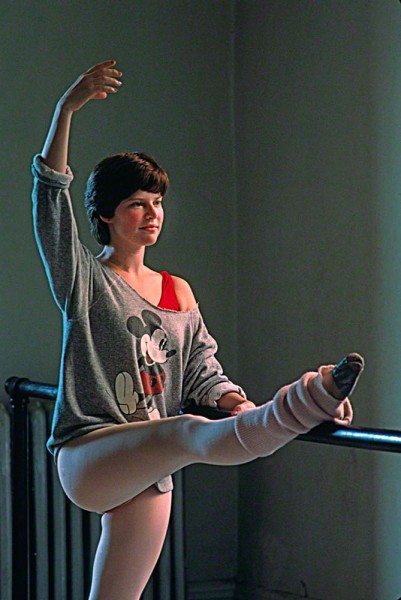
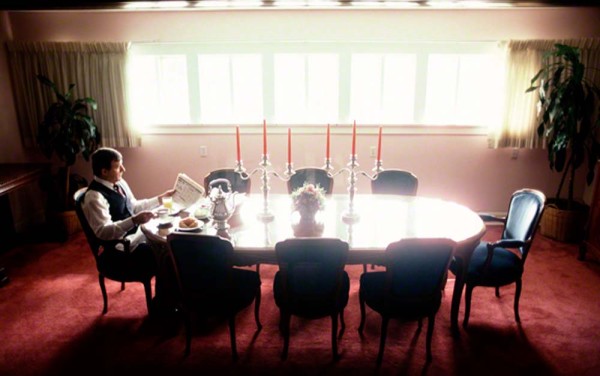
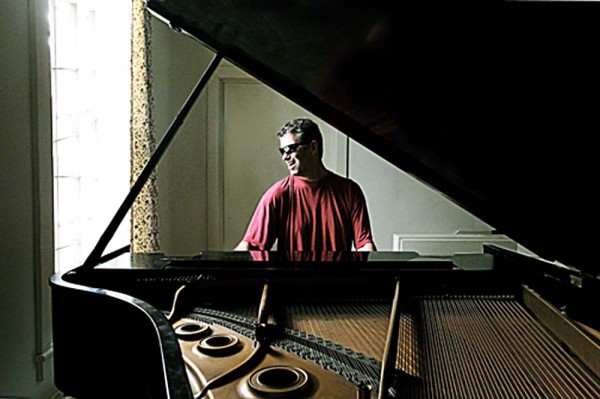
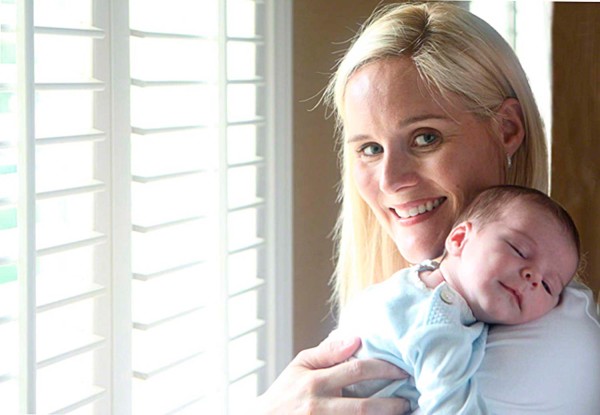
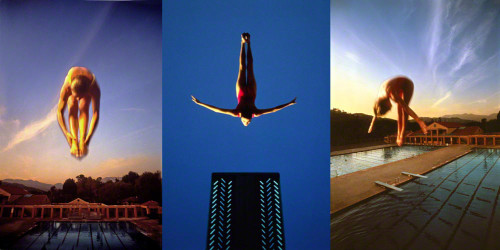
The three pictures above were a part of a campaign for Microsoft. The campaign was about being the best you can, and excelling in whatever endeavor you choose. The art director wanted something in the field of sports to make their point so I made a list I thought would make the best visuals.
I had diving in the back of my mind and had already started to pre-visualize how the photos would look. The agency and client liked my idea so we started scouting locations where there was an Olympic pool.
The direction of the light was critical to my idea so after looking at several pools across the country, I decided on the pool in Pasadena, California; just down the street where the Rose Bowl is played.
Ok, I had the right pool, so now it was time to secure some divers. As usual, when I’m shooting sports of any kind I want the best people out there.
The visual part of the sport is important, as in the form, so I want the people that can do just that. I had my producer talk to the swimming clubs and organizations to get a list of names. We were in luck!!!
There were several young women that were trying out for the US Olympic team that lived in the area. I thought you couldn’t do better than that since their form would be perfect.
We paid three young teenage girls to come dive for me at sunset. I used three because one would get too tired climbing up to the top platform. I had each one doing their best dive for me one right after the other for the few minutes of time I had to be in the best light.
The swan dive was the easiest since I shot her with just the available light against a blue sky. With the other two, I waited until the sun went down behind a large hill so all I had was the sky behind them.
I lit these with a small softbox I had set up on the top platform next to me. I waited until the sky behind the girls read the same as the light from the electronic flash and used what was called a synch delay so the flash would go off at the end of the exposure instead of the beginning. This created a slight movement.
I edited the selects down to these three and sent them to the art director to pick one for the ad. They wound up using the shot with the girl in a swan dive and as I said, there’s absolutely no post-processing of any kind in either of these three photos.
Visit my website at www.joebaraban.com, and follow me on Instagram: www.instagram.com/barabanjoe
JoeB