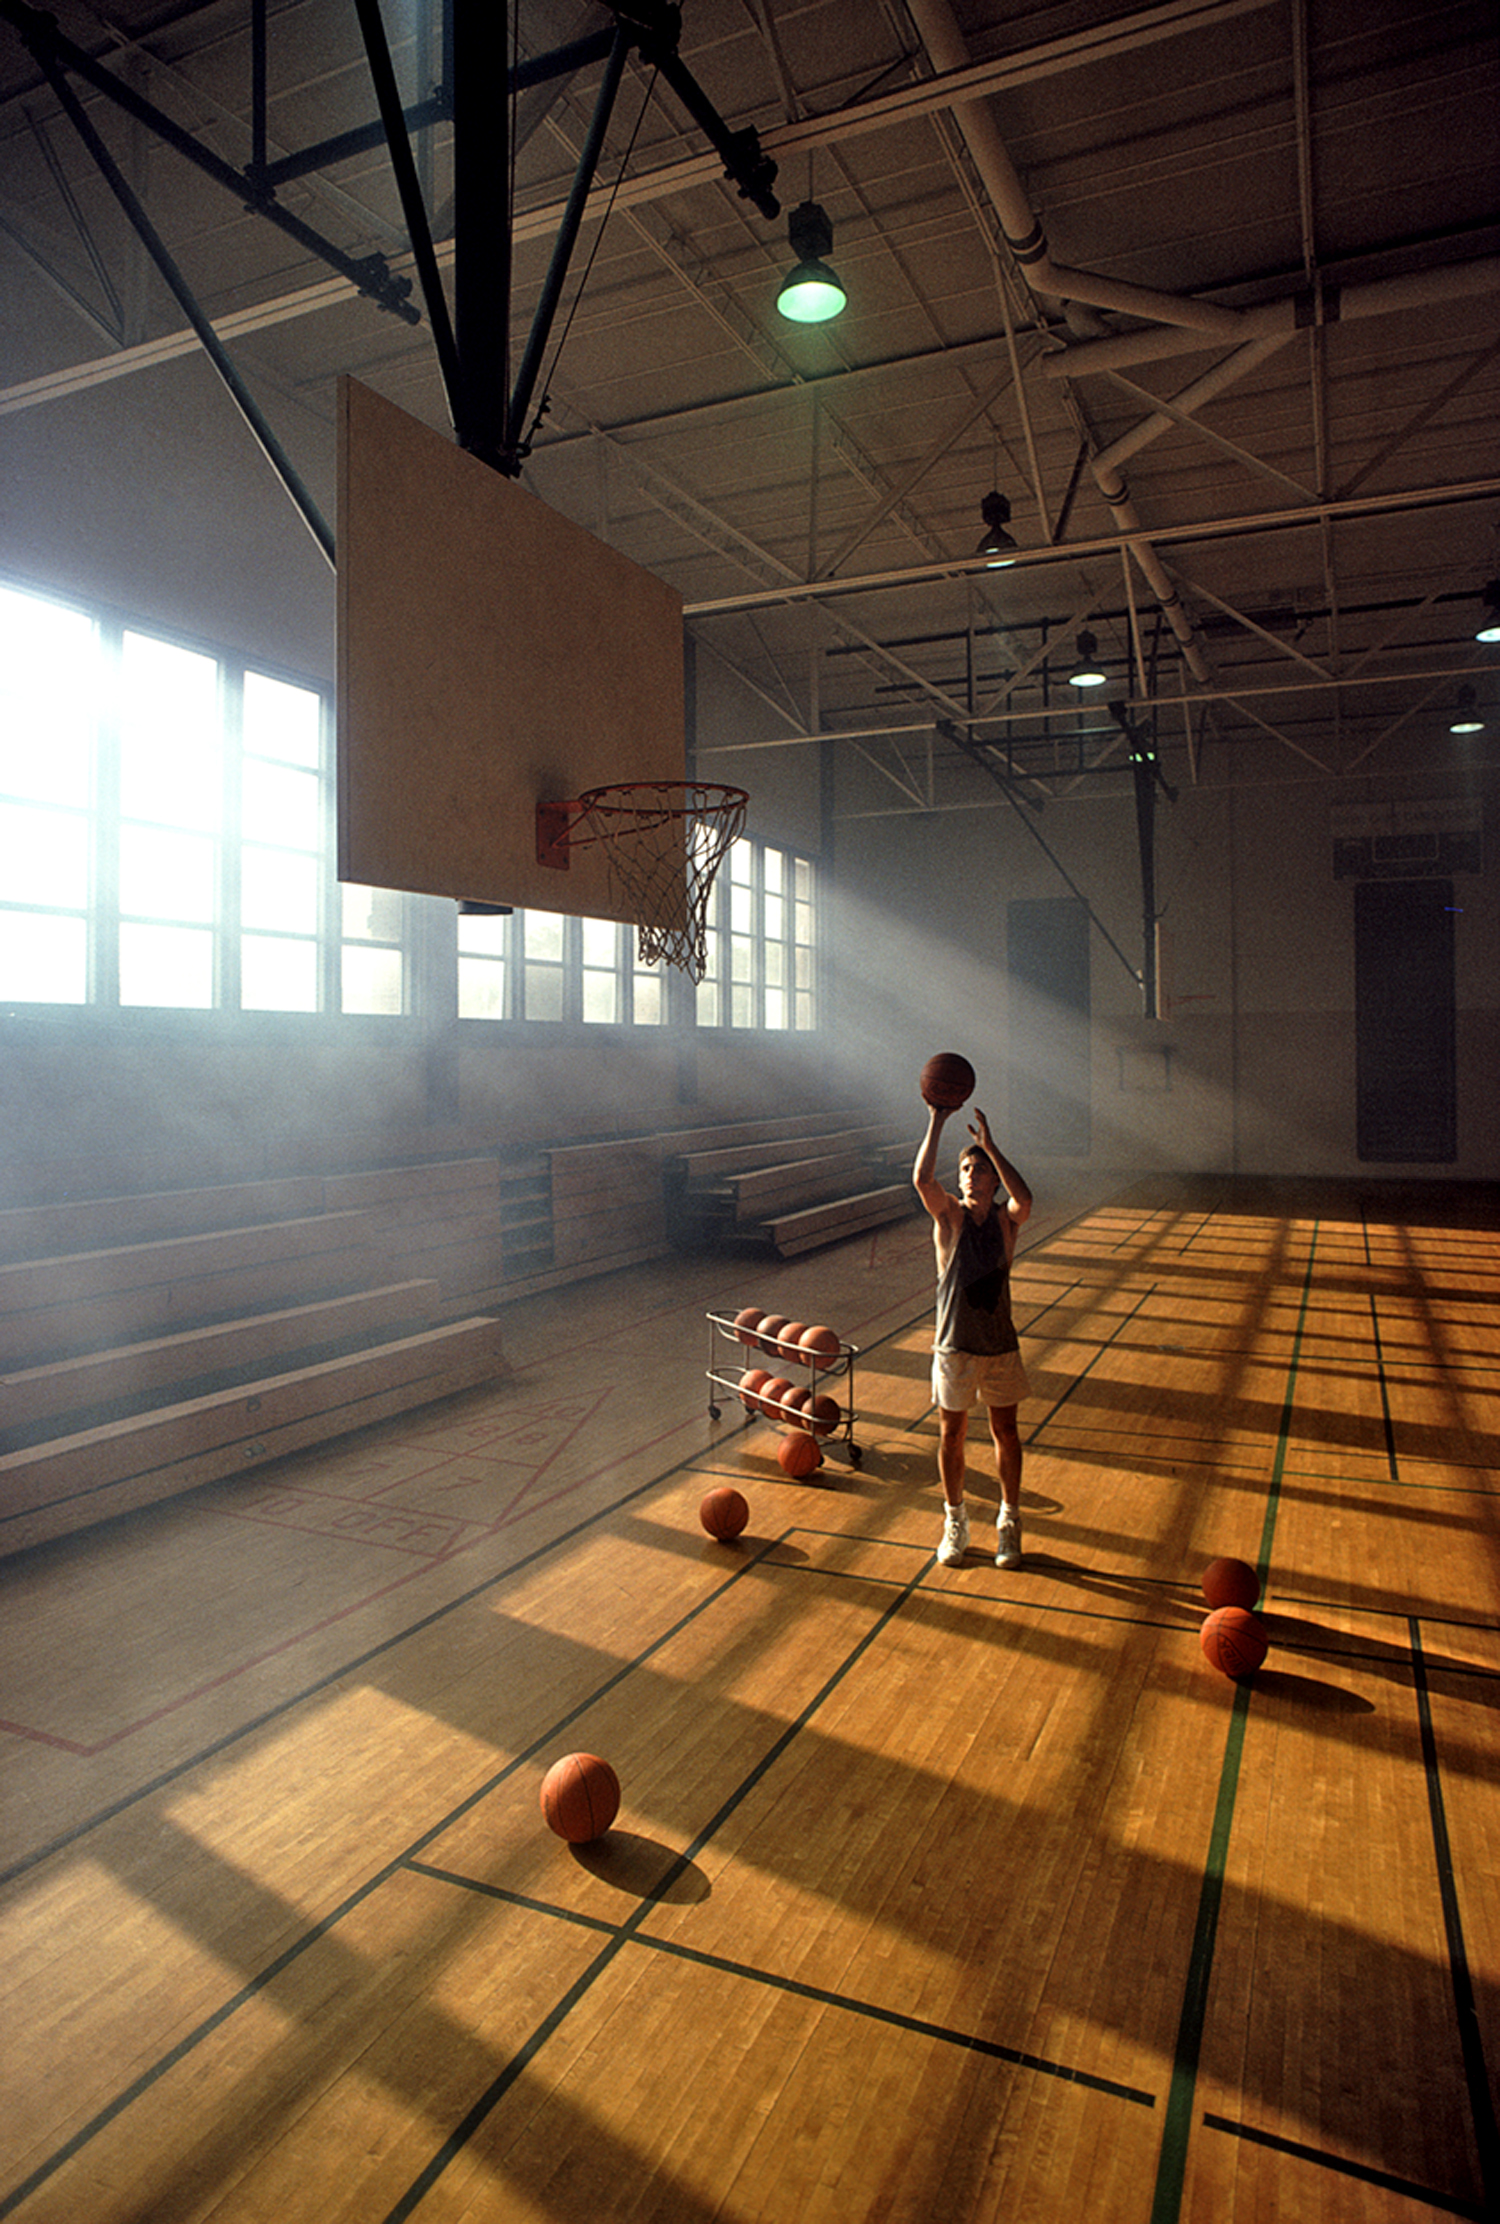
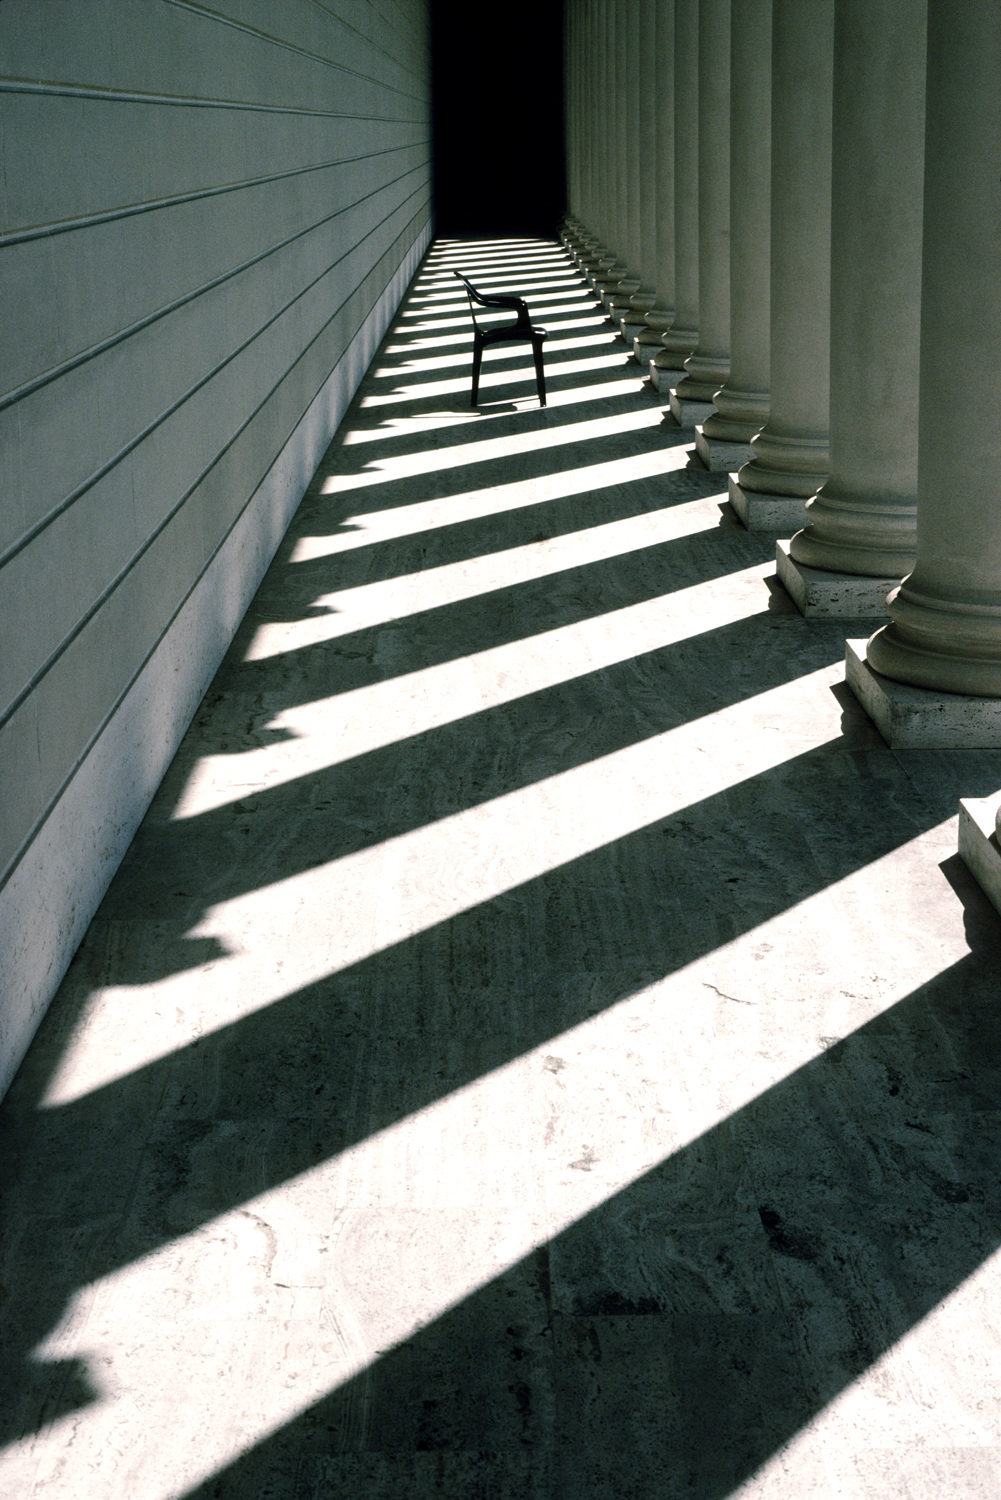
Quick Photo Tip: Shooting Through Things

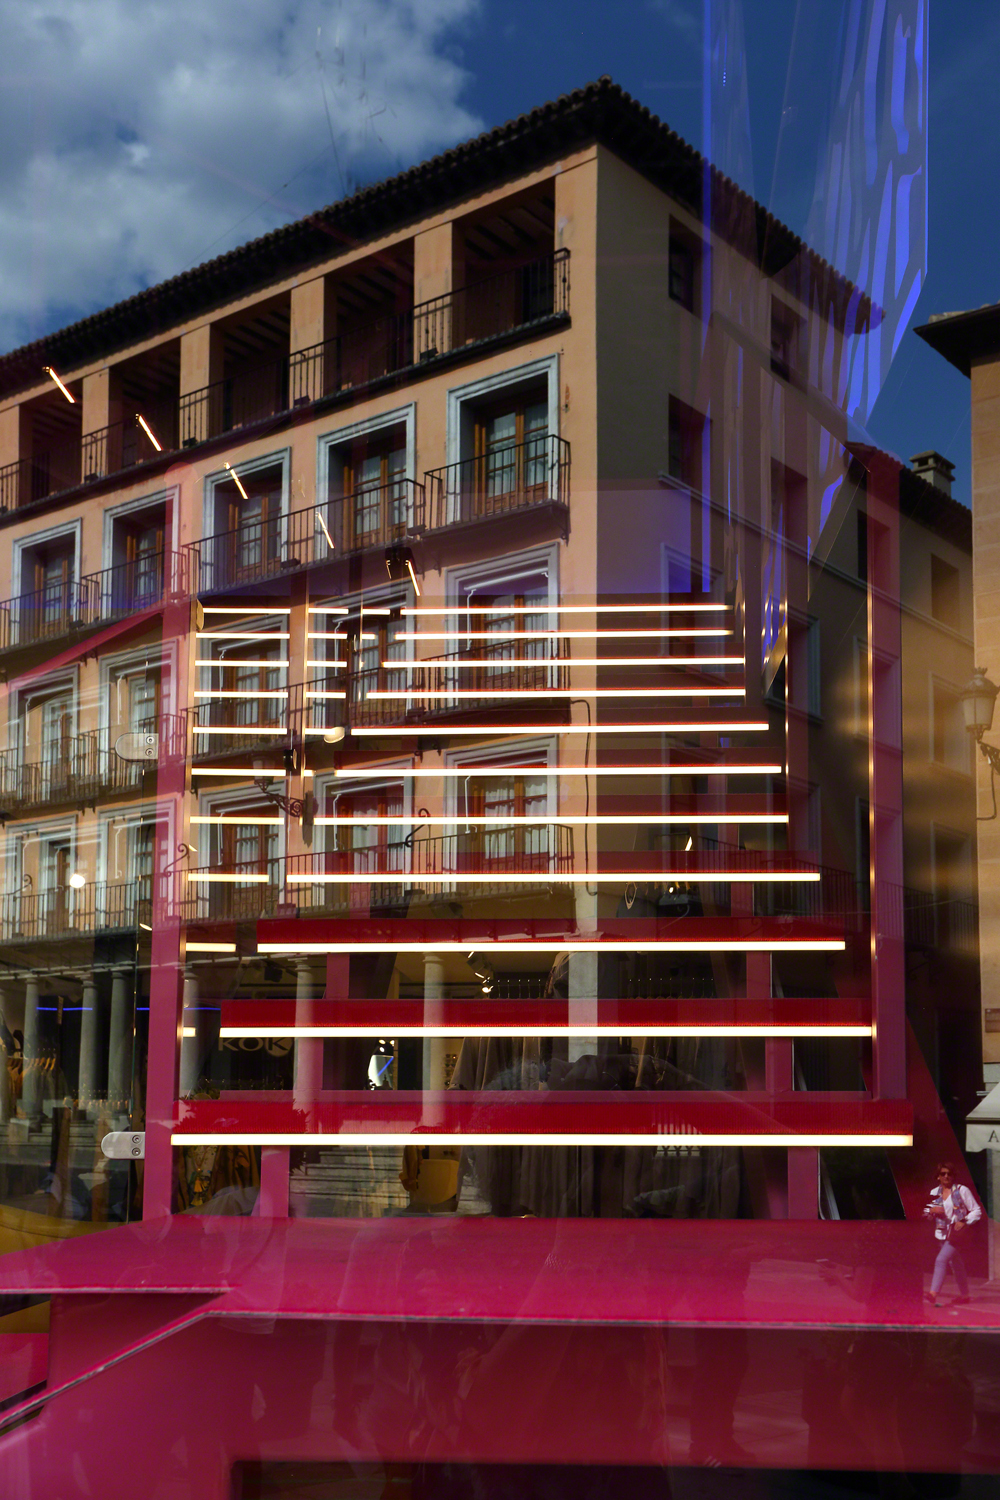
Shooting through the glass

A lot of the inspiration for writing these posts comes from either dicussing a photo a student taking my BPSOP online classes has submitted or from a fellow photographer that has taken one of my “Stretching Your Frame of Mind” workshops I conduct around our planet.

This post comes directly from working with a photographer during my last workshop in Berlin; walking the streets in Pottsdam.

We were walking past a shop that had two doors. One wooden door with small panes of glass that was open wide, and a screen door that was closed and being used as the main door for patrons to enter.

This photographer was about to walk by because the screen door was closed. I stopped him and pointed out the fact that if he was to shoot through the screen and controlled the DOF, he might get something interesting.

It had never occurred to him to try anything like that, mainly because he never considered the screen as being anything but in sharp focus; since that’s the way his eyes were seeing it.

After reminding him that he was there to “stretch his frame of mind”, we set out to try and incorporate the screen into his thought process and add a ‘layer of interest’ to his photo.

I had him compose what he thought was an interesting composition made up of silhouettes, color, and light. Then I had him try different F/stops ranging from the aperture being wide open to closed down to F/22.

Well, I have to tell you that it was an epiphany for him, and wound up being something that he could use all the time; depending on the circumstances.

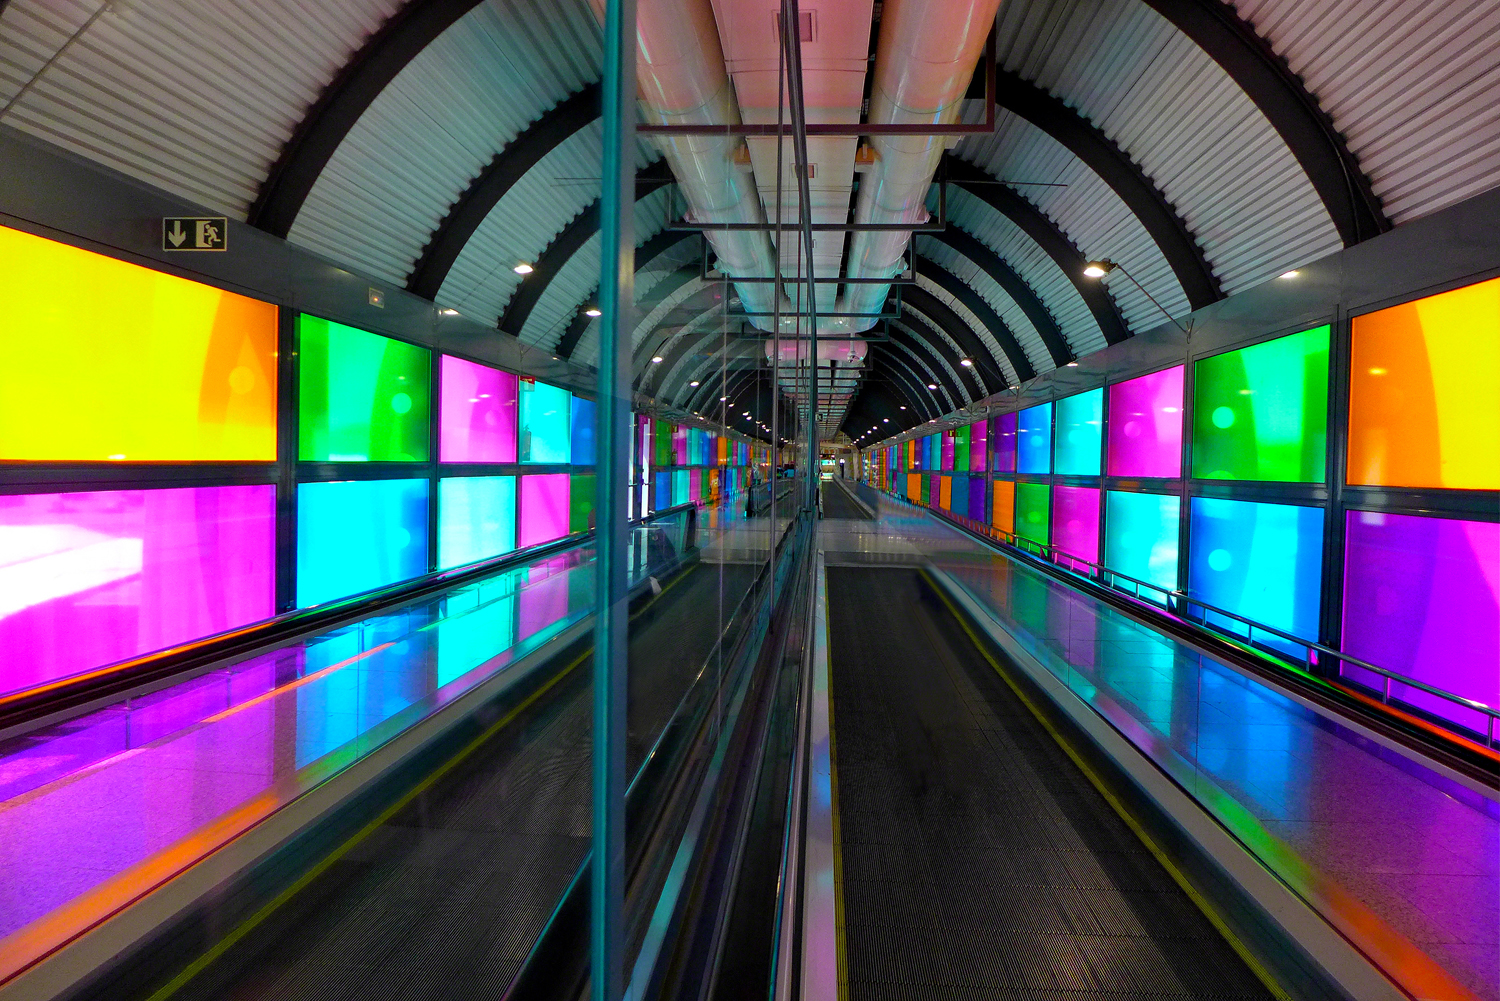
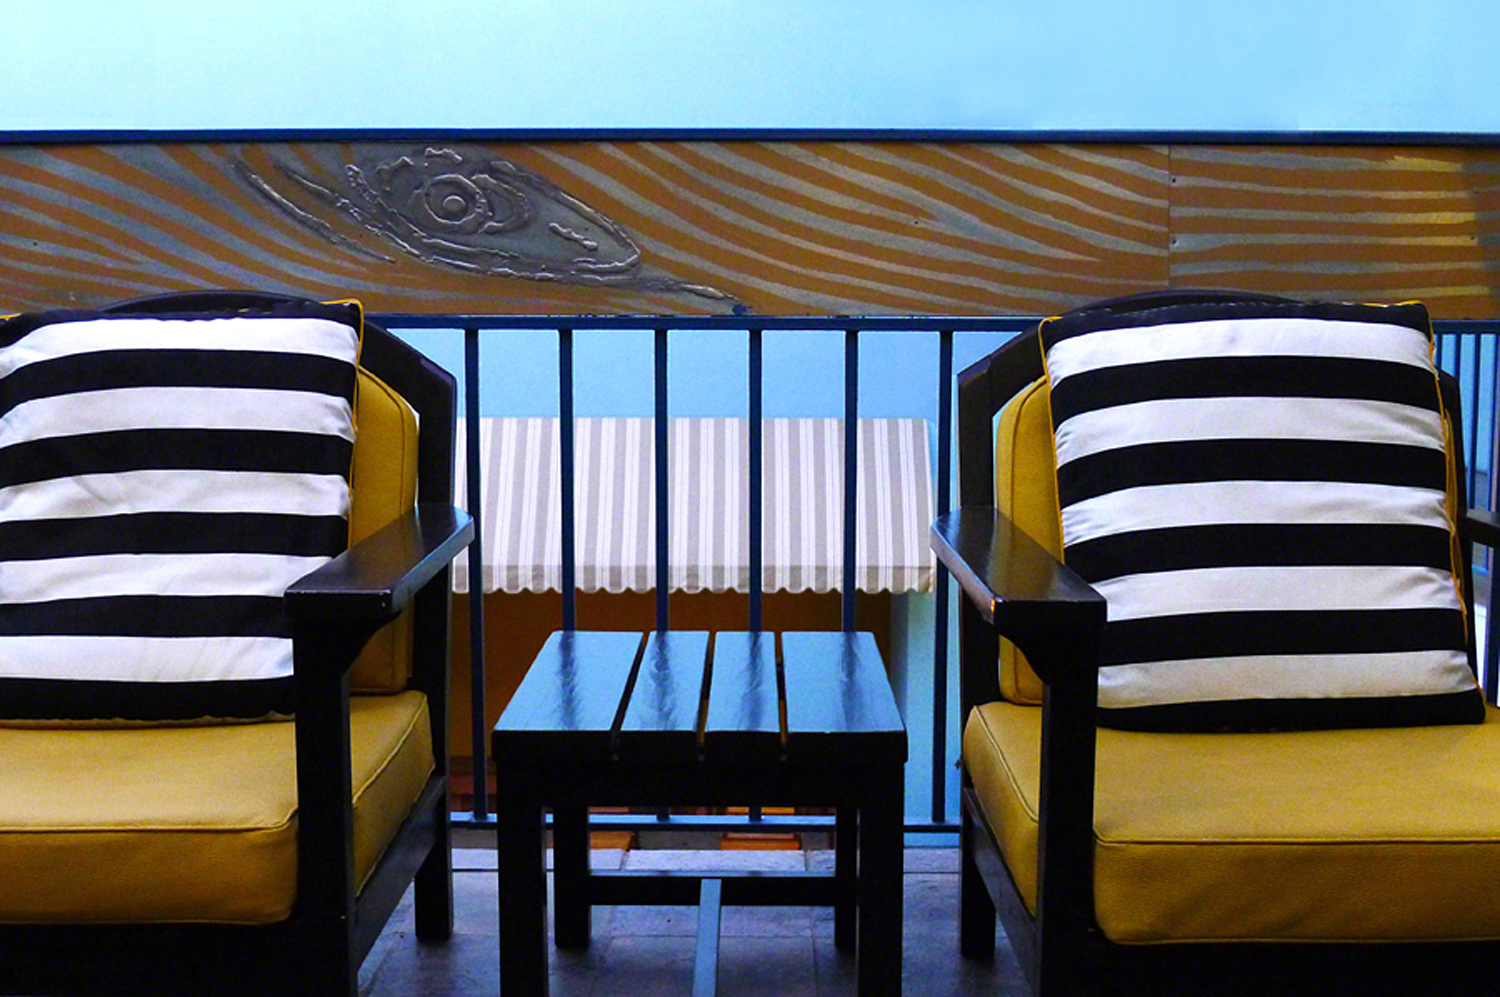
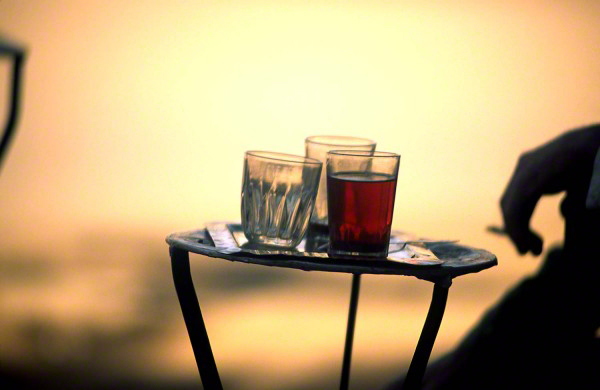
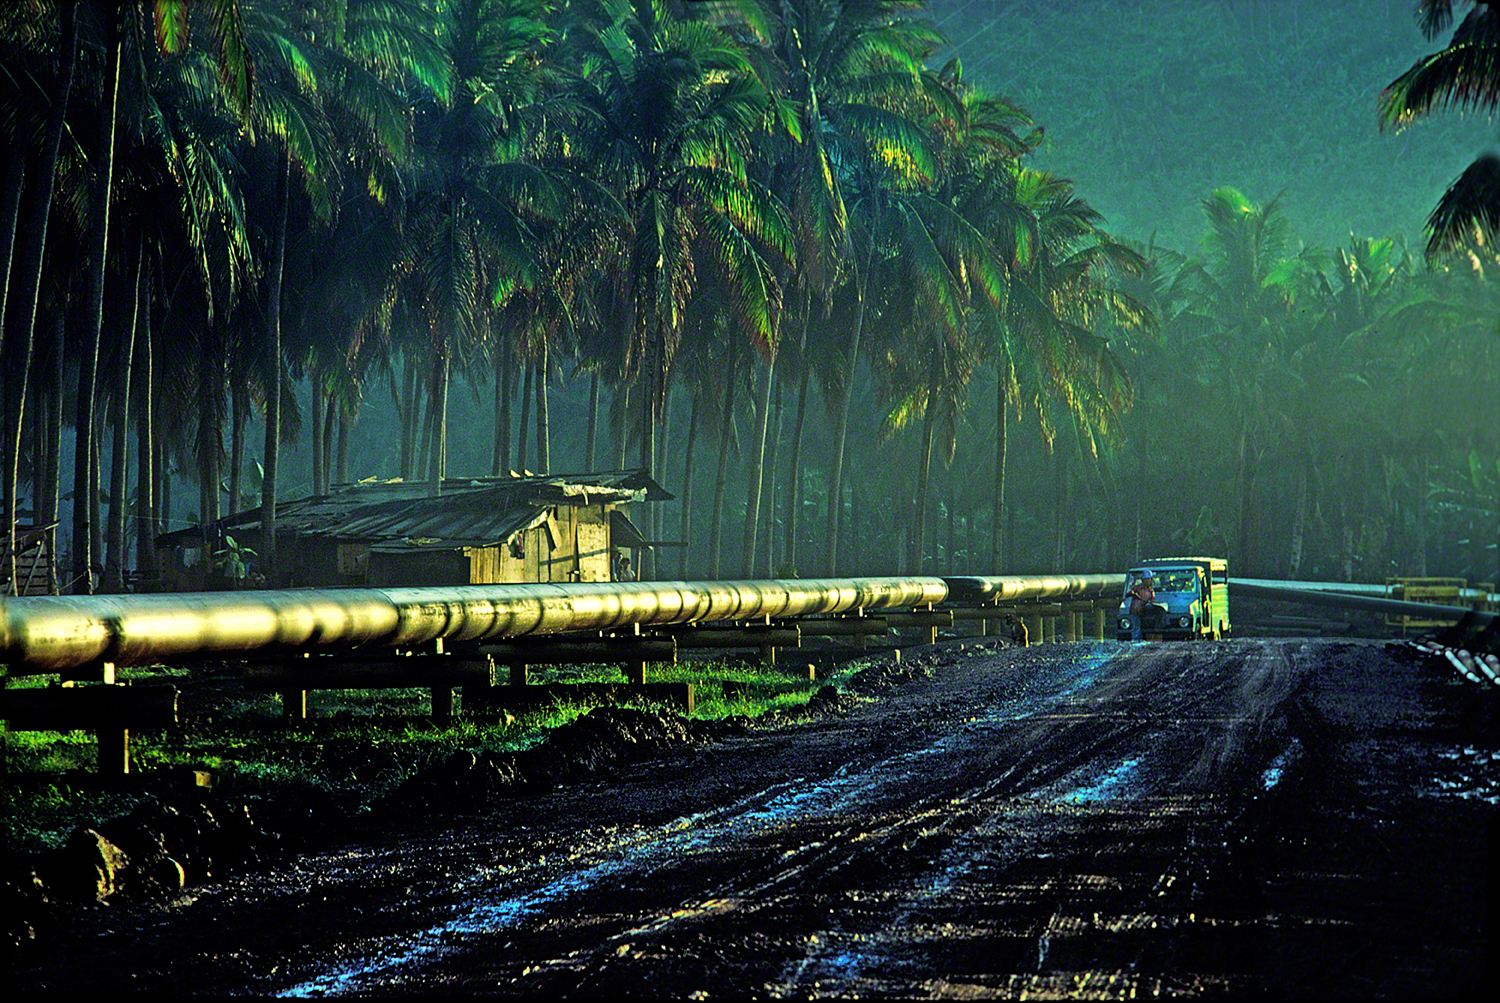
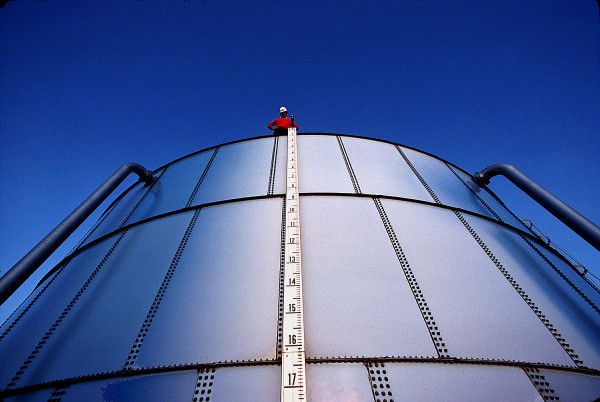
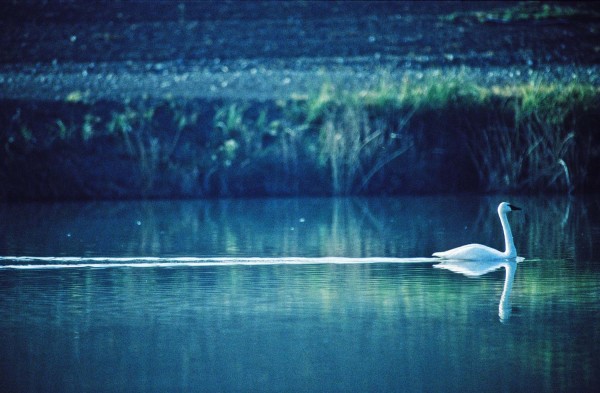
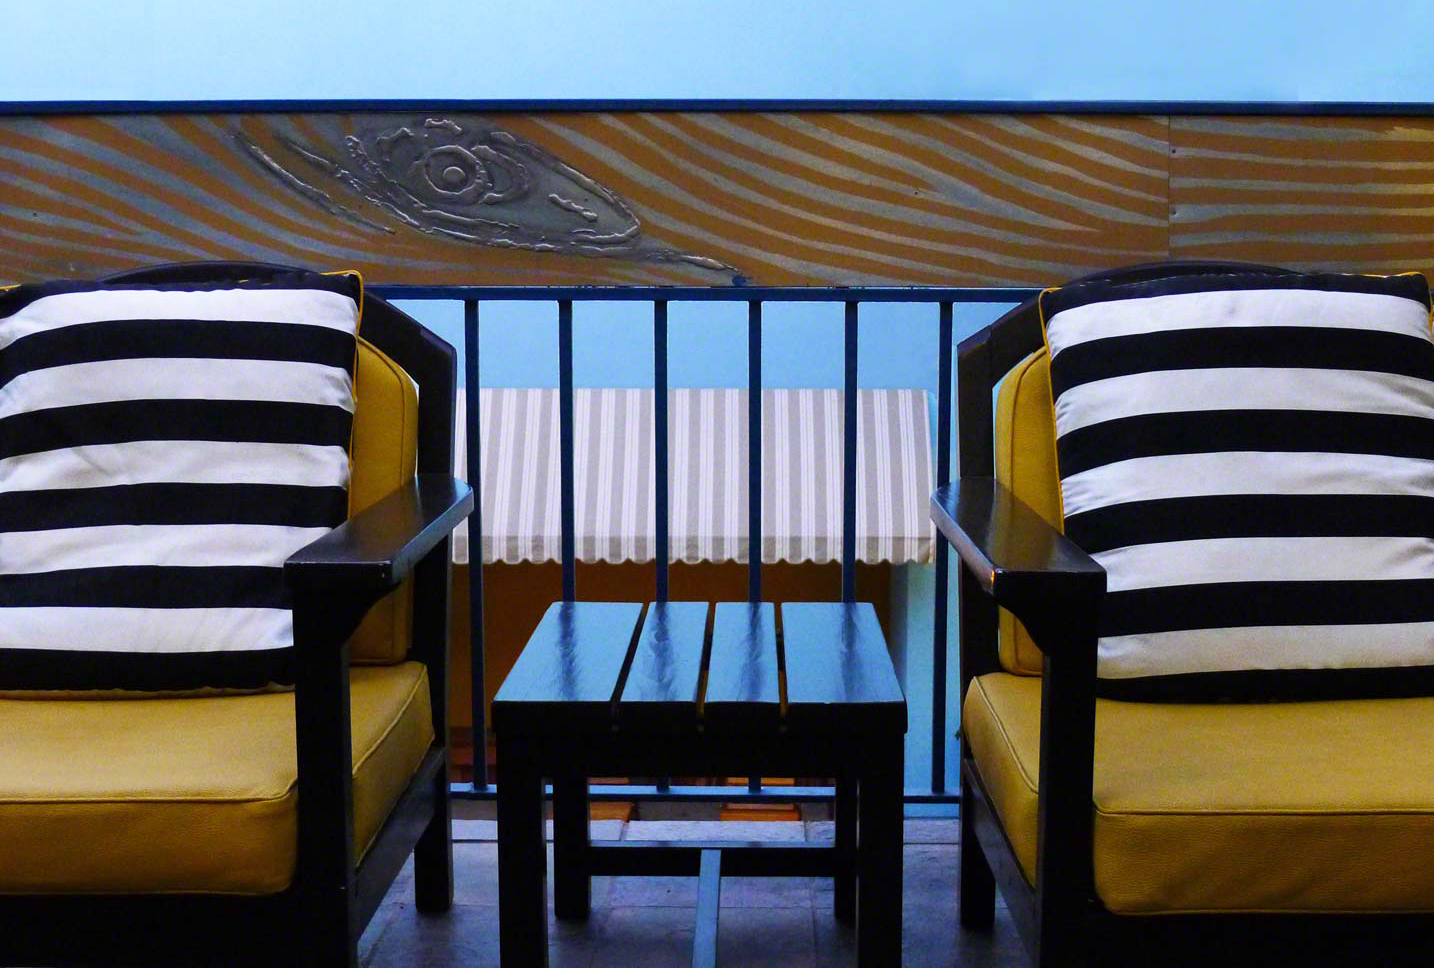
Here’s a few examples: https://joebaraban.com/example/shooting-through-things/

The important thing to remember is to manually focus so you can have complete control. You’ll want to focus on the subject on the other side of whatever it is you’re shooting through and then use your aperture to try different degrees of sharpness.

It’s amazing that because of the digital era where practically everything is done for you, a lot of my fellow photographers have no idea that you can actually focus the camera all by yourself!!!

Visit my new website at: www.joebaraban.com, and check out my workshops at the top of this blog. Come shoot with me sometime.

JoeB

Food For Digital Thought: Making Not Taking Pictures

This is making pictures

If I had to name one thing that I’ve talked about the most, both in the years I’ve been teaching online with the BPSOP, and in all the “Stretching Your Frame of Mind” workshops I’ve conducted around the planet, it would be that the majority of my fellow photographers ‘take’ not ‘make’ their pictures.

I’ve seen it with my own eyes, so I know it to be soooooooo very true. They walk up to a subject whether it be a person, a structure, or even a landscape, and bring the camera up from their chest or swing it around from their shoulder. They look in the viewfinder and within a nanosecond (maybe a little more) they click the shutter and walk away. That’s taking pictures and maybe they got something worth sharing, maybe even a wall hanger; but I can tell you from years of experience…don’t count on it.

Here’s the difference in that style of photography and mine, and it’s what I teach and preach to all my students: First of all, the most important step before even thinking about bringing the camera up to your eye is to determine where the source of the light is coming from. Unless you’re street shooting where capturing the moment is critical, light is everything!!!

I want to make sure I’m either side lighting or back lighting my subject and center of interest. I do this for several reasons: Texture is one of the basic Elements of Visual Design, and to bring out the Texture, you need to either side or back light it. Form is another Element. Form refers to the three-dimensional quality of an object. height, width, and depth are the three ingredients, and to show depth, you need to side light it. Anything translucent such as: grass, flowers, and water look the best when they’re backlit; I always position myself so that my subject is between the source of the light and my camera.

I show my students how to incorporate the Elements of Visual Design into their imagery, and these elements are put on an imaginary ‘Artist Palette’. The same ‘Artist Palette’ I’ve been carrying around in the back of my mind for the past forty-four years. When I’m out shooting I look for things not immediately visible without the help of my palette. I look for: Light, Texture, Patterns, Shapes, Vanishing Points, Perspective, Color, and most important Line. I look for ways to use Negative Space to define my subjects, as well as balancing my composition. I use lines to move the viewer around the frame, especially if I can introduce a Vanishing Point. I introduce Color on overcast days, and I also use color to communicate ideas.

I also show my fellow photographers the way to use the right side of the brain…the creative side. This is the side tha tnot just sees a tree, but all the before mentioned elements of design.

This is “making pictures”, and a hell of a lot more fun than just bringing the camera up to my eyes and clicking the shutter.

Visit my brand new website at: www.joebaraban.com, and check out my workshop schedule at the top of this blog. Come shoot with me sometime.

JoeB
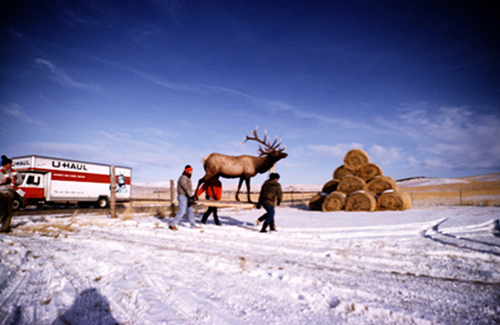
Food For Digital Thought: Standing the Test of Time

Standing the test of time

There are many aspects involved in taking a photo that you’ll remember and that will stand the test of time; or perhaps just another background memory clouded by the passing of our daily lives.

Since I enjoy the game of golf and I often play (I’m a much better photographer), I can draw this analogy…to simply hit a golf ball straight and not necessarily far, it takes a number of things all working together at the same time: Your stance, grip, wrist, shoulders, head, knees, follow-through,  tempo, backswing, and that’s not counting all the separate nuances that are associated with each one of those aspects. FYI, according to my brother, who’s a Master Professional, only five percent of all the golfers in the world can break 100.

Well the same hold true for photography, fortunately for all of us there’s not quite so many!!!

In my online classes with the BPSOP and in my “Stretching Your Frame of Mind’ workshops I conduct around our planet, we work on incorporating the elements of visual design.

We also work on light, exposure, balance, composition, unity, rhythm, meaning, visual interest, and the ability to see past first impressions, are all some of the important aspects necessary before you click the shutter; if you expect your photos to stand the test of time.

What do I mean by standing the test of time? I mean that when you look at your photo a day, week, month, six months, a year or longer, and it still looks as good to you as the day you shot it, then it will stand the test of time and become timeless. Will it convey the same meaning, tug at the same heartstrings, the same smile no matter how much time goes by?

Moreover, if in the same stretch of time you take a second look at it and you wonder why in the hell you ever clicked the shutter, then maybe you shouldn’t have been so hasty. That’s where those aspects I mentioned come into play. A good photo is going to be a good photo no matter what new technology forces its way into the art of photography…and make no mistake, it is art.

Photographers are artist who have chosen a camera as their medium. A camera on a tripod is just like a blank canvas on an easel.

I find that the more plug-ins, programs, software, and buttons there are, the harder it is to take a simple photo and have it last through all these photo fads. Case in point, look at all the great photographers that shot with a lens and a camera. People like: Cartier-Bresson, Ansel Adams, Steichen, Haas, Lange, Eugene Smith, Newman, Walker, Penn, and so many more.

Their images are more sought after today than ever before and will continue their popularity even as our generations change hands and younger/newer photographers take over with more advanced, more powerful, newer, smarter, more megapixel cameras . I just don’t think you can say that with the type of photos that one sees every day. They will come and go as fast as the new spring fashions that come out year to year.

For a photo to stand the test of time, it takes a commitment to the process. Take the time to get all these aspects going for you before you click the shutter, not in front of a computer. Think before you bring that camera up to your eye, and you’ll wind up shooting less and being more productive.

Visit my brand new website at: www.joebaraban.com and check out my workshop schedule at the top of this blog. Come shoot with me sometime.

JoeB

Anecdotes: The New York Times Magazine

One exposure, one frame, one click

For those of you new to my blog, I teach an online class with the BPSOP, and I also conduct my “Stretching Your Frame of Mind” workshops all over the planet.

I love writing these posts because they bring back great memories of when I was working as an advertising, corporate, and editorial photographer; that would be right after the last dinosaur disappeared.

That period of time when everything had to be one click, one exposure, on one piece of Kodachrome film; ‘Adobe’ was a type of house in the Southwest part of the USA.

The New York Stock Exchange called me to shoot a portrait of (at that time) the youngest recipient of a heart pacemaker.

Since this little girl was so young and more than likely shy, I had an idea for the shoot and had my studio manager call her parents to find out what she loved doing and what she wanted to be when she got older; also, did she dress up while playing?

We were told that she was taking ballet lessons and wanted to be a ballerina when she grew up. Perfect I thought, and we instructed her mother to have her come fully dressed in her balet attire.

I had a location scout locate a place that would work for the environment, and she came back with the absolutely ideal room; and it was only a mile away at Rice University.

I scouted the room and found that the row of windows face west so the light would be perfect if we shot late in the afternoon.

Being a firm believer in covering my butt at all times and Murphy’s Law, I decided not to trust whether it was going to be a clear sunny day with golden light streaming through the windows.

That said, I was able to secure additional monies to bring in my own lights; two 12K daylight balanced HMI’s (used in television commercials and motion picture films), a really big generator, a grip, and his assistant; and a fog machine just for the hell of it!

The day of the shoot, the sun was hidden behind a dark overcast sky so we went for plan B and through the window I lit the room with the lights I had brought in…and smoked it up a touch.

The little girl arrived wearing her favorite outfit and held tightly by her mother on one side and her father on the other…not good!!!

As I predicted she was very shy and her mother giving her directions didn’t help. So, what do you do? You make the parents leave the room, that’s what you do.

At that point I wasn’t going to try and direct her so I composed the shot the way I wanted by aiming the camera towards the mirror, putting on a 20mm lens, and left my camera on a tripod. I then attached a twenty foot cable release  to it…and walked away.

I turned my back to the camera and started a conversation with my crew. When the little girl realized that no one was watching, she turned towards the mirror and started pretending. As she was doing this I started firing off shots.

Visit my brand new website at: www.joebaraban.com, and check out my workshop schedule at the top of this blog. Come shoot with me sometime.

JoeB

Food For digital Thought: Color That Inspires

Color (and light) inspires me

When I go out shooting I never look for a particular subject, for example: flowers, fences, boats, cars, buildings, planes, trains, rivers, oceans, etc. What I look for is color and light to be my subject. I’m usually looking for both to be co-subjects since it creates a strong, powerful relationship. A white picket fence is not just a picket fence, it’s a ‘white’ picket fence. The type of flower is unimportant; it’s the color that attracts me to it.

In my online classes with the BPSOP, and also my “Stretching Your Frame of Mind” workshops, I emphasize how color and light working in tandem creates those kinds of images that will stand the test of time.

Color is a stimulant for our eyes, and ties the elements of a photograph together. Color affects every moment of our lives, and has an enormous impact on our photography; knowing this, is one of the first steps in taking consistently good photographs.

I want to digress for a moment and put in a piece of information I read on the internet, if nothing else to show you how little value you should place when reading a considerable amount of photographic gibberish that’s out there..

This is what I read…” Colors that clash cause confusion to the eye and result in a poor image. Too many clashing colors create multiple focal points, causing the eye to dart around the image not sure what to look at first or what to focus on. Rather, choose one dominant color that becomes the focal point of the image and draws the eye of the viewer to it immediately. The greater the intensity of the color, the more it’s going to dominate so be careful that your subject in an image has the dominant color, otherwise a secondary subject could overshadow it because it has a dominating color”.

I couldn’t disagree more, and it leads me to the title of my post…I have created a link to the section on my brand new website to show you how color inspires me.

Since color is a basic element of visual design, it’s a very important ingredient in taking our imagery what I refer to as…”up a notch”. We should want to use color to it’s fullest dgree.

“I’m all about getting a viewer to feel some emotion when looking at my images. Except for the savvy photographer, most people aren’t really concerned how I compose a photo. Having said that, everyone responds when I’ve made them feel something; and nothing does it better than color.

So, my fellow photographer, the next time you go out shooting think of using color as your subject; using it to set a mood. If you really want your color to stand out think about the time of day you choose to shoot.

For example, photos taken in the early part of the day or in the late afternoon will have a warmer cast, which will make the scene seem inviting and cheerful.

Converesly, photos taken at mid-day will have a cooler cast and could render the different hues hot, contrasty and bold; not particularity relaxing…but definetely a look.

Visit my brand new website at: www.joebaraban.com, and check out my workshop schedule at the top of this blog. Come shoot with me sometime.

JoeB
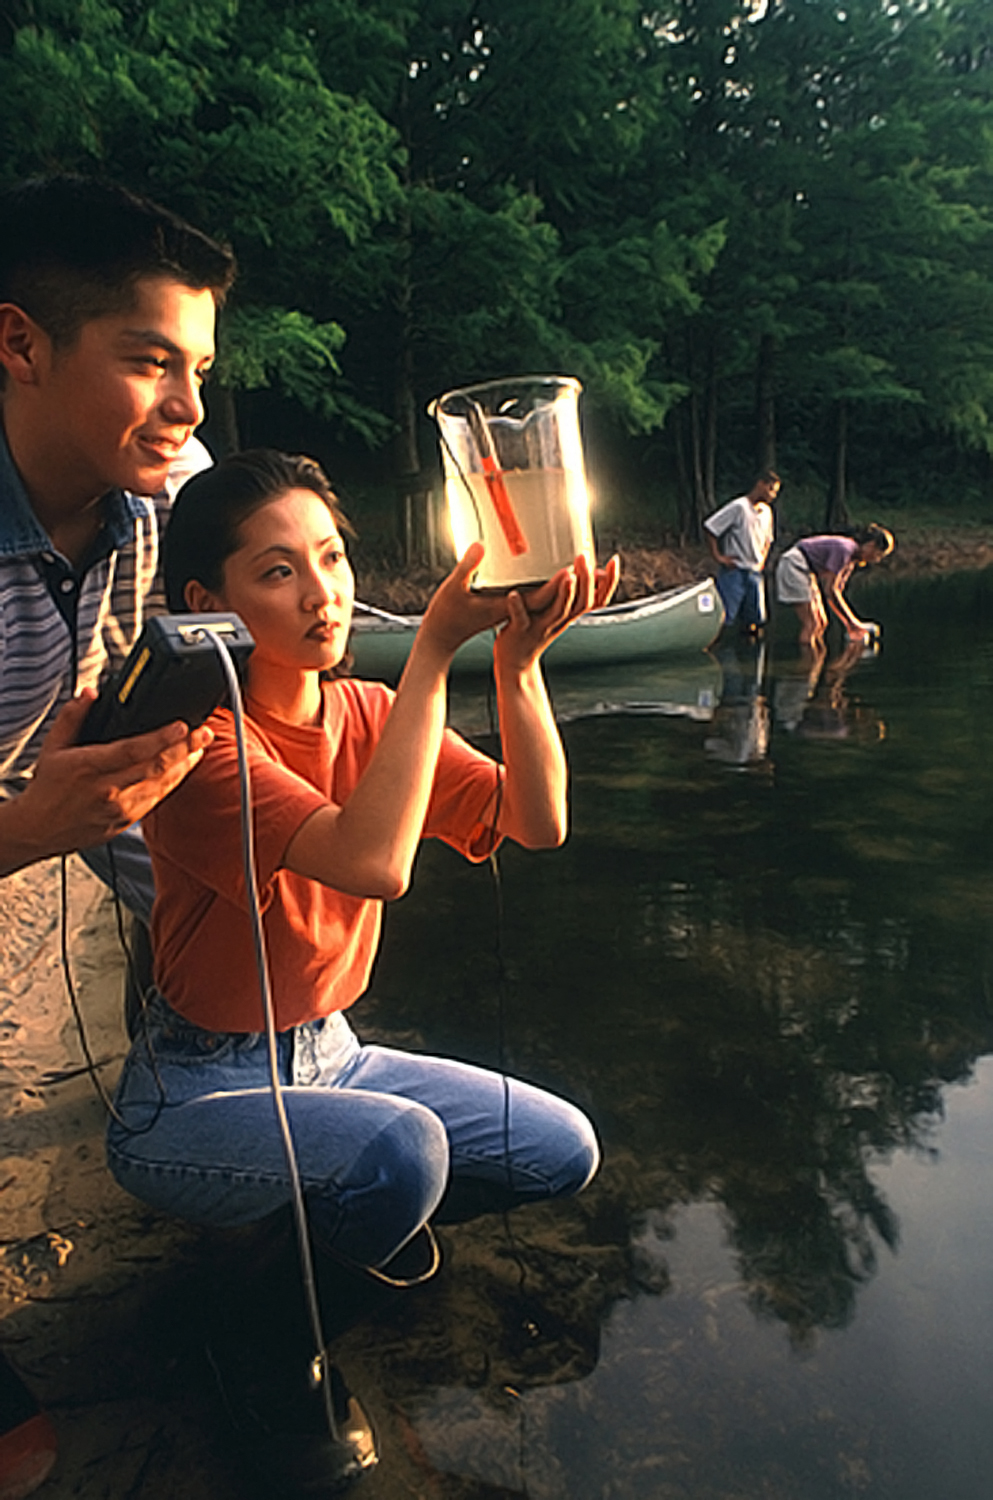
Did It Do It: Did It Convey Your Idea or Thoughts?

Shot for the Shell Oil 18 Wheel Tractor Trailer Calendar. DID IT convey the month of July?
DID IT convey the month of July?

About seven years ago I wrote a series of posts around a phrase I talk about to both my online class with the BPSOP, and my “Stretching Yor Frame of Mind” workshops I conduct around the planet. I’m always handing out information on ways to take my students photos what I refer to as “Up a Notch”.

I’ve had some new interest lately so I thought I would bring back these posts to share once again over the next few weeks.

One of the first pieces of information I hand out is what I call my “Did It Do It” list for good composition. There are twelve of them I will to be discussing again with you, and the first one I want to talk about now is: “DID IT convey your idea or thoughts”.

One of the issues I’m always exploring with my students is whether or not their idea or train of thought is too esoteric for everyone to understand. This happens a lot because we tend to give way toooooooooooo credit to the viewer. One of the few perks in being my age (73) is knowing through experience NOT to give too much credit to anyone. This especially holds true for photography. Unless you’re representing your idea in an abstract form, be sure to always consider the scene, and it’s outcome. Make sure it says what you intended.

Remember that you won’t always be around to explain your thought. It needs to stand on its own without any help. One of my favorite photo quotes comes from an Anonymous writer who said, “I always thought good photos were like good jokes. If you have to explain it, it just isn’t that good”.

These are guidelines for good composition, not rules. A lot of my followers know that by now, I don’t like rules!!!!

In the above photo, I was shooting a calendar for Shell Oil and was given freedom to come up with an image for each month. They were to be portraits of the owners of these big rigs; this photo represented July.

Most of the time it’s important to convey your message so that it’s understood without any geographic boundaries. That said, there are times when it’s only important to a select group of people, and this photo was only suppose to reach out to people that were on Shell’s mailing list; they would understand my visual message.

Visit my website at: www.joebaraban.com, and check out my workshop schedule at the top of this blog. Come shoot with me sometime. I just announced my New York, New York Workshop beginning September 17th, 2019 and ending at noon on the 23rd. This will be my second workshop there and this time we’ll be shooting in all the five boroughs.

JoeB

Life Before Photoshop: Sam Houston Raceway

Look ma, no Photoshop


I love to write these posts because they take me back to the really fun times in Photography when we had to figure things out without the use of a computer; when Adobe was a type of housing in the Southwest. Personal computers were a thing of the future and the only time I got close to a computer was when I was shooting them for a companies annual report to the stockholders.

Back then, every time I shot a report the company was so excited that they were computer savvy and ahead of the business curve, I was instructed to take pictures of these huge rooms…after I signed an agreement stating that I would not tell anyone what I saw. Back then an entire floor was crowded with these behemoths. with miles upon miles of wires under the flooring. now, my beefed iMac27 is probably as powerful.

But I digress.

As I tell my online class with the BPSOP, and in my “Stretching Your Frame of Mind” workshops I conduct around the planet, I love the challenge of being a good photographer, not a good computer artist/digital technician. I try to do as much in the camera as I possibly can and use Photoshop for minor tweaking.  It’s kinda sad that the majority of my students and fellow photographers were introduced to photography during the digital era and think that the camera should do all your thinking, and Photoshop will pick up where the camera left off.

In the above photo, I was shooting an advertising campaign for Sam Houston Raceway, and showed up at sunrise one morning to see what photo opts availed themselves to me. The mornings are always the best time around the stables since all the care of the horses goes on very early.

I asked one of the trainers if I could take an action shot of one of the thoroughbreds during a workout, and he agreed (which was pretty amazing given what some of these horses are worth). I got in the back of a pickup and we started out together on the track. I had put on my 2omm lens and placed it on my a tripod. I wanted to create the feeling of movement so I was shooting at a 1/15th of a second. The reason why the number ‘3’ is sharp is because the saddle and I were traveling at the exact same speed. The horse’s legs are blurred because they were moving at a faster rate of speed. As we came around the final turn heading for the finish line the horse started racing the truck. It was an incredible feeling being so close to this amazing animal; close as in fifteen feet.

Btw, you’ll notice that there’s only sunlight on the back end of the horse. The reason is that we were passing in front of the grandstand that was almost blocking the early morning sunlight. The back end was the only part still in the light…and just for a split second.

What a thrill!!

Visit my website at: www.joebaraban.com, and check out my workshop schedule at the top of this blog. Come shoot with me sometime. I just announced my New York, New York Workshop beginning September 17th, 2019 and ending at noon on the 23rd. This will be my second workshop there and this time we’ll be shooting in all the five boroughs.

JoeB

Personal Pearl of Wisdom: Ok, So What’s Your Point?

Did I get my point across?

I get a lot of my ideas for these posts from either looking at photographs in various places, reading something that has a direct corelation to photography, or from student’s submissions in my BPSOP online classes. It’s not just about the submissions, but I’m also curious as what their thought process was right before they clicked the shutter….otherwise I can’t be of much help.

Btw, I also get ideas from my “Stretching Your Frame of Mind” workshops I conduct all over the place. Since these photographers for the most part, have taken my online classes, they don’t seem to have the same thinking as the ones that haven’t…as of yet!

I show people how to see differently by using the right side of their brain when searching for that illusive ‘keeper’…aka, wall hanger. By incorporating the elements of visual design they can begin the process of “seeing past first impressions”.

Having said that, in the first week or so they will invariably see things that aren’t really there. They’re there because they want them to be there; after all it’s a huge learning curve and people are excited about it.

This brings me to the consideration of this post.

Since my fellow photographers won’t always be around to explain their thought process to the viewer, it will need to be what I refer to as a “quick read”. That is unless they going for an abstract in which case I, for one, would want everyone to see something different when looking at one of my images.

I have been to countless photography openings and have seen all the pretty, arty, people milling around drinking cheap chardonnay out of plastic glasses. I have seen these same people walk up to a photo, look at it for a moment then shrug their shoulders; while making an un-flattering face to indicate that they have no idea what the photo is about…then walk away.

When composing your ‘work of art’ be objective and not be too involved with the main subject. Doing so just might make you forget about what I refer to as…”the whole enchilada”.

It’s ok to have more than one center of interest providing they don’t take away from the main subject; your thought process in creating composition can become confusing.

One way to make sure you’re getting your point across is to self-initiate an out of body experience…You’re asking yourself…Huh?

What I mean is what I’ve been doing for a hell of a long time. I will place my body (and mind) into that of the viewer and then from his point of view I’ll know if I’m getting what I want across. It’s amazing how well this works.

One last thought: Ansel Adams once said, “There is nothing worse than a sharp image of a fuzzy concept”.

Visit my website at: www.joebaraban.com, and check out my workshop schedule at the top of this blog. Come shoot with me sometime. I just announced my New York, New York Workshop beginning September 17th, 2019 and ending at noon on the 23rd. This will be my second workshop there and this time we’ll be shooting in all the five boroughs.

JoeB

Food For Digital Thought: Creating Depth by the Manipulation of Line

A Vanishing Point to create depth

In my four week online class with the BPSOP, and in my “Stretching Your Frame of Mind” workshops I conduct around the planet, work on incorporating the Elements of Visual Design into their imagery.

We also work on several other elements that help to create stronger compositions, and one of the is perspective. In this concept, we are usually referring to the spatial relationships between objects in a photo. However, in one of my one week lessons in the four week class are ways to create depth.

 One of the ways is to anchor the subject in the foreground thus giving the illusion of space and distance. Since the camera has one eye, it can only see in two dimensions…height and width. We can trick the camera and suggest the third dimension, depth.

Another way to create the feeling of depth is the manipulation of line. By arranging lines in your composition in such a way, you can move the viewer around the frame. The best way to create the feeling of space and distance is to move the viewer from the bottom of the frame to the top. Since we were brought up to read from left to right, having him start out from the bottom left and move him across the frame to somewhere in the top right keeps him in his comfort zone. That said, sometimes it’s a good idea to take him out of his comfort zone and move him from right to left….creating more visual tension.

A Vanishing Point is one of the best ways to manipulate line and lead the viewer around the frame. These are lines that are parallel to the lens axis, begin behind the camera, and converge at a point somewhere in the composition. To create a classic Vanishing Point. these parallel lines would converge at infinity or at a point on the horizon.

Here’s some examples of creating depth by the manipulation of Line:

Visit my website at: www.joebaraban.com, and check out my workshop schedule at the top of this blog. Come shoot with me sometime. I just announced my New York, New York Workshop beginning September 17th, 2019 and ending at noon on the 23rd. This will be my second workshop there and this time we’ll be shooting in all the five boroughs.

JoeB

My Favorite Quotes: Claude Monet

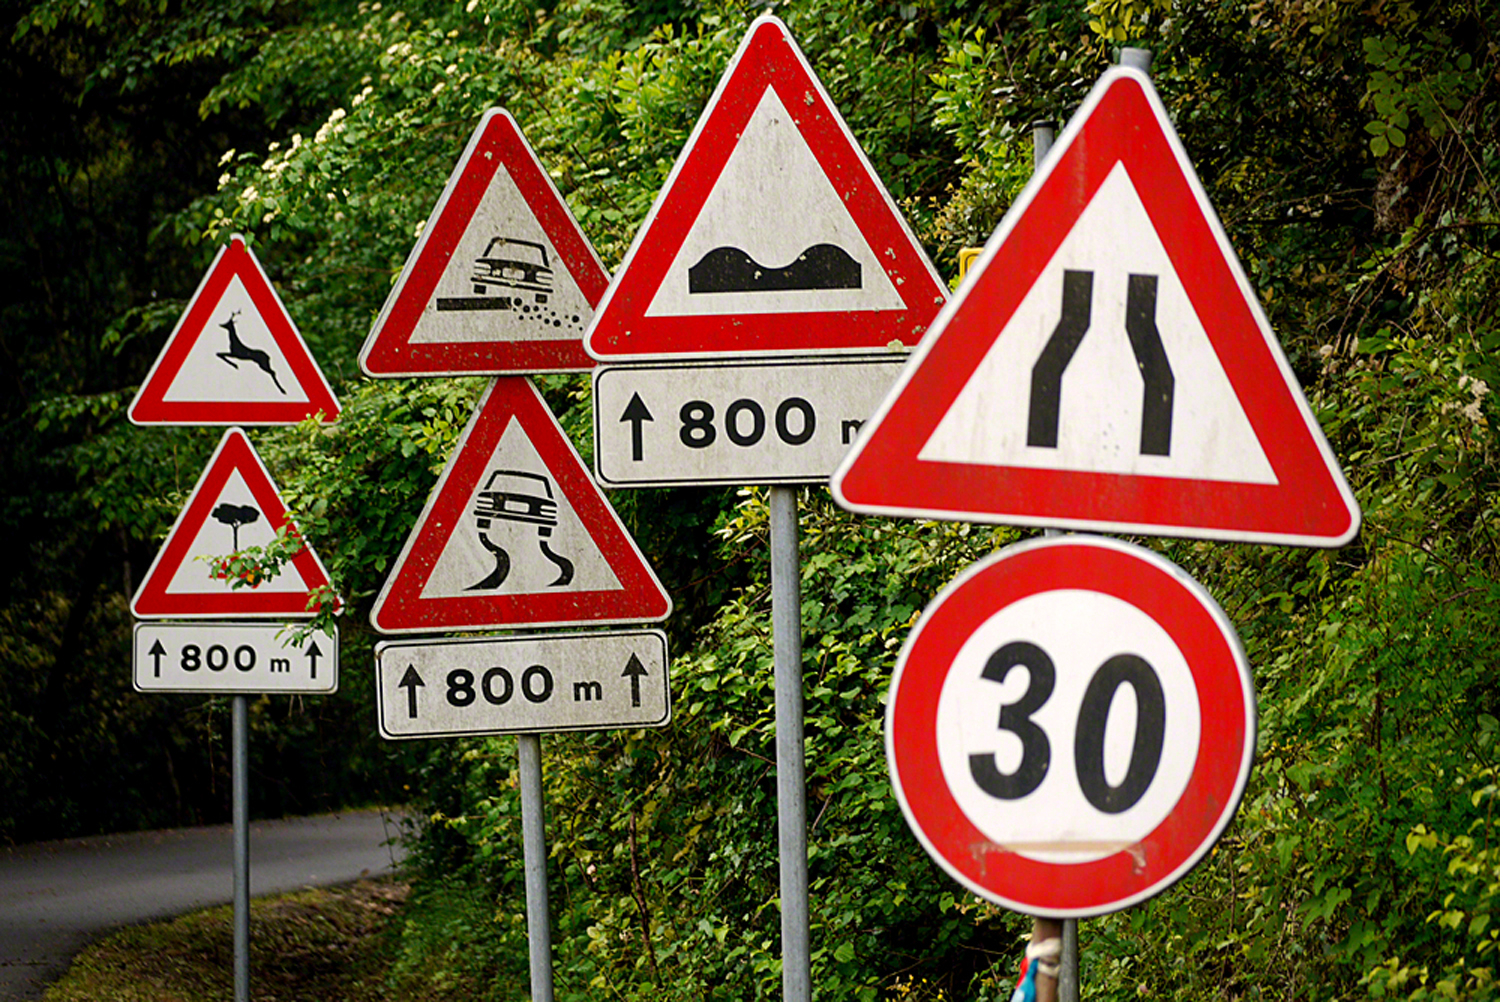
Signs or Triangles…and one circle?

Since my background is in art and not photography, I studied Art History; among other areas in this field. My favorite painters were the Impressionists, and one of my favorite painters was one of the founders of that movement named Claude Monet. Actually, I really loved all of the Impressionist painters mainly because they saw things differently than the painters that preceded them, and as a result were not accepted for quite a while.

They broke all the rules and as I now tell my fellow photographers that I teach or mentor to.learn all the rules of photography, then as fast as you can… forget about them as they will most certainly lead you down the one way, one lane path to mediocrity…why you ask???? Because rules are impediments that will block your chances of ever observing the environment around you through better vision.

Monet said, ” In order to see, we must forget the name of the thing we’re looking at.”

In my online class with the BPSOP, and in my “Stretching Your Frame of Mind” workshop I conduct around the planet, I talk a whole lot on being able to “see past impressions”. In fact, it’s one of my many mantras and it can be so hard to do for people that have spent the majority of their life seeing and doing things with their left brain.

First, a disclaimer: There are those out there that suggest that this is a distorted myth…psycho babble. However, most psychologists agree that there’s enough basis in facts to accept it.

You see, the left side of your brain is the analytical side. Left-brained people tend to be more logical and objective, and rarely see any artistic content. Their photos will tend to be those that are “for the record”. It’s the linear way or the highway for them!!! The right-brained person tends to be more creative, expressive,  and intuitive. Ok, just how does this have anything to do with Monet or my approach to teaching people how to see past their first impressions?

In the photo above, a left-brainer will look up and see a group of traffic signs directing you to either go, avoid, or do something. When I first looked up I immediately saw shapes, as in triangles and one circle. I saw these shapes beause for years I’ve trained my eye to “see past my first impression”. As a result I composed my photo to accentuate these important shapes…since Shape is a basic element of Visual Design.

The next time you go out don’t just look at the labels, be sure to taste what’s inside…see past your first impression.

Visit my website at: www.joebaraban.com, and check out my workshop schedule at the top of this blog. Come shoot with me sometime. I just announced my New York, New York Workshop beginning September 17th, 2019 and ending at noon on the 23rd. This will be my second workshop there and this time we’ll be shooting in all the five boroughs.

JoeB

Quick Photo Tip: Always Look Behind You.

I can’t begin to think of how many times I was through shooting at some location and after we had wrapped things up to head back to the car, I turned around to see the dying moments of a spectacular sky streaming light that wasn’t there a moment ago, or a one in a million cloud formation. I can tell you that it’s been years and years and years since I made the mistake of putting all my equipment away before it was absolutely over.

What happens is that once you’ve taken a great photo or series of photos filled with wonderful light you become satisfied, mentally tired, and even a touch on the complacent side of smugness thinking you got all there was to get.  So you sort of become anxious to get to the car and either head home or to the hotel where you’re staying to relax in the bar and mull over the last couple of hours of shooting with a cold beer or a very cold Bombay Martini in your hand, as I have.

Well, I’m here to say that it ain’t over until it’s over, as in dark!!! After forty-five years of shooting, I can tell you that you just never know when something can happen that you had better be ready for or you will surely miss it. As I tell my online students with the BPSOP, and the participants that take my “Stretching Your Frame of Mind” workshops I  conduct around the planet, Mother Nature has an uncanny way of sneaking up on you when you’re not looking to provide you with an extraordinary opportunity to capture her in action. Remember that she’s stingy and won’t give you much time. She’s been known to tease the unprepared mortal, dressed up to look like a photographer, with literally seconds of incredible perhaps even once in a lifetime light.

How do I stay ready? As I’m headed back to the car I keep my camera on the tripod, I make sure I still have shots left on my card, the tripod is over my shoulder, and as I’m walking I keep turning around and looking over my shoulder. Also, even when I’m driving away I’m still looking in the rear view and side mirror. There’s been more than once when I made a quick ‘bat’ turn and went back and grabbed a great shot.

In this photo, we were through shooting the Suez Canal and were eating dinner in a restaurant. I had my 300mm F/2.8 lens still on my tripod right next to me. I turned around as I always do, saw this light, shot the photo and in less time it took me to write this one sentence it was gone.

By the way, I missed the light just once in my forty-five career and once was too much!!!

Here’s a few examples of when I turn around.

Visit my website at: www.joebaraban.com, and check out my 2012 workshop schedule at the top of this blog. Come shoot with me sometime.

Don’t forget to send me a photo and question to: AskJoeB@gmail.com

JoeB

Quick Photo Tip: My Least Favorite Light

 Shooting in old barns
Shooting in old barns

To me, the worst light starts mid-morning and end mid-afternoon. These are the times I avoid shooting since I know the photos would have a hard time coming out the way I’d want them to.

There have been times when I had no choice but to shoot in less than ideal light. If, for example I’m traveling and can’t come back to a location when the light is better. Or, the only time someone is available is during those times of harsh light. If the location doesn’t open until the sun is high in the sky, or it closes early. I’m sure there’s other examples that you have experienced like family members who think you need your head examined if you think they’re getting up for a  portrait during the sunrise light…like my daughters for three examples!!

One problem that always comes up is when I’m conducting one of my my “Stretching Your Frame of Mind” workshops. After an early morning shoot we will spend several hours discussing the images that were shot the day before. After lunch we’ll go out and shoot. This is when the light is usually hot and harsh.

So, what do you do? As I also tell my online students with the BPSOP, you look for ways to minimize the sky or hide it completely. Or, you find locations can only be photographed when the sun is high; for example small villages with narrow streets. That’s when you look for areas in shadow next to the areas in the sun; so you can create contrast…one of the ways to generate visual tension.

I’m sure you’ve all seen or taken those pictures where the sky is a whitish blue from being photographed during mid-morning or mid-afternoon. Another idea is to go indoors and shoot the available light coming in from a window.

When you’re not taking one of my workshops, you can go out in the country and look for old barns or antique stores. There’s always subject matter there, you just have to look for it. I’ve had success in junkyards, and those places where old cars go to die is a potential plethora of photo opts.

Here’s some examples:

Visit my website at: www.joebaraban.com, and check out my workshop schedule at the top of this blog. Come shoot with me sometime. I just announced my New York, New York Workshop beginning September 17th ,2019 and ending at noon on the 23rd. This will be my second workshop there and this time we’ll be shooting in all the five boroughs.

JoeB

Food for digital Thought: Light In Four Part Harmony

Four Part Harmony

One of my favorite topics to discuss with students taking my online BPSOP class,  and in my “Stretching Your Frame of Mind” workshops I conduct around the planet is the Light. Unless you’re street shooting where timing and and capturing a moment are important, Light is everything.

I’ve been a student of light for as long as I can remember, including those B/W years spent shooting with AP and UPI. I studied art and design, with a couple of semesters plodding through Art History, where we studied each of the Masters and later impressionists approach. This is where I learned notable techniques like Renaissance portrait lighting.

When I first started studying the Light, I broke it down in what I termed Four Part Harmony: Hue, Intensity, Direction, and Quality.

Hue: Refers to the color of the light. The color is dependent on the time of day you’re shooting. When the sun is low on the horizon, it appears warmer since it’s going through more atmosphere. As the sun rises in the sky, the color of the light becomes bluer. The reason being that it’s going through the shorter blue and violet wavelengths.

Intensity: The intensity of the light is associated with how hard or soft the light source is. When you consider the intensity, don’t think of it as being either bright or dim. It means a whole lot more than that. One needs to think about it in terms of how it will render the final outcome to your photos. When you consider the Hue, consider the intensity as well. The lower the light is to the horizon, the more atmosphere it’s going through making the light much softer than it is when the sun is higher and going through less atmosphere.

Cloud cover can have a huge effect on your images, mostly when the sun is high and it’s a day that’s considered partly sunny. It’s a good time to shoot as it’s referred to as open shade. The only drawback is that with open shade, it’s hard to create the third dimension (depth) since you need side light to accomplish that.

Using artificial light can greatly impact the intensity of the light. Aiming your flash directly at your subject will render it harsh and contrasty. Shooting through diffusion, or bounced off a white umbrella, or bounced off the ceiling will provide a softer light; it’s the only way I light when I’m indoors.

Direction: There are three basic ways to light a subject. Side, front, and back. The first thing I ever do, before raising the camera to my eye, is to determine where the source of the light is. I avoid front light like the plague…why? because Form is a basic element of visual design, and it refers to the three-dimensional quality of a subject. When you front light, you eliminate the third dimension (depth) and as a result you’re left with the other two…height and width. Front light provides the least amount of information.

When you sidelight your subject you create the third dimension…depth. A simpler concept is when you side light, you provide shading to your subject. Side light is also used to emphasize the texture of an object; or any patterns in your composition. It’s also a good way to separate the subject from the background.

Back light is when the source of the light is behind your subject. It’s my favorite way to light since it adds a rim of light around the subject. When I’m shooting something transparent, such as water, grass, flowers, leaves, etc.,  the back light makes those subjects glow. It also can add strong shadows, and as I always say, shadows are your best friend.

Quality: The quality of the light affects mood and drama. It also refers to the softness or hardness of the light source. What kind of look or mood you’re trying to create is determined by how the light is used. Harsh direct light gives you sharp and defined shadows, where a softer diffused or bounced light might not offer near as defined shadows, and sometimes none at all.

My favorite light is available light. As far as the quality of the light goes, most of the studio shooters I know, including myself try to emulate available light and will go to great lengths and expense to do so. I can’t tell you how many “North Light Studios” there are to rent in NY. I say North light because it’s the softest. Since it faces north, you’ll never get any direct sunlight coming in to affect your photos; and the light remails constant throughout the day.

Visit my website at: www.joebaraban.com, and check out my workshop schedule at the top of this blog. Come shoot with me sometime. I just announced my New York, New York Workshop beginning September 17th ,2019 and ending at noon on the 23rd. This will be my second workshop there and this time we’ll be shooting in all the five boroughs.

JoeB

Anecdotes: Quaker Oats

Stay Lucy!!!!

For those of you that might be new to my blog, I was an advertising, corporate, and editorial photographer for over forty years and for the past ten years I have been teaching an online class with the BPSOP, and once again traveling the world only this time conducting my “Stretching Your Frame of Mind” workshops.

Over a glass of wine or martini I will often talk about some of the stories that would happen during my shoots; and they would usually make me laugh.

I was shooting the Quaker Oats annual report for Genisis, a graphic design firm in Denver, and one of the companies subsidiaries was Fisher-Price.

I loved working for Mike Miller (the owner) because he would just give me a list of photos he wanted, and then just turn me loose to come up with an idea that would visually illustrate the company.

I went to the local Toys-R-Us and shopped around for ideas. I saw this teetor-totter seesaw and immediately envisioned a shot. Btw, whenever I saw clearly something in my mind, I could always create it.

Scouting around neighborhoods looking for the best light to hit in an area late in the afternoon was a challenge. Since the prettiest areas were covered with large trees, finding just the right spot would take some doing. As was always the case, I would use my Sunpath program and  a hand bearing compass called a Morin2000.

With these I could pinpoint to the one degree exactly where the light would hit, what time it would, and how long it would be in the same spot; as it turned out my front yard was perfect.

My idea was to have two kids playing on it and since  there wasn’t a lot in the budget for professional models, I was just going to use my two daughters…they wouldn’t work for free, but for a dollar plus they got to keep the seesaw, we struck a deal; or so I thought.

When the time came, my daughter that was a year older decided that SHE WAS NOT going to come outside!!! Knowing that I had just a few minutes, I brought Lucy, our dog out with a leftover cheeseburger in my hand.

As luck would have it Lucy weighed more that Blair. I pointed to Lucy to get on the seesaw and gave her half the burger and told her to “stay”!!!

I ran back to the camera and was able to get off a couple of shots before I would have to run back and give Lucy another bite. I was able to do this a few times before I ran out of Lucy’s modeling fee. As you can see by her looking at me she was ready for either more cheeseburger or she was done. At that time she promptly got off and ran back to the house…and that was a wrap!!

Visit my website at: www.joebaraban.com, and check out my workshop schedule at the top of this blog. Come shoot with me sometime. I just announced my New York, New York Workshop beginning September 17th ,2019 and ending at noon on the 23rd. This will be my second workshop there and this time we’ll be shooting in all the five boroughs.

JoeB