One of the many ways to create visual interest and tension is to get the viewer to believe what he’s seeing is actually what he thinks he’s seeing (make any sense?), and one of the ways to do that is to trick the camera (which has one eye…the lens) into creating a sense of perspective, or depth, or height (that requires two eyes), or all three at the same time. Sound complicated? Well, in actuality, it’s fairly easy and straightforward.
It starts with an idea you have that’s implanted into the viewer’s imagination. It needs to be something he’s familiar with whether it be from watching TV, reading a book, or perhaps something that he’s actually experienced in the past.
Then you need just one thing…a wide angle lens, a great sunrise, and the perfect environment.
An entire lesson is what my online class with the BPSOP works on, and when the occasion arises in my “Stretching Your Frame of Mind” workshops I conduct around the planet, I can physically show my fellow photographers exactly what I mean and how to achieve it…in the camera.
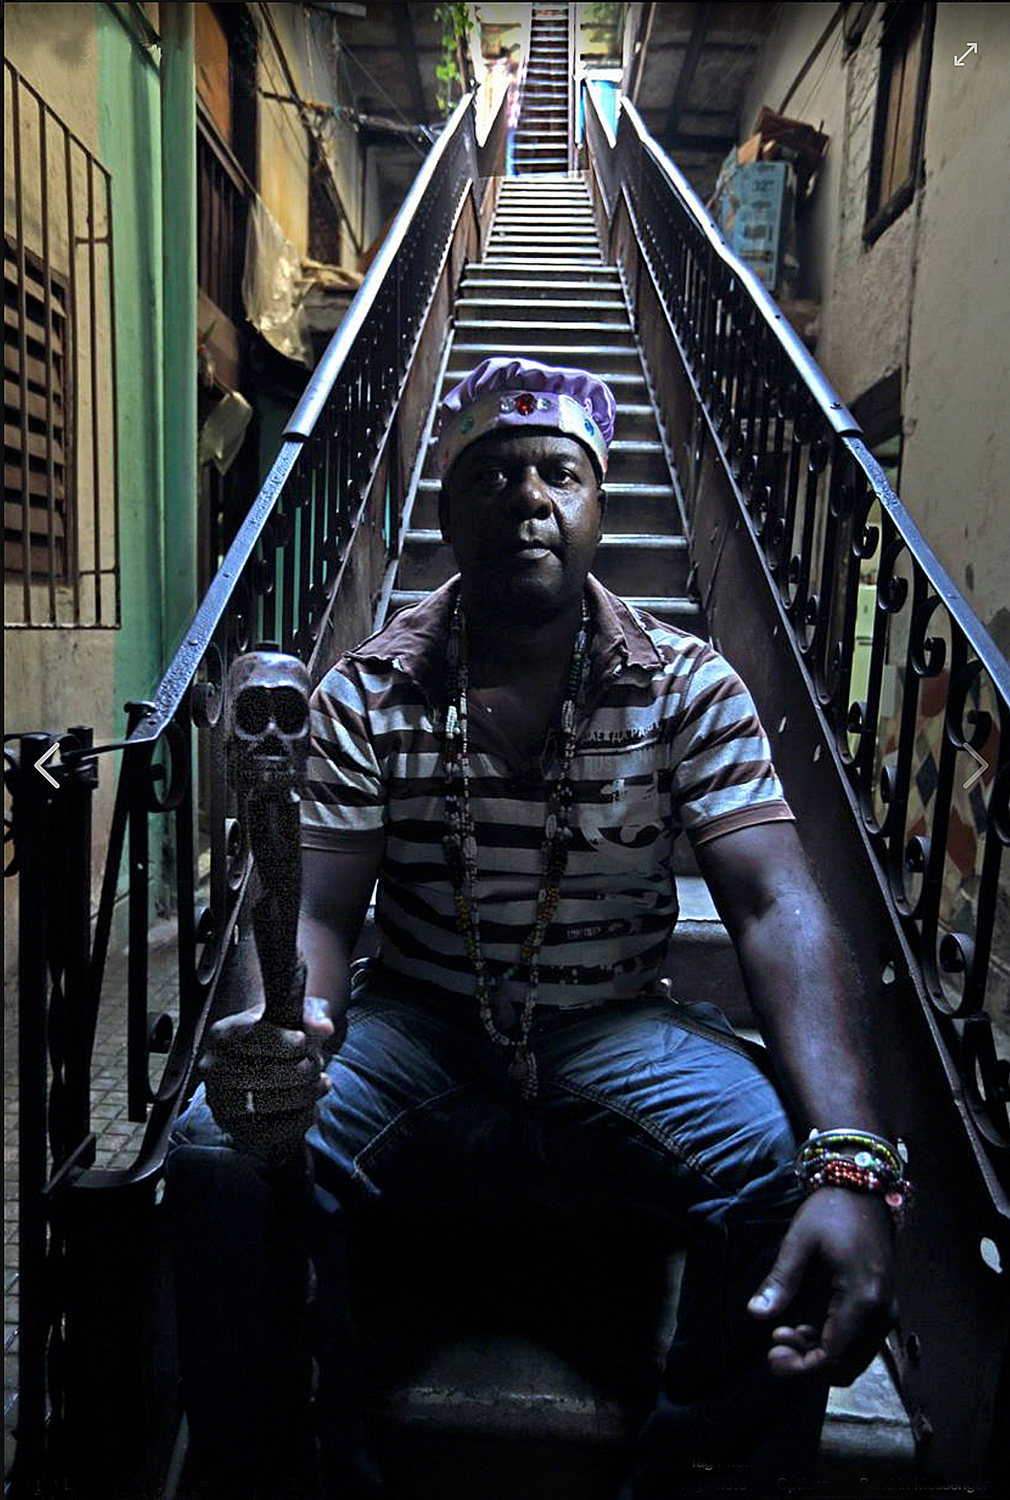
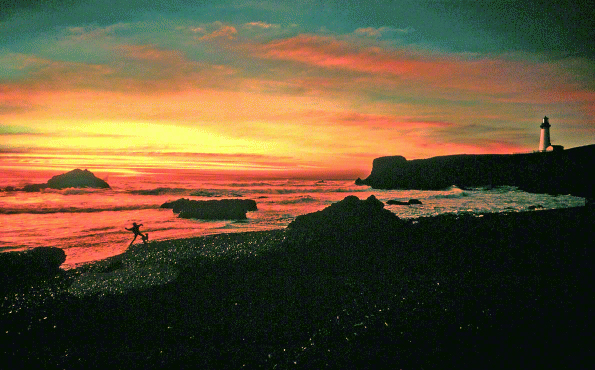
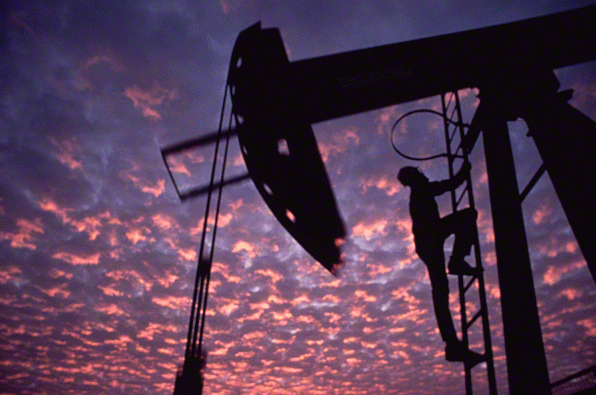
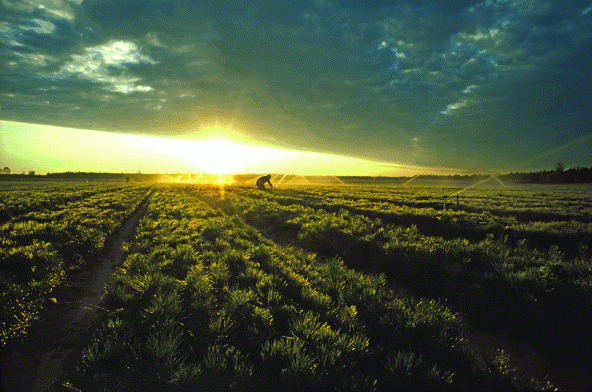
The above photo was taken during one of my Workshops. I was looking for just the right location to show the class how to use a wide angle lens to create the feeling of height, visual interest and tension. It was about thirty minutes before the sun came up and I desperately wanted to find something that had potential. It’s important here to tell you that the workshop was during the last week of July and the first week in August, and although it was chilly that morning the high that day was going to be close to 85 degrees.
Having said that, We passed by a huge lot filled with rock salt used to spread on the highways during the upcoming winter months; an idea immediately began forming in my mind. I had my assistant put on a yellow hooded sweatshirt I just happen to have in my assortment of props and wardrobe I always carry around…just for this moment.
I put on my “go to” lens which was my 20-35m, and I set the focal length at 20mm and got down close to the ground. I positioned the lens right behind a big chunk of salt so I could “anchor it in the foreground, creating layers of interest” and depth by getting “up close and personal” to it; while providing texture to the salt. I waited for the sun to just come up enough to light the top of the pile, keeping everything else in shadow.
It worked like a charm, creating the feeling that the man was considerably higher that the fifteen feet he actually was, and the rock salt created the snow, and the look/idea I was hoping for.
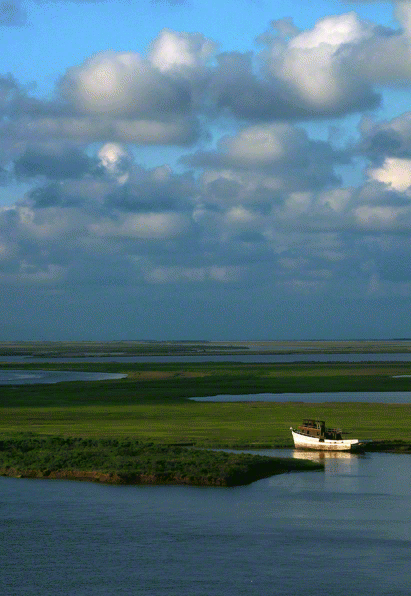
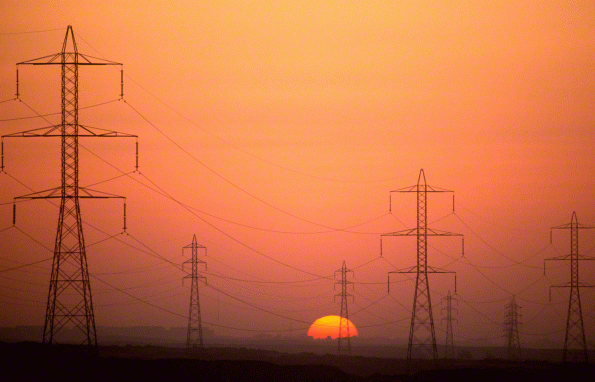
The production shot was taken after my shot and from a different position; when the sun was up much higher and the sky much bluer. It’s merely to show you how high my assistant actually was, and how I could trick the camera…and the viewer.
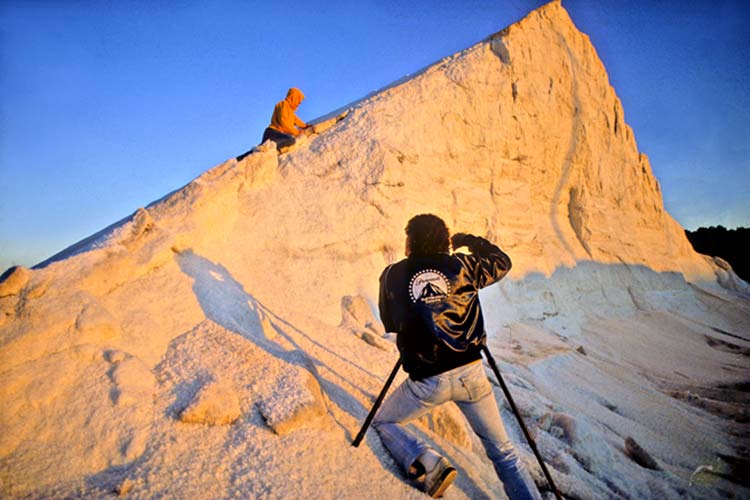
Taken 30 minutes after sunrise.
Visit my brand new website at: www.joebaraban.com, and check out my workshop schedule at the top of this blog. I still have two spots open for my upcoming workshop in New York beginning September 17th. Come shoot the five boriughs with me.