Real, or artificially contrived?
Cartier-Bresson is one of my most favorite photographers. I think I’ve talked about and quoted him the most in my online classes with the BPSOP and in my “Stretching Your Frame of Mind” workshops I conduct all over the place. I guess one of the reasons is that he has been quoted so often and his quotes can be found in so many places.
For me, it’s because so much of what he said, and the way he composed his images hit home more than most other photographers I’ve studied throughout my career.
I’ve said on many occasions that I don’t often photograph what I see because I don’t often see what I want (being somewhat impatient by nature), so I photograph what I’d like to see. Which takes me to the reason for writing this post.
Cartier-Bresson once said, ” The greatest thing to fear is the artificially contrived”.
When I’m talking to a student, I encourage them to move something out of the frame if they don’t like it and can’t compose differently. Conversely, I also say to move something into the frame if it will add visual input and a layer of interest.
It’s important to remember that we, as photographers, are artists who have chosen the camera instead of a paintbrush.
The difference between a painter with a blank canvas on an easel and a photographer with a camera on a tripod is in the fact that as a painter you fill in the canvas until you finish with a ‘work of art’. Photography is the art of subtraction whereas you remove objects until you achieve a ‘work of art’.
Here’s where the quote comes in. If you do decide to add a prop, or some element, or even a person, make sure you believe it. Make sure the viewer will believe it instead of thinking that you put it there yourself.
When I’m composing (painting), right before I click the shutter, I always ask myself do I believe it. Case in point, I recently had a student take a closeup of a hubcap and decided to put a flower into of the holes. Well, it just would never happen that way and looked completely contrived. A similar occurrence was a rose on a manhole cover…what is it with flowers?????
There’s another way a photo can and usually will appear contrived, is when photographers shoot through something. Again, I encourage that because “framing a subject with a frame” is one of the ways to create Visual Tension.
Having said that, if you intentionally put your subject in let’s say between two spokes on a bicycle, or two trees close to one another, or posts on a pier, etc., there’s a good chance that it’s going to look weird…especially if the POV is too difficult for the viewer to have seen for himself.
Have fun out there and always try to “color outside the lines”, but be sure that people believe it.
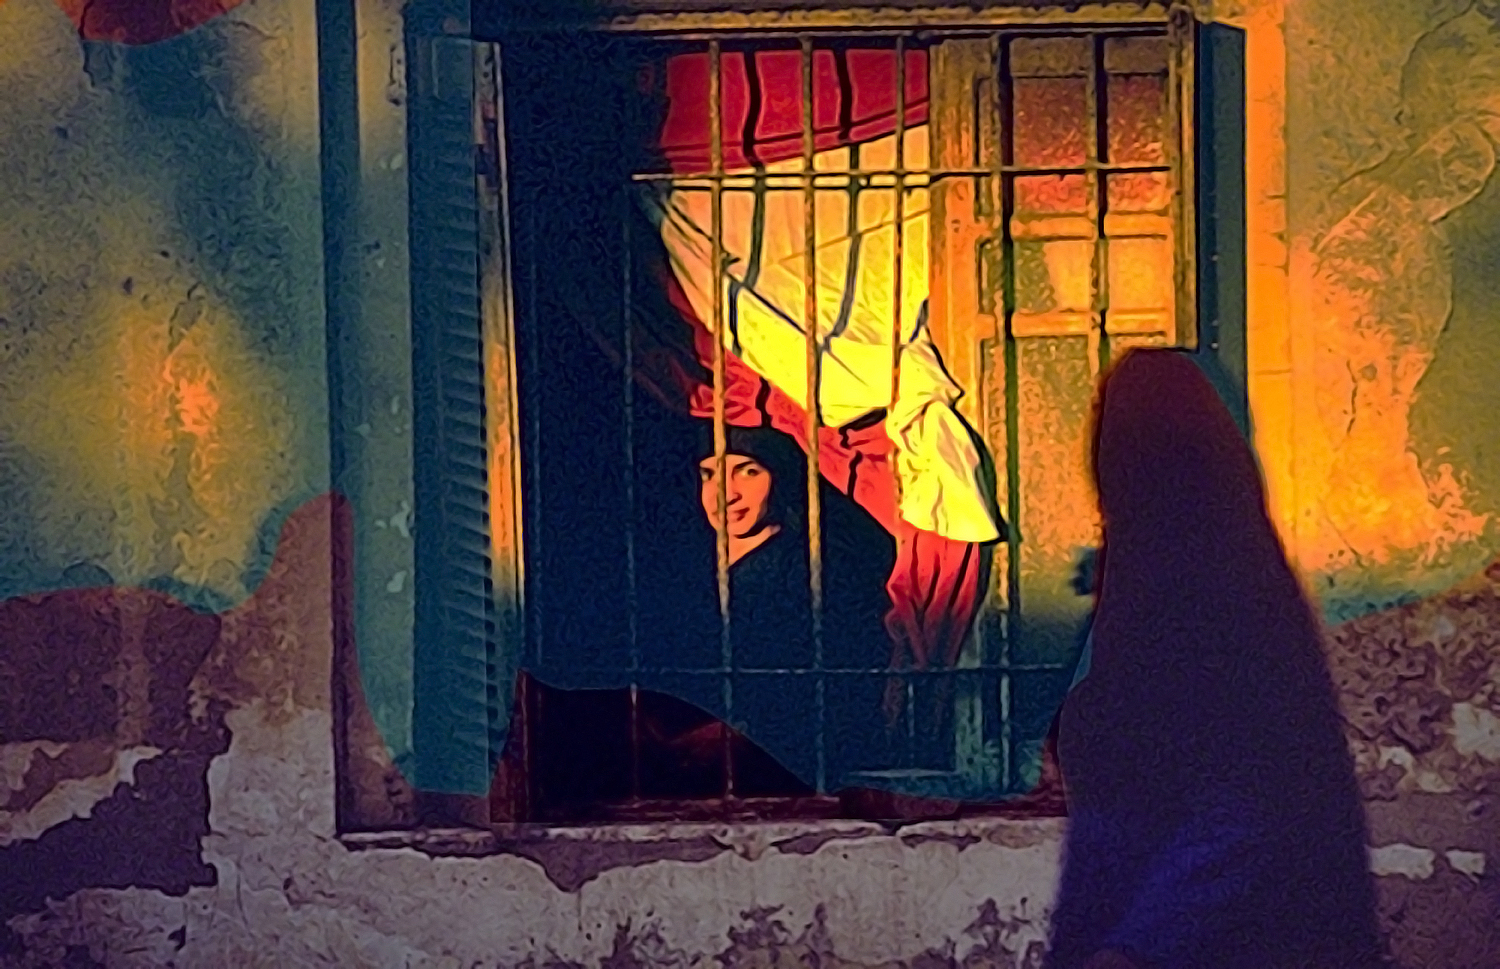
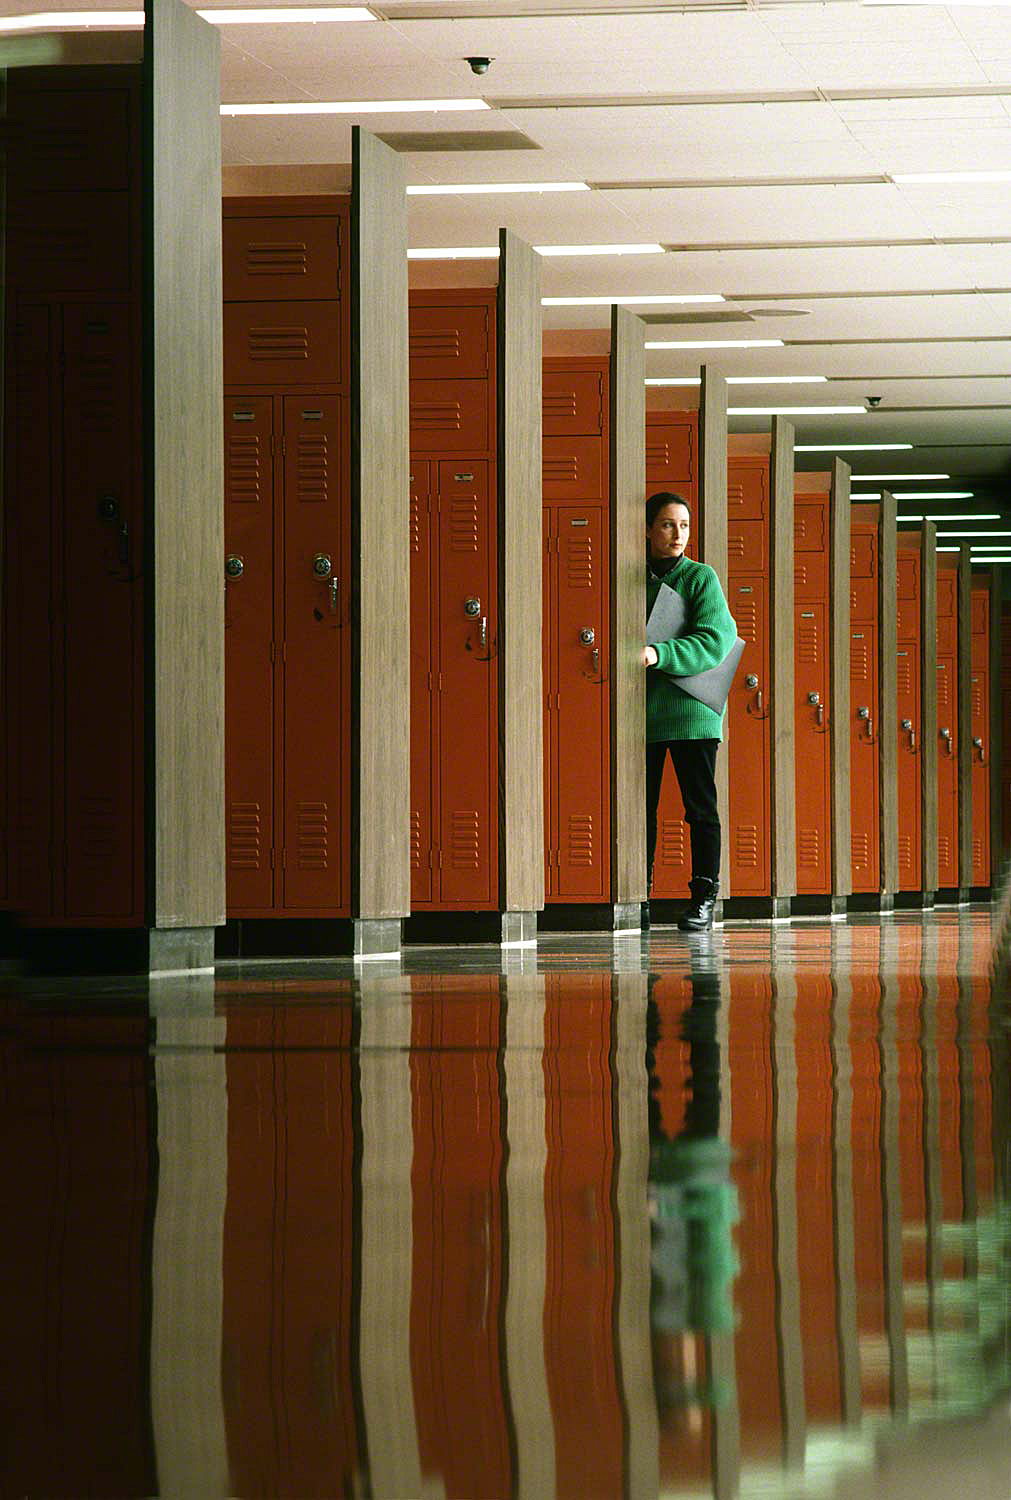
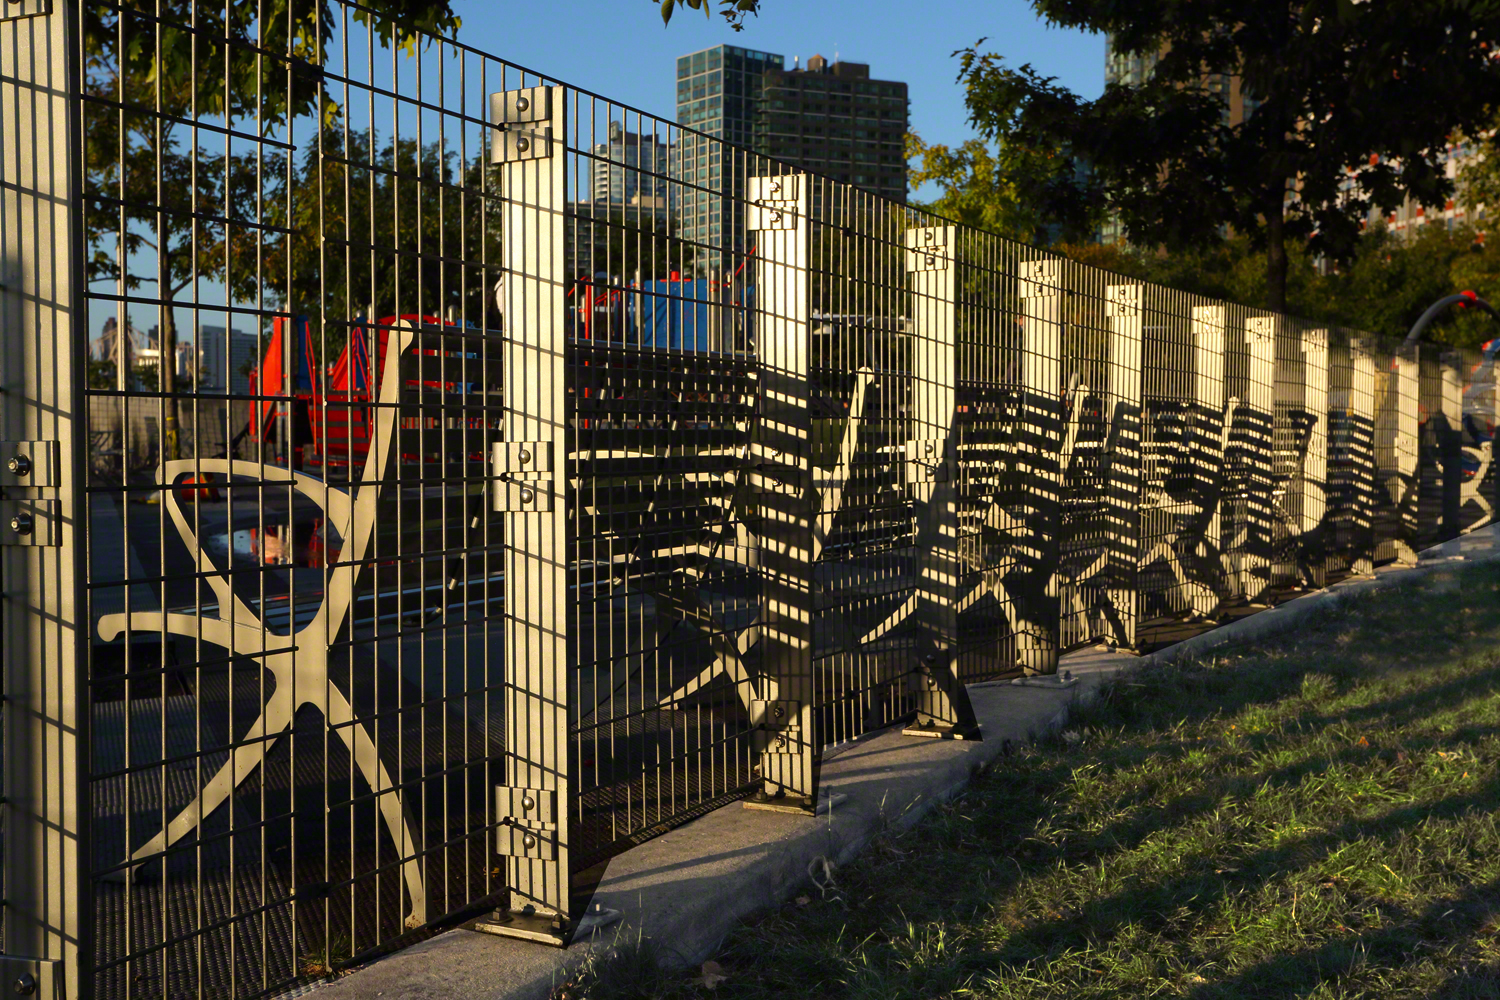
BTW, the photo at the top was shot just the way I saw it….maybe?
Visit my website at www.joebaraban, and check out my workshop schedule at the top of this blog. Come shoot with me sometime.
JoeB