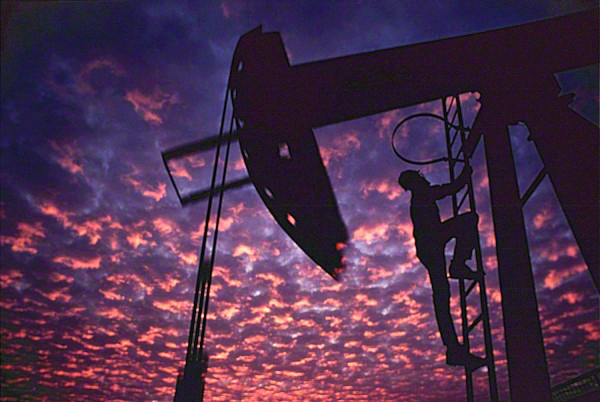
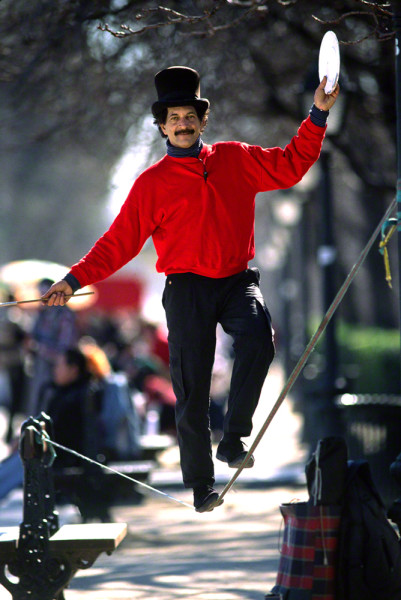
I got really lucky!
When I’m walking around with some students in my “Stretching Your Frame of Mind” workshop, I see photographers in a hurry to just get the shot without taking the time to see what else they can bring to the table. In other words, failing to pre-visualize what their image could really be like. I also can tell when someone in my BPSOP online class has submitted a photo that doesn’t really say very much.
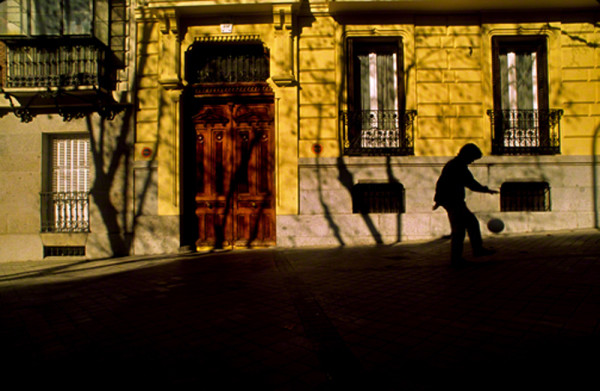
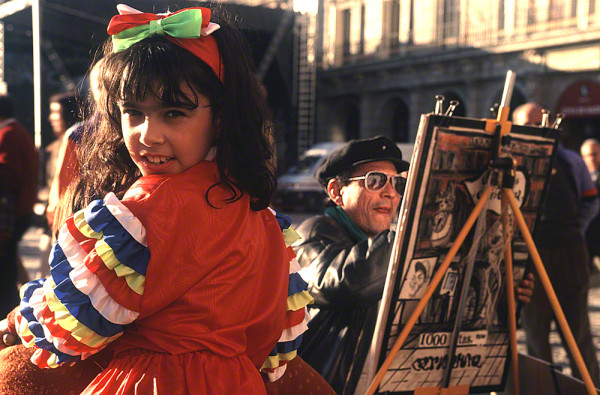
For example, in my photo, I saw how the light was playing against the street and truck. It was a good study in color and light, but it failed to keep the viewer around by creating some additional ‘layers of interest’. In other words, adding something or someone to editorialize the photo.
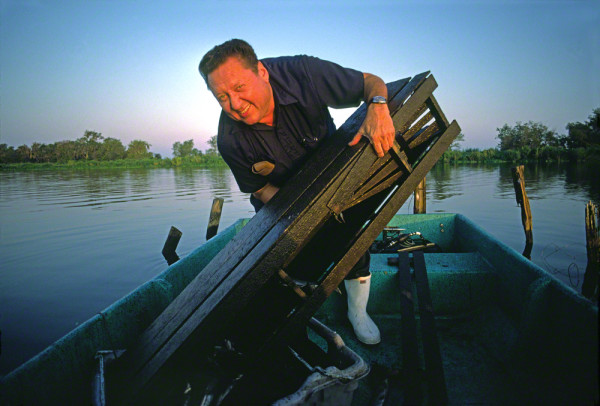
By editorialize I mean to have the viewer ask a question. What I was trying to say in this image is where is the man that belongs to this truck? The doors were open so he to be around somewhere delivering product. I saw in my mind this driver returning and if I was really lucky, he would cross the open doors and I could capture him perfectly framed…or so I hoped.
I decided to wait until it was actually happening; that’s where the patience comes in. I knew that if I waited long enough my idea just might come to fruition, and as Eddie Adams once said, “When you get lucky, be ready”. I was ready, and I got lucky…after waiting there twenty minutes.
If you have ever studied Henri-Cartier-Bresson and his approach to photography, he would often compose his photos in such a way as to leave room for someone to enter his frame. He would wait as long as it took and when it happened, at that moment he would snap the shutter.
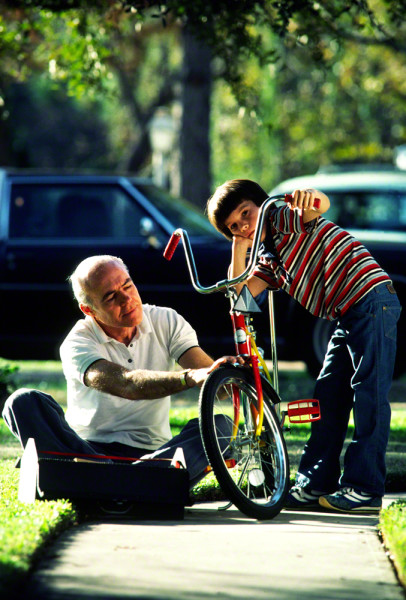
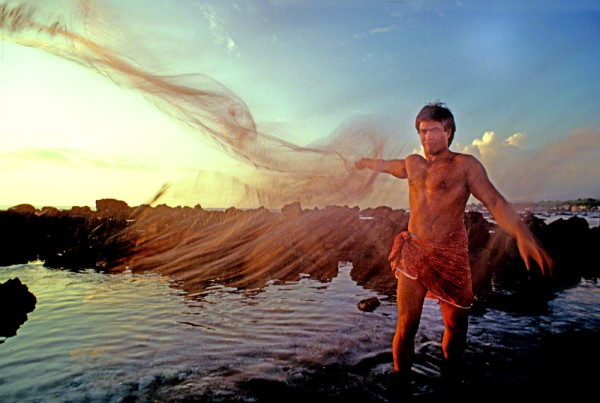
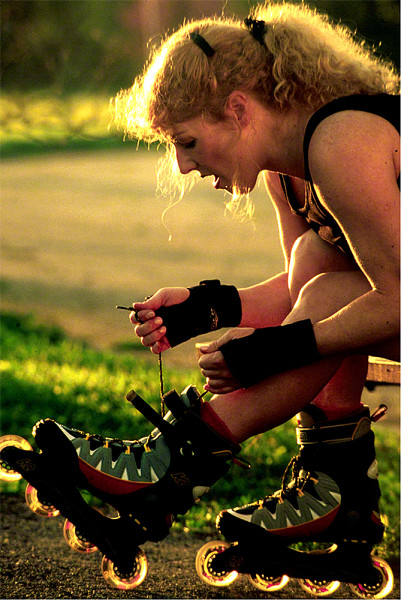
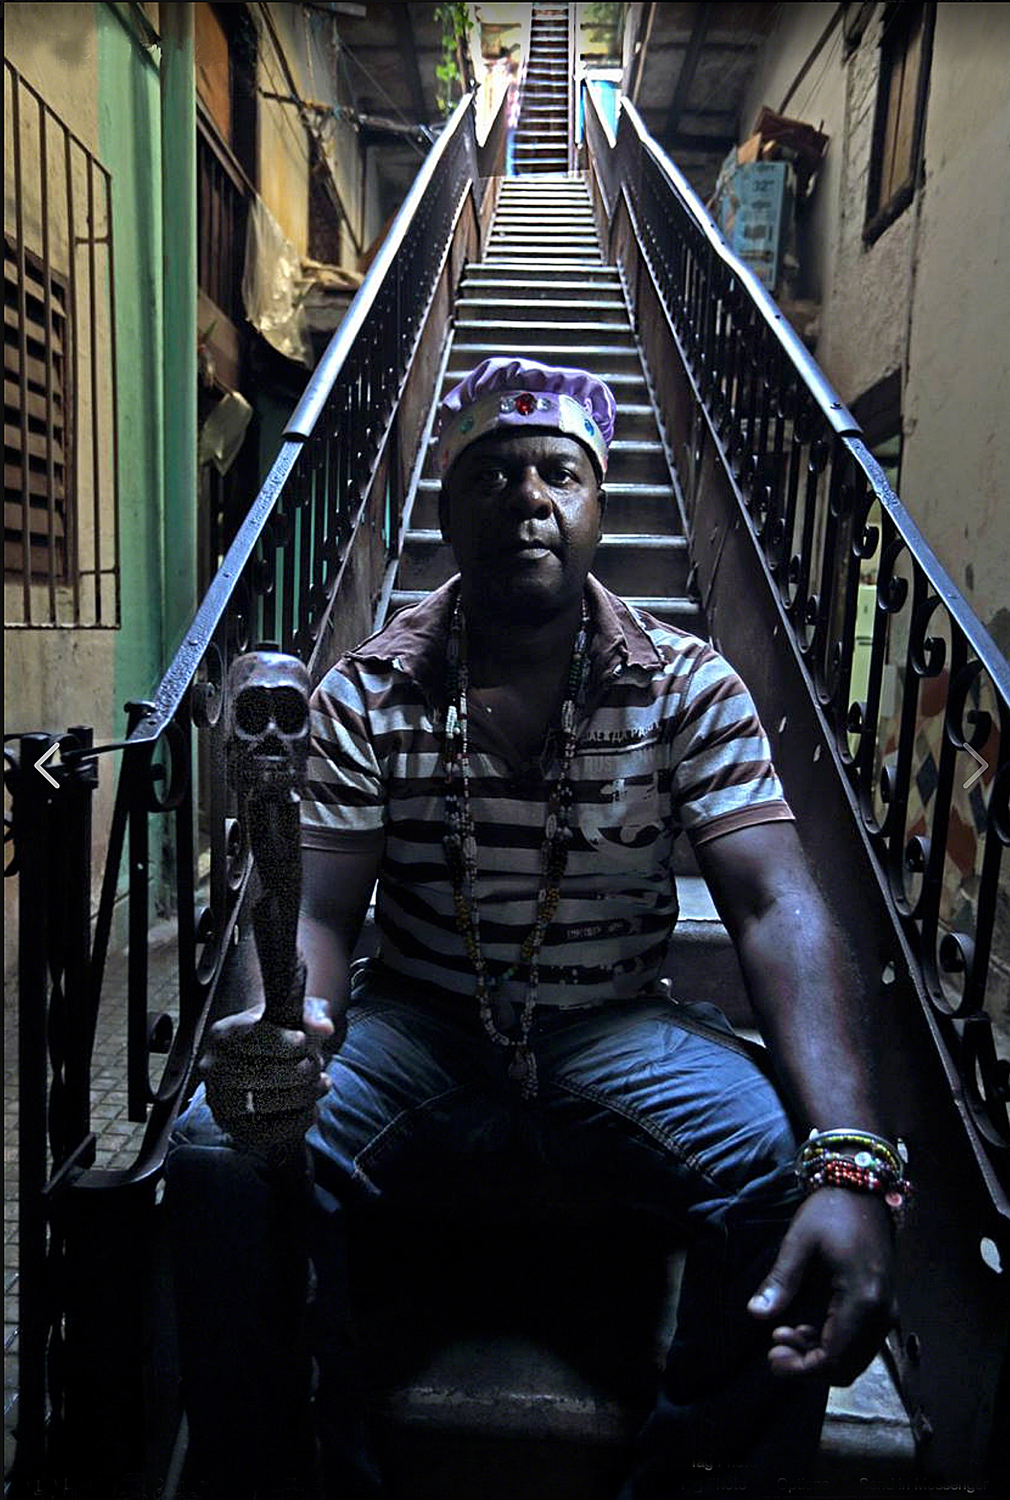
So, my fellow photographers, take some time when thinking about your photo. Think about how you can make it stronger so that the viewer will stick around longer. If it takes a while so be it, more than likely it will be worth the wait…just have some patience.
View my website at www.joebaraban.com, and check out my workshop schedule at the top of this blog. Come shoot with me sometime.
JoeB