I was paying attention.
On pretty much a daily basis, I create video critiques for the students that take my online classes with the BPSOP. During my “Stretching Your Frame of Mind” workshops I conduct around our perfectly round planet, I also have daily critiques of the photos the people are shooting each day.
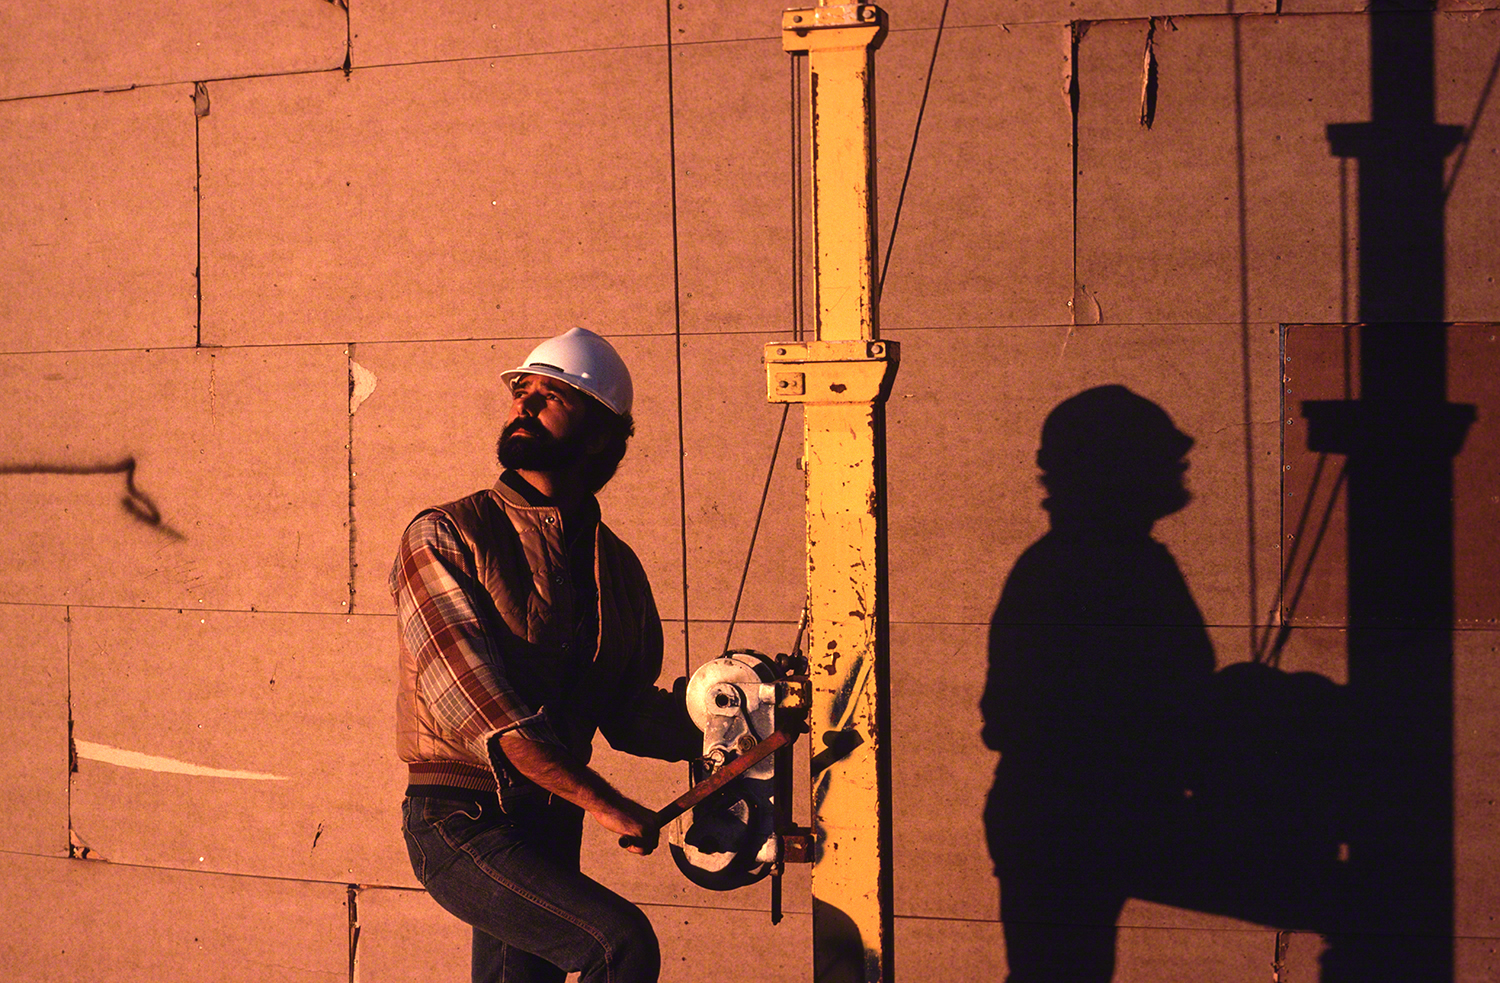
I invariably see images where the photographer didn’t pay attention to the four borders that create their composition. I call it “Border Patrol”. What I see are small parts of something they didn’t fully put in or completely take out…leave it in or take it out is my standard phrase. When I have no idea what the small part is, I refer to them as a UFO. In other word, “What the hell is that sticking into the corner of your frame”?
Maybe it’s part of someone’s hand coming into the frame or a piece of a sign, or how about most of a street light left out. Whatever it is, most of the time it’s discovered while sitting in front of your computer. I can tell you that it’s not the best way to become a stronger photographer.
You’re a director that directs still photos. If you were a film director you would be responsible for everything that goes on in your frame; that goes for still photos. It’s your responsibility to make sure everything you want in a photograph is in there, and the things you don’t want in you leave out. What you don’t want to do is to rely on post-processing to fix things.
There might be times when you can, based on your skill level. There’s going to be more times when you can’t no matter how adept you are with your mouse….trust me on this!
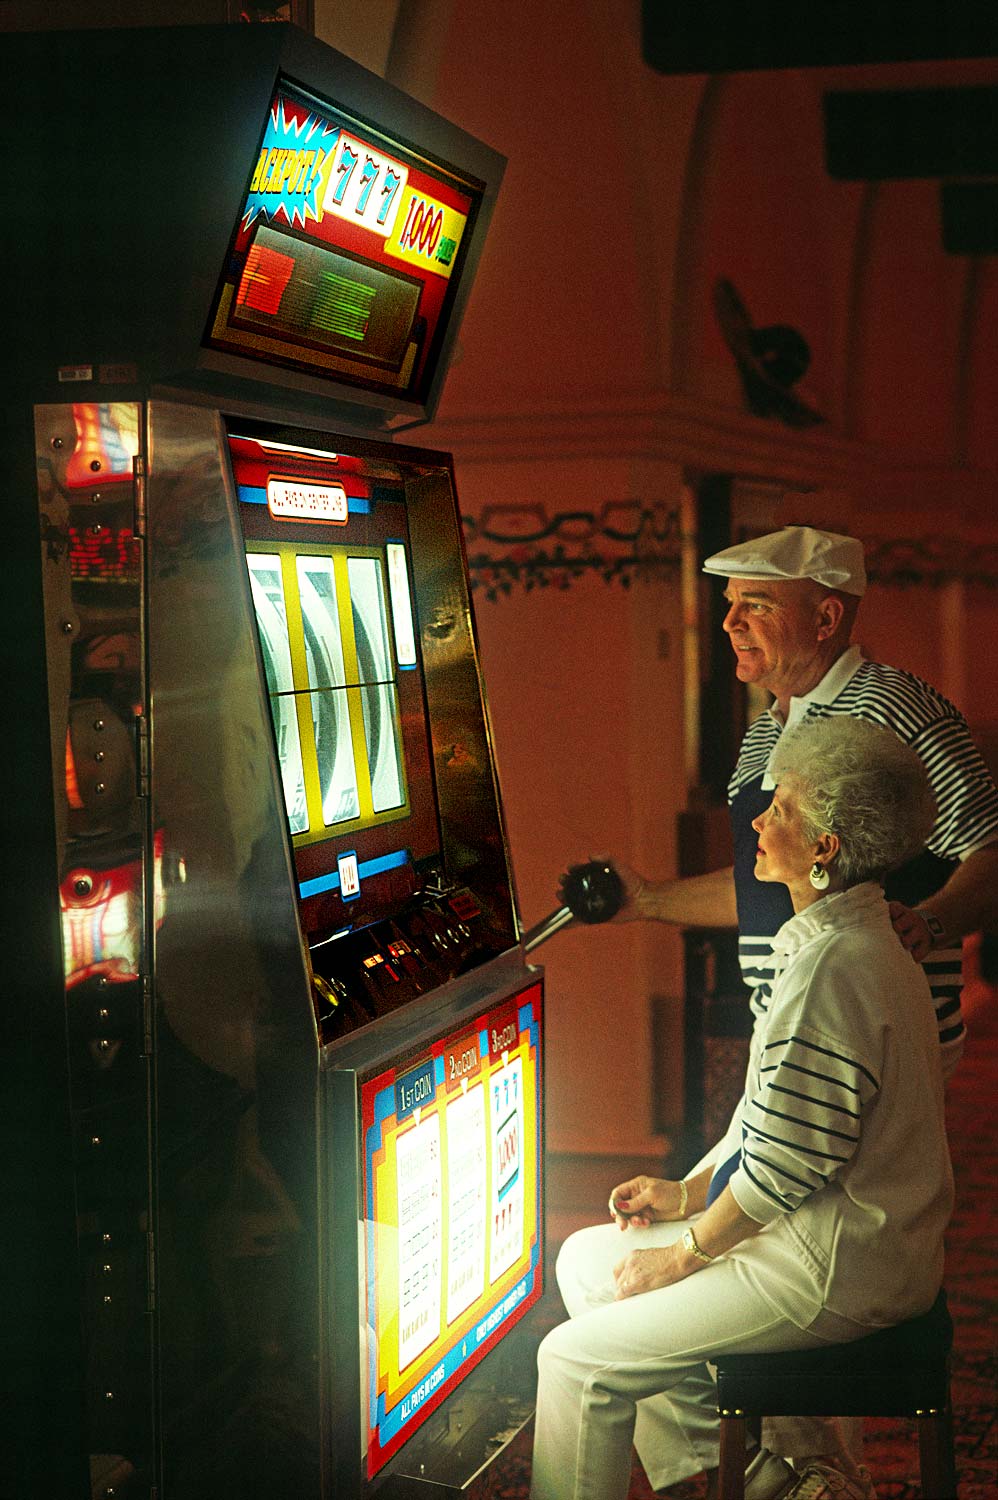
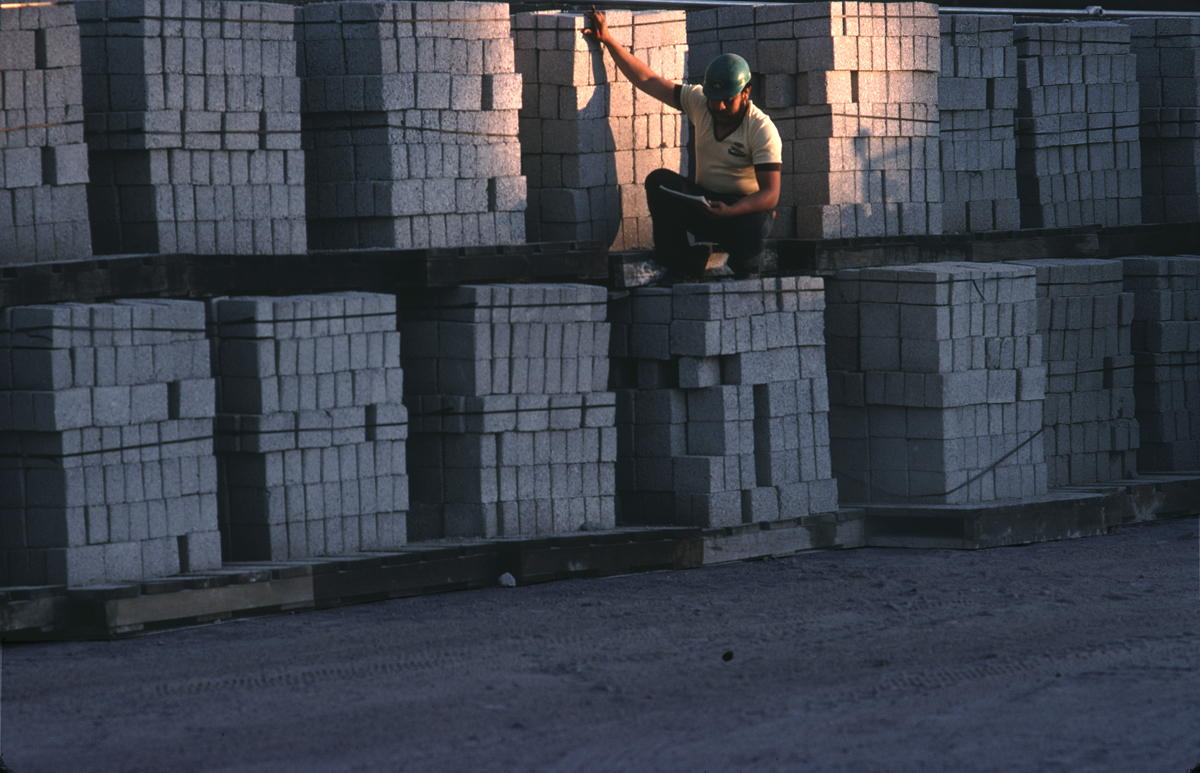
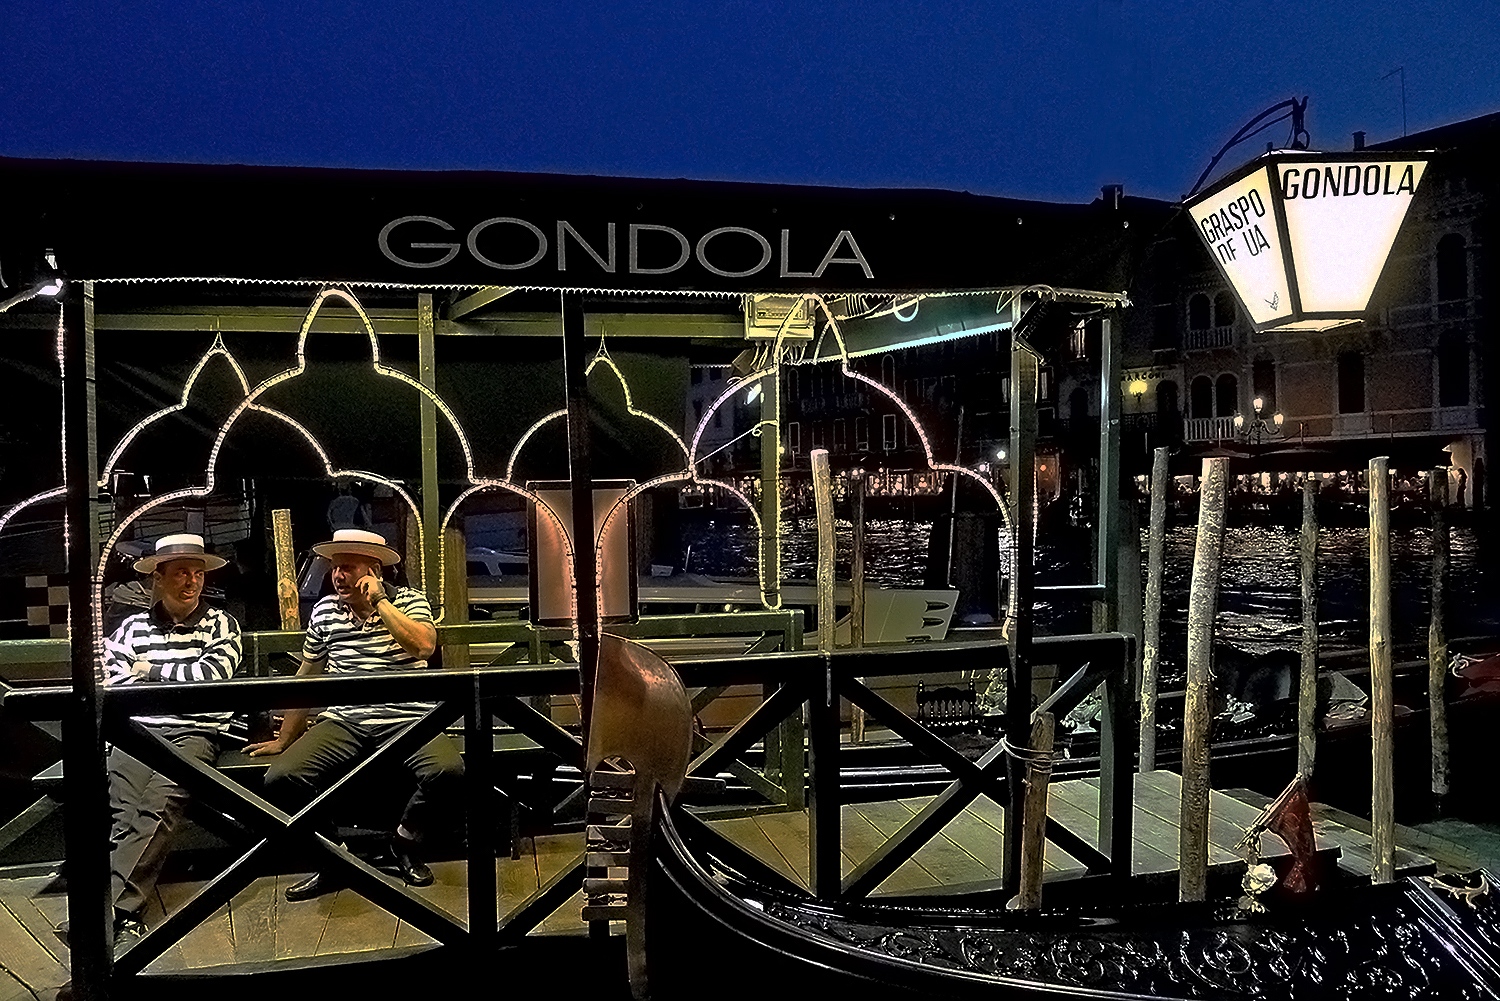
In the above photo, if I was only paying attention to the two gondoliers, I might have cut off most of the street light. However, I was also paying attention to my four borders.
Visit my website at JoeBaraban.com, and check out my workshop schedule at the top of this blog. Come shoot with me sometime.
JoeB