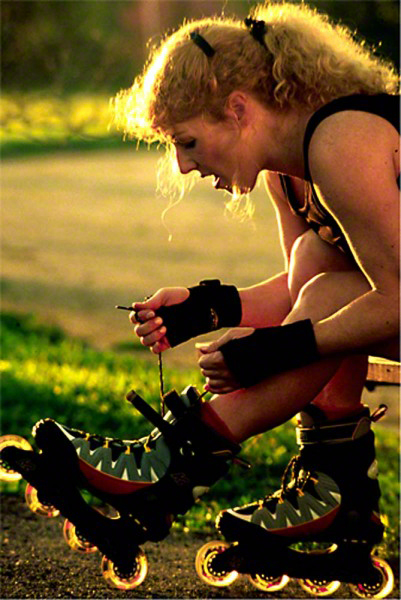
Look ma, no Photoshop.
In my online class with the BPSOP, and in my “Stretching Your Frame of Mind” workshops I conduct around the planet, I’m always showing examples of my work to make a point or to illustrate one of the elements of Visual Design that we work on from day to day.
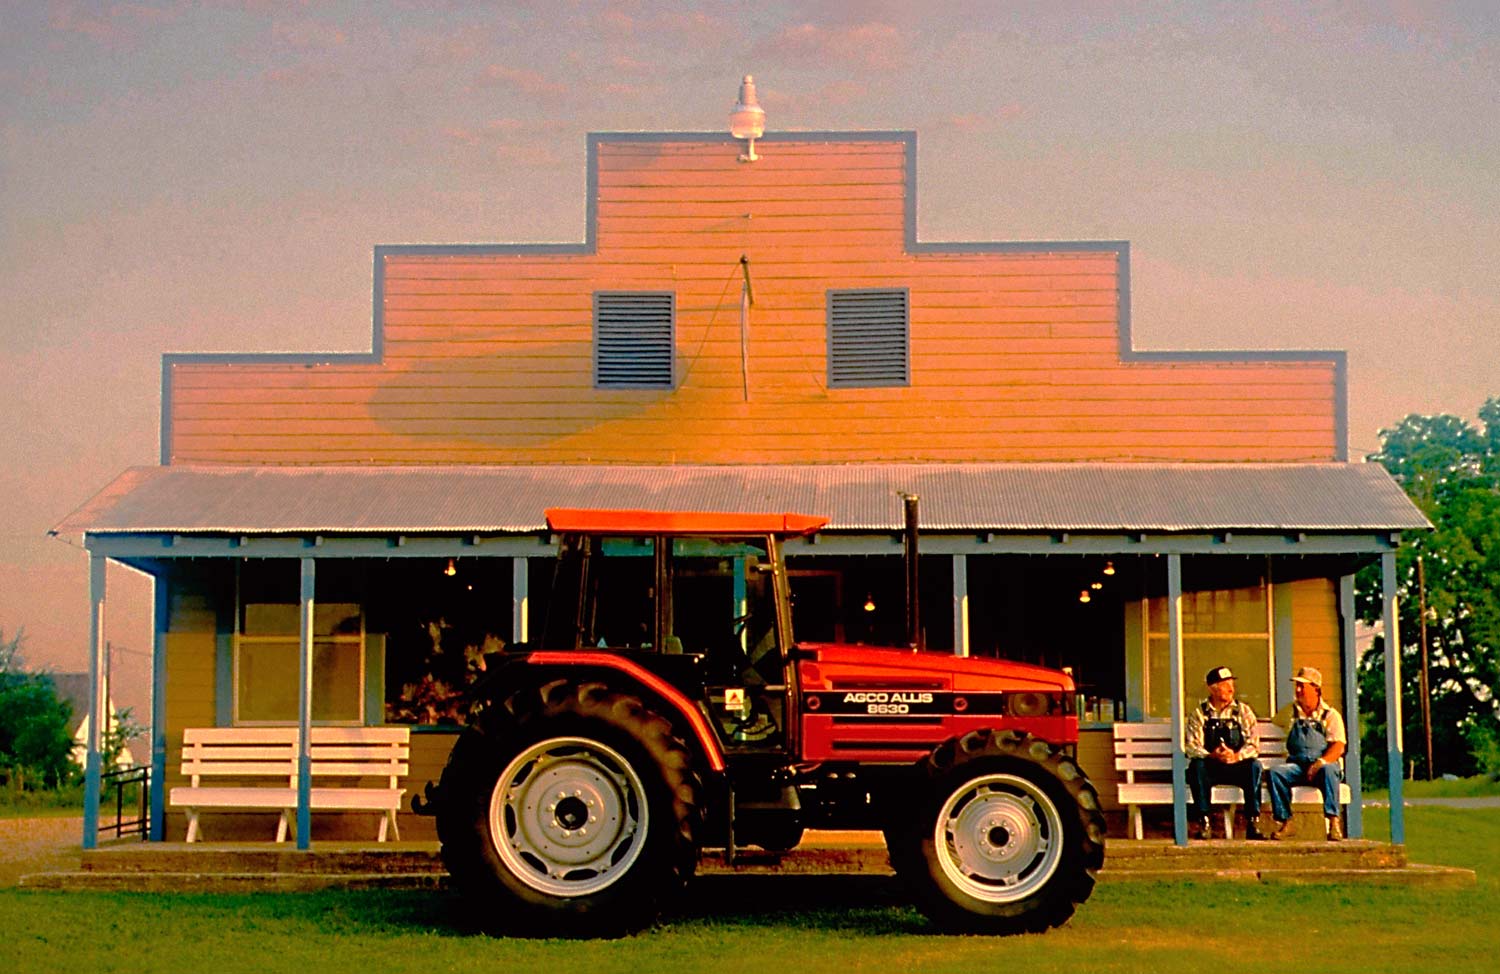
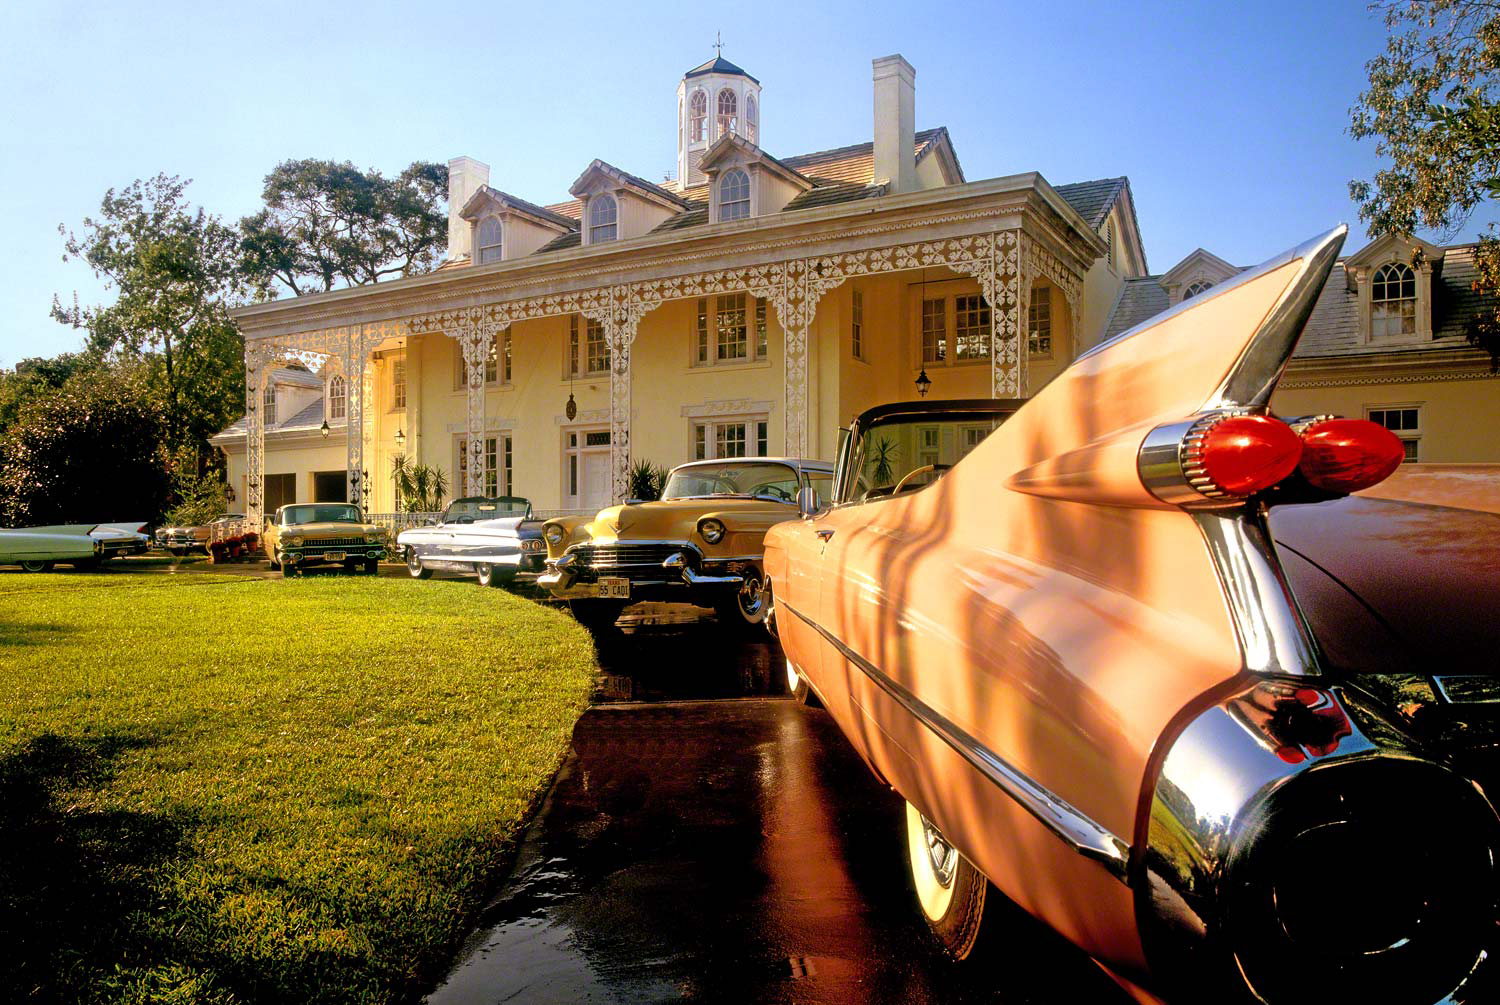
A lot of my examples were shot in the days of film so most of the time there wasn’t any post processing done to them. Since the majority of my students started shooting in the digital age where everyone thinks Lightroom and Photoshop are part of the photographic process, I get a lot of “WOW you’re kidding, these were all shot without any post processing?” I just love it when that happens!!!
Don’t get me wrong, I use Photoshop all the time. I probably do something to every photo I take now. However, I would much rather create my photos in the camera. to me that’s about being a good photographer and not a good computer artist or digital technician. I love the challenge, and when things are working out and I’m about to click the shutter having done everything (or most everything) beforehand, I get a pretty damn good feeling inside.
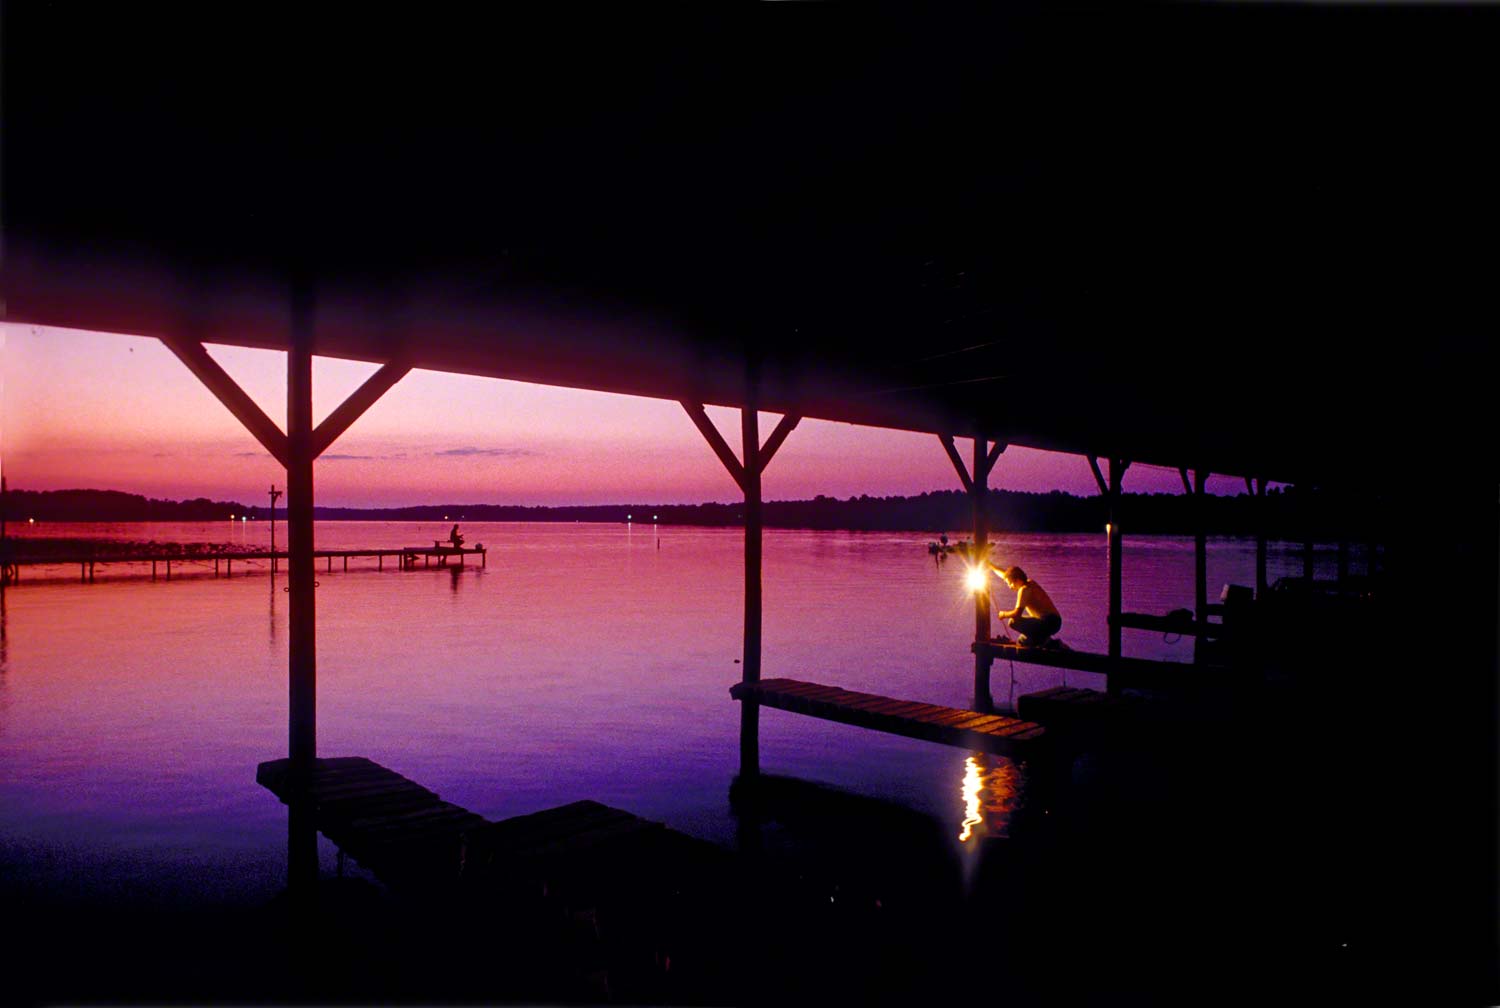
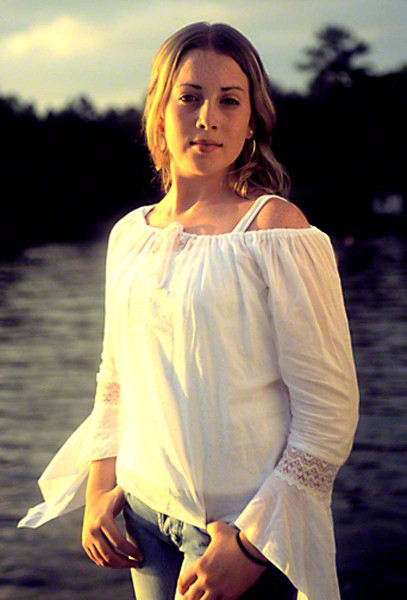
In the photo above, I was in Hawaii for five weeks shooting whatever I wanted for United Airline’s new advertising campaign. There was a template that had been approved ahead of time for the design of the ad, so I had to shoot photos that would fit into that template. Needless to say a dream project!!!
It was so long ago that I can’t remember what Island we were on (we shot on all of them), but we found a couple of divers that would work for us for a fee. I was set up on some rocks across this small area of water. It wasn’t very high up, it just appears that way.
My assistant was behind the rocks right nest to the divers. We each had walki-talkis so I could tell him when I was ready for one of them to dive. I would also have him direct the divers, for example having them keep their feet together and their hands spread out straight so they would be equal on both sides.
I saw this cloud moving fairly fast across the water from right to left, and became worried that it would finish the shoot by blocking the sun; I knew it was going to be close. I was hoping that the sun would drop enough to be under the cloud formation and not stop the shoot. What I didn’t realize is that when the sun did do as I was hoping, and fell below the cloud, it lit up the underneath like something I had never seen before.
I had my assistant tell these guys to dive as many times as they could, climb back up to the top and dive again. I was able to get two more dives apiece before the sun and the incredibly light was gone.
Needless to say I was worried. In the days before you could just look at the back of your camera, you had to have the perfect exposure and wait until you could send the film off to the lab. It sometimes became a nail biter. Sometimes you had to fly out not knowing you had captured it or not.
When I was able to go through all the film, I saw it…drinks were on the house!!!!
As one of the most famous photographers named Eddie Adams once said, “When you get lucky, be ready”.
Visit my website at: www.joebaraban.com, and follow me on Instgram www.instagram.com/barabanjoe/ Watch for upcoming workshops in 2023
JoeB