Food For Digital Thought: If I Had Hammer…
I’ll admit that in my college days, and the days soon after, one of my favorite songs was sung by one of my all-time favorite groups. The song was If I Had a Hammer, and the group was Peter, Paul, and Mary. I won’t take up space or time here but it was about someone that would hammer all the time, day or night. He would hammer out all the social injustices and love (lots of them in the sixties) all over the land.
Ok, you might be asking yourself how this could possibly relate to this Photography Blog???
I’ll answer that by submitting to you this saying,” If you have a hammer in your hand and everything looks like a nail, then you have a problem”. Still wondering????
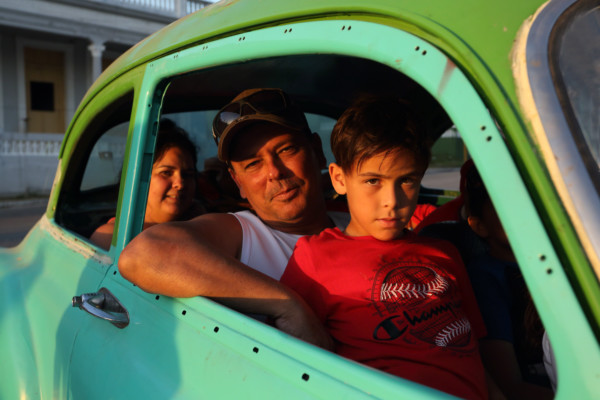
In my online class with the BPSOP, and in my “Stretching Your Frame of Mind” workshops I conduct around the planet, I’m constantly telling my fellow photographers to try different lenses. So many people get comfortable with one lens or one focal length on their zoom until it gets to be a problem. What I mean is that a comfort zone might be established and sooner rather than later a fear will creep into your psyche and manifest itself deep into your thought process. It’s very powerful and could prohibit you from advancing creativity.
Yes, I’ve seen it happen, and believe me it’s not a pretty sight!!!
It can become so obvious, that after a few days in one of my workshops, or even online, I can almost tell who shot the submitted picture without looking at the name. Either because the photo was taken at the exact same height (that would be the height of the person’s eyes to the ground), or the same things were in focus or out of focus across the composition, or the amount of subject matter was the same from edge to edge and from top to bottom, or the shutter speed, ISO, and the aperture were identical. It’s no wonder that I’m always being told by a student that they feel like they’re finding it difficult to be creative.
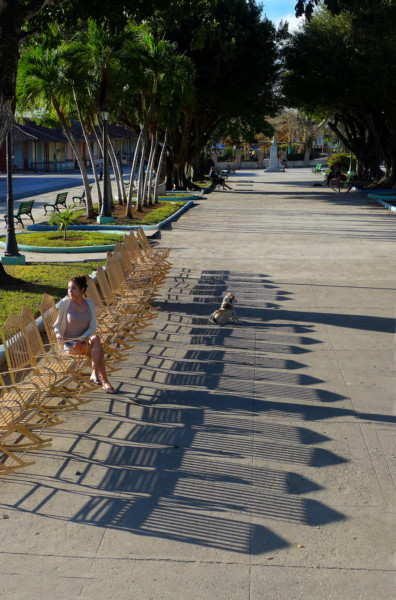
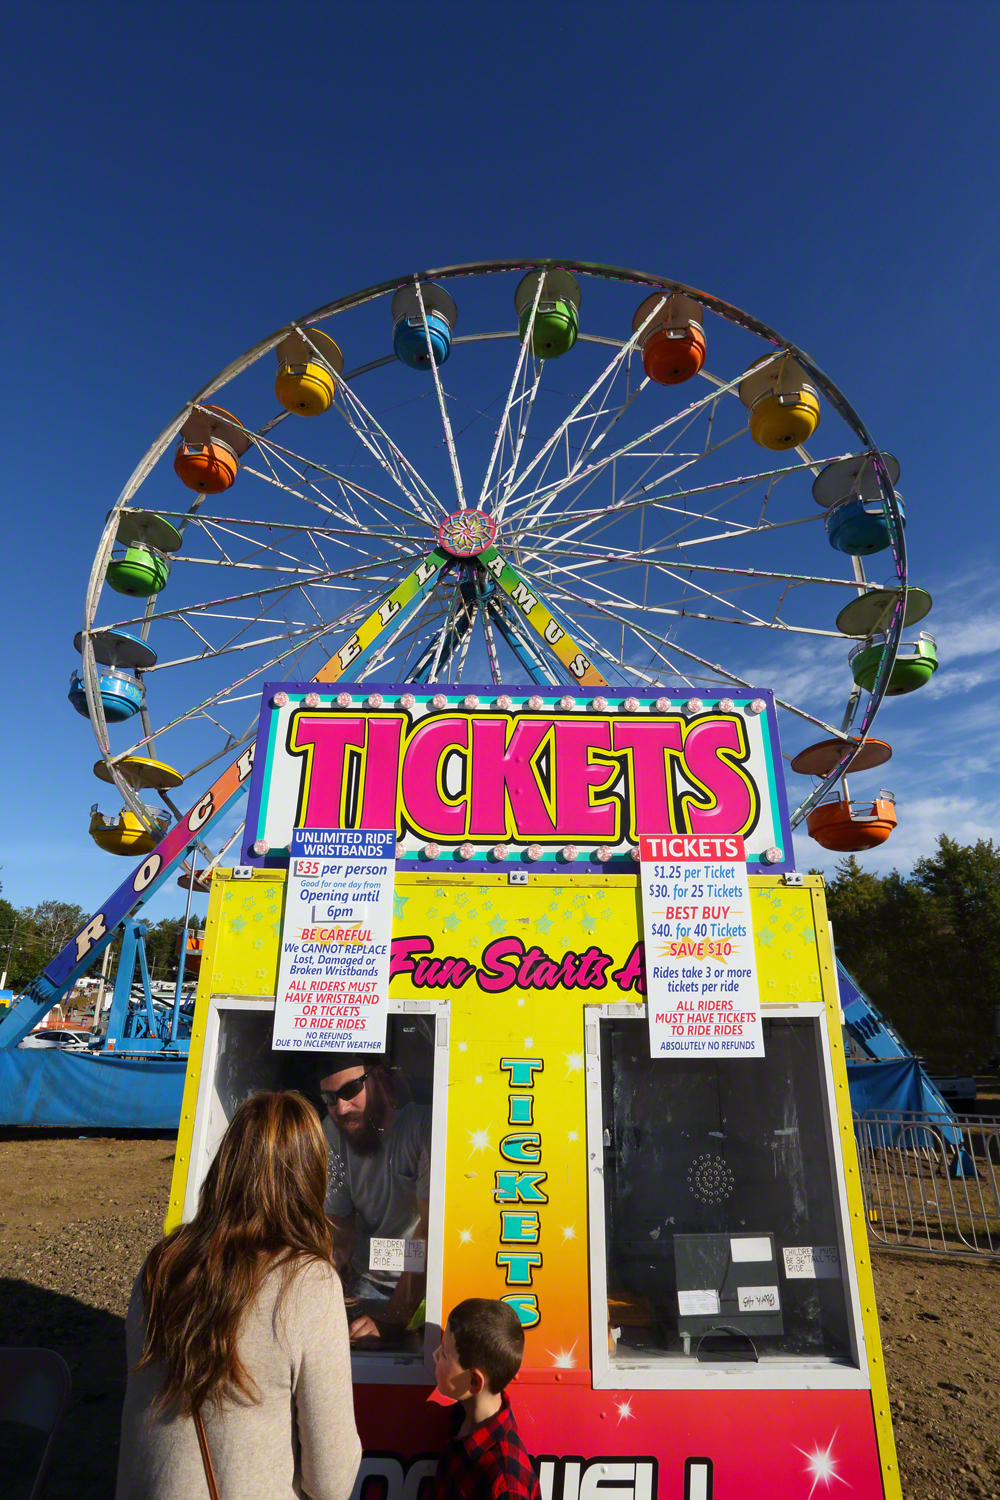
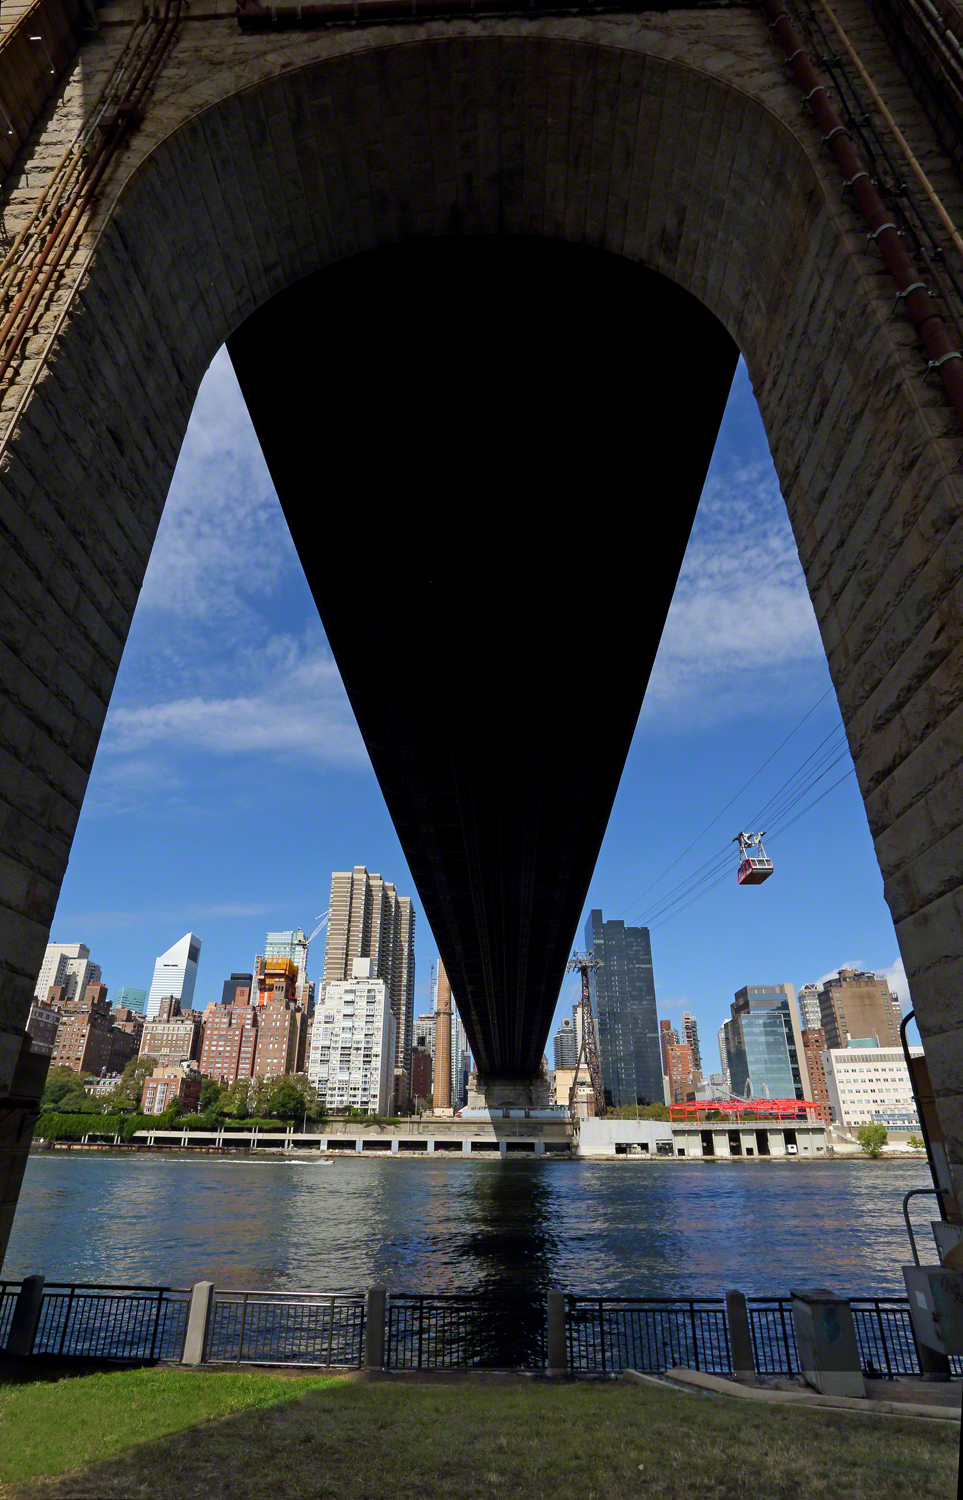
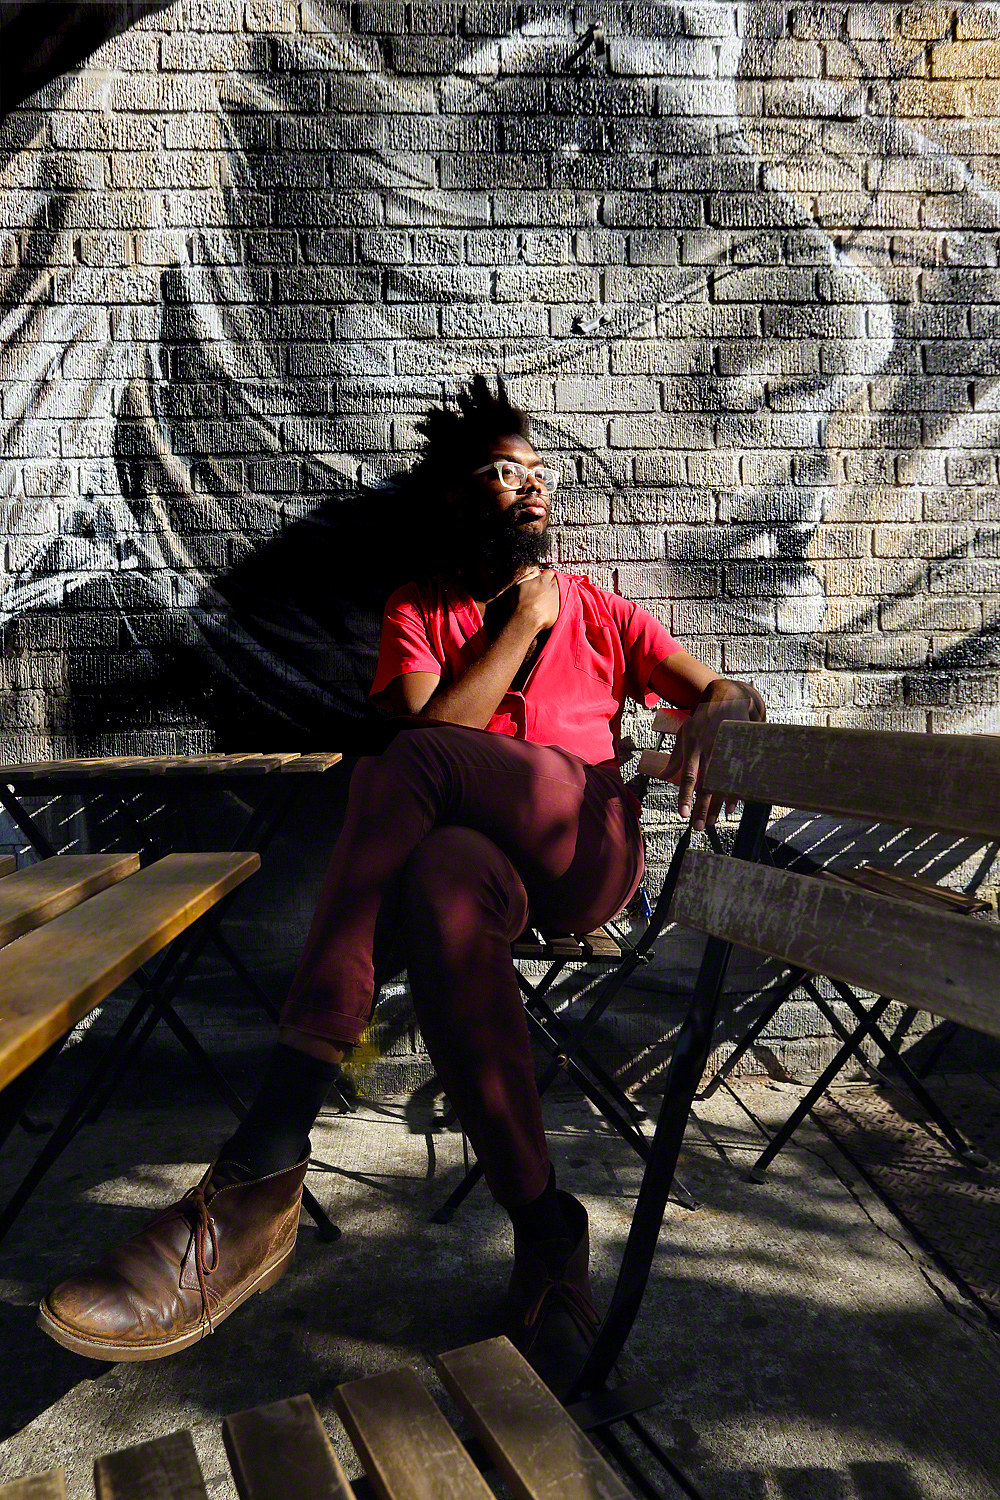
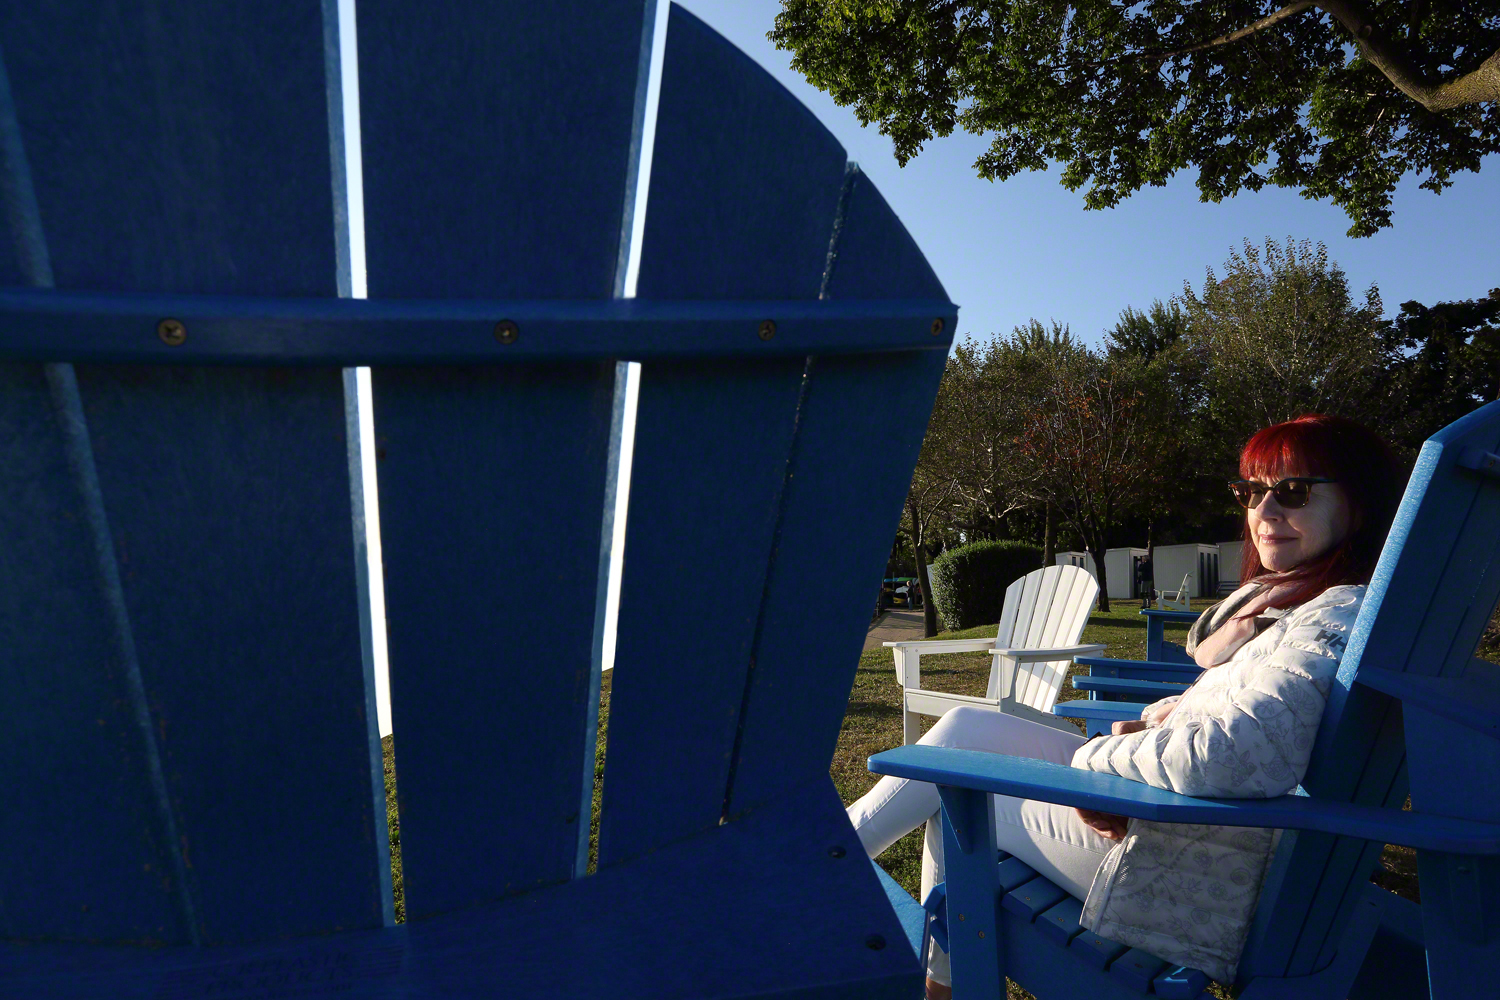
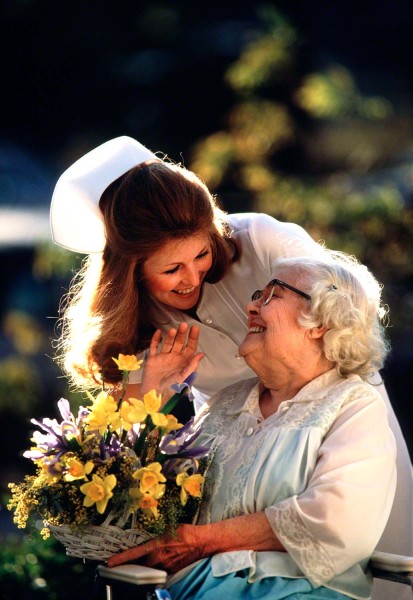
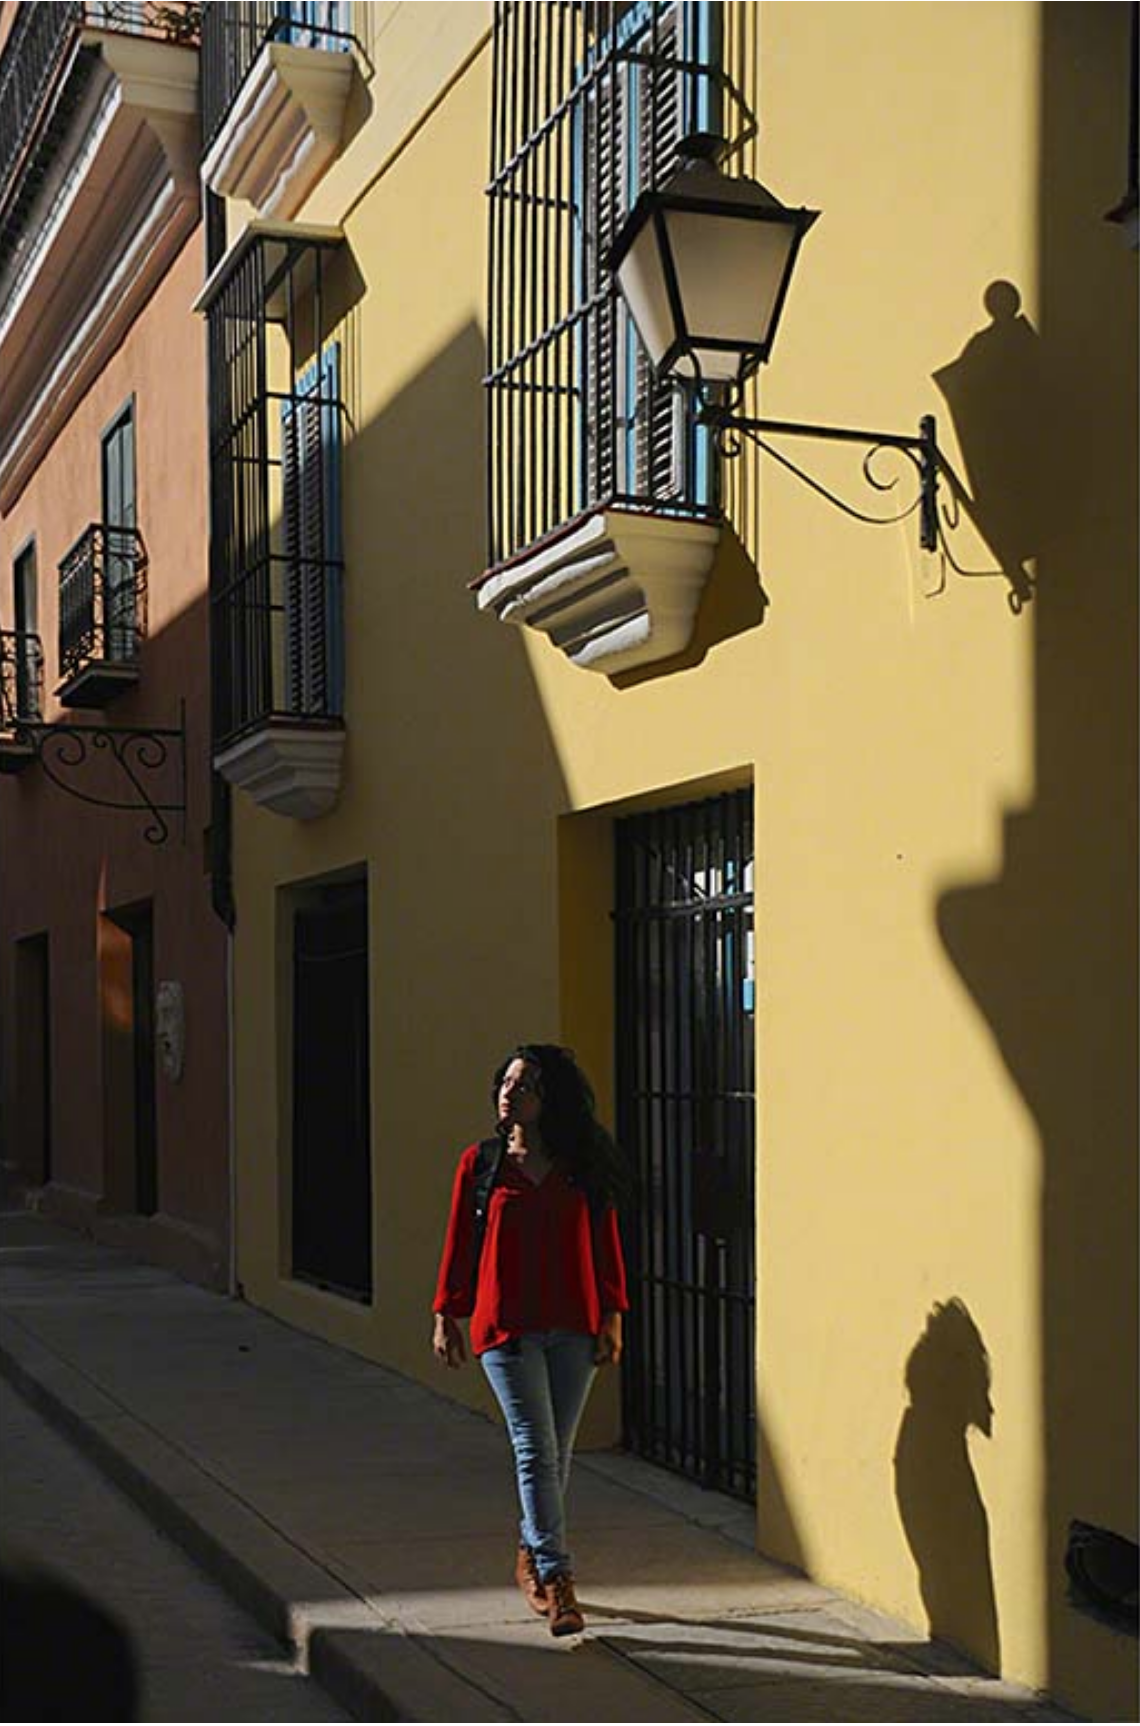
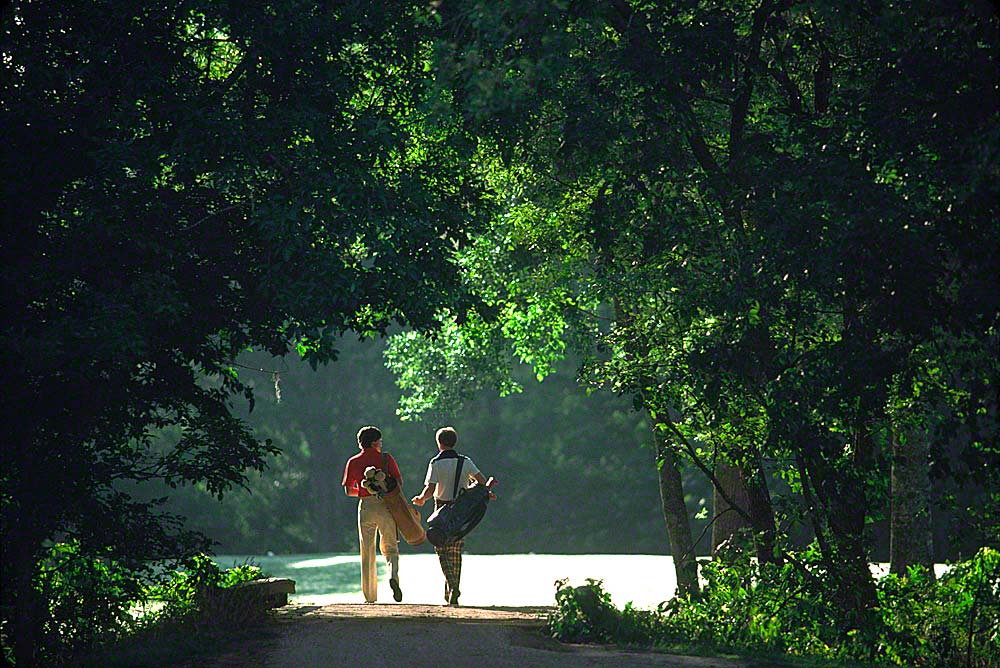
How do we go about taking your photos “up a notch”? It’s the ability to look at the same subject matter/location as many ways as you can. That means changing your lens all the time. Look at it with a wide-angle, something at least in the 17- 20mm range, then from 35-70mm, then over 70mm if you can. Of course, this is made easier if you have a couple of zoom with you; sometimes a little too easy!!!
What I mean by that is zoom lenses make us lazy. It can keep us from moving around a scene. Ernst Haas once said, “The best zoom lens is your feet”, and I couldn’t offer better advice to anyone.
Next time you go out, put on a lens you’ve completely forgotten about and shoot with it. It sounds easy, but for many people, it can be tooooooo scary to even consider. You just got to “Get over the hump”!!!
Visit my new website at www.joebaraban.com and check out my 2020 workshop schedule at the top of this blog. Come shoot with me sometime.
JoeB