Did it do it: Did It Have Energy?
About seven years ago I wrote a series of posts around a phrase I talk about to both my online class with the BPSOP, and my “Stretching Yor Frame of Mind” workshops I conduct around the planet. I’m always handing out information on ways to take my students photos what I refer to as “Up a Notch”.
I’ve had some new interest lately so I thought I would bring back these posts to share once again over the next few weeks.
One of the first pieces of information I hand out is what I call my “Did It Do It” list for good composition. There are twelve of them I will to be discussing again with you. These aren’t rules that you have to live by, as you followers of my blog know I don’t like rules. It just good advise from someone that has been thinking about them for a very, very long time. I call this one “did it have energy”.
I’m not talking about the kind of energy a photographer needs to feed his passion, although that’s certainly a part of it. Passion is what drives us when things are difficult, it is by far the most efficient energy source that we have as humans.
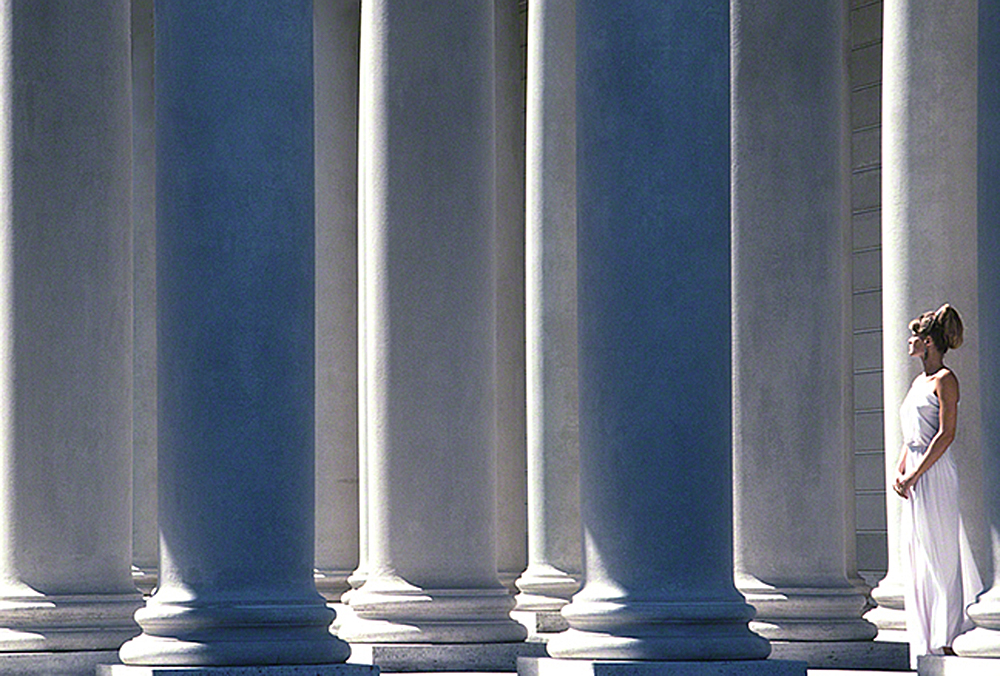
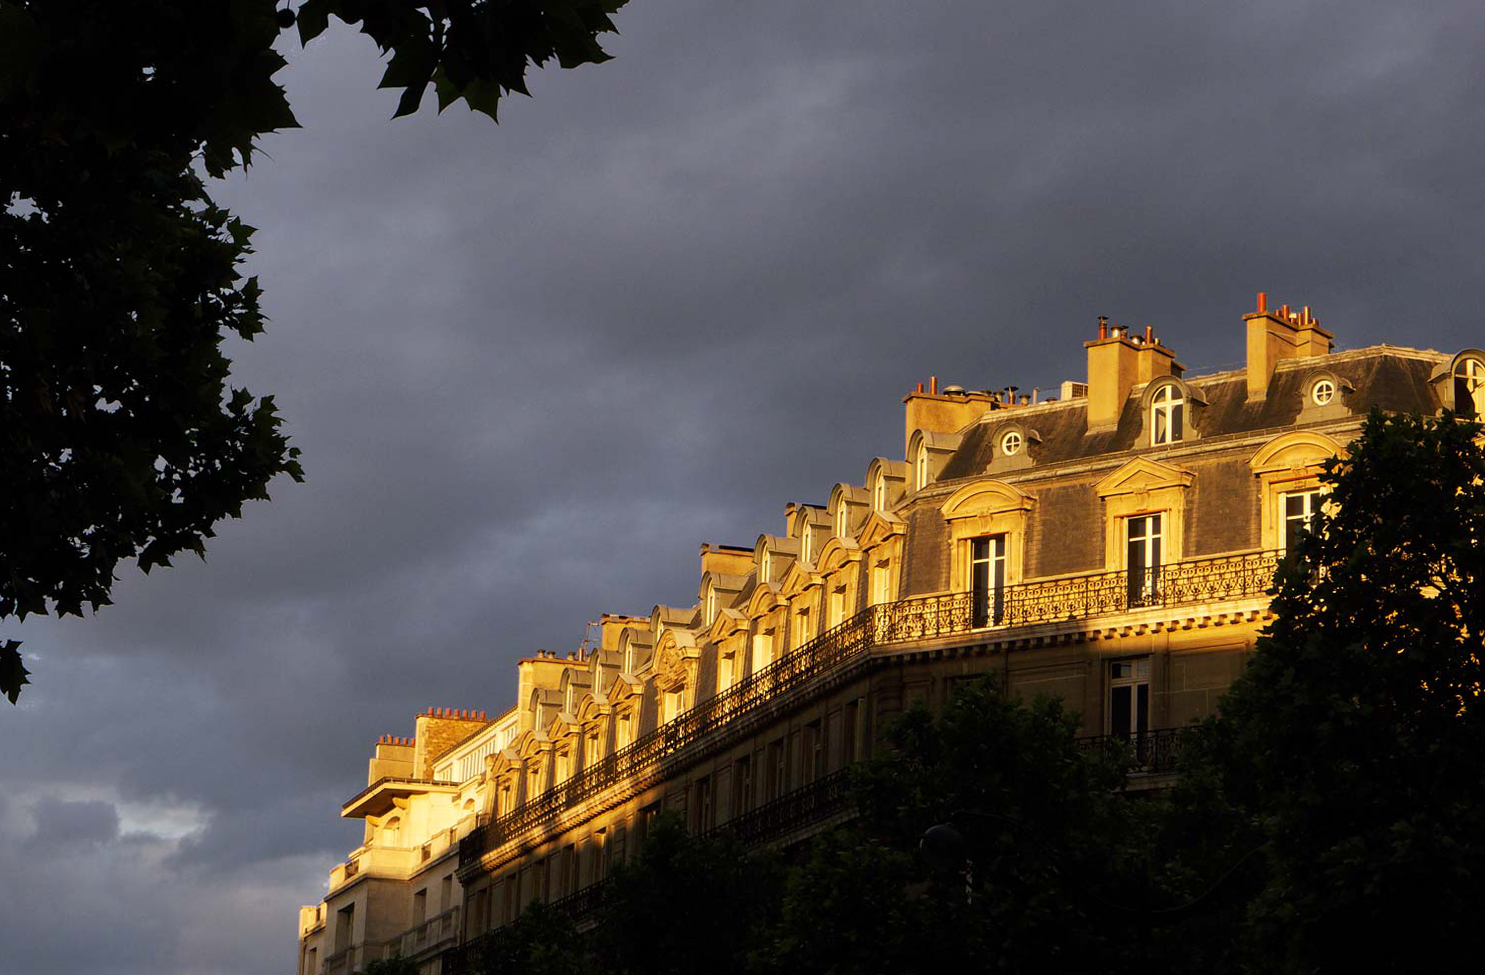
I’m also not talking about the type of energy that’s usually associated with running or moving around quickly to get off a shot. I’m talking about the kind of energy that’s directly related to Visual Tension. Not the type of tension that comes from mental or emotional strain; I’m mean Visual Tension. This is a state in the viewer’s mind when forces act in opposition to one another.
Tension is what prompts the viewer’s brain to spend a little extra attention trying to understand an image. To do so, they should intuitively recognize that there’s more in the frame than what may be obvious at first glance and that there’s potential value in seeking a deeper meaning.
In my online class with the BPSOP, and in my “Stretching Your Frame of Mind” workshop I conduct around the planet, we work on creating energy in our imagery. In these classes my formula is E=T2. This means Energy equals Tension. The squared part is just for show because it looks good when it’s written!!!
🙂
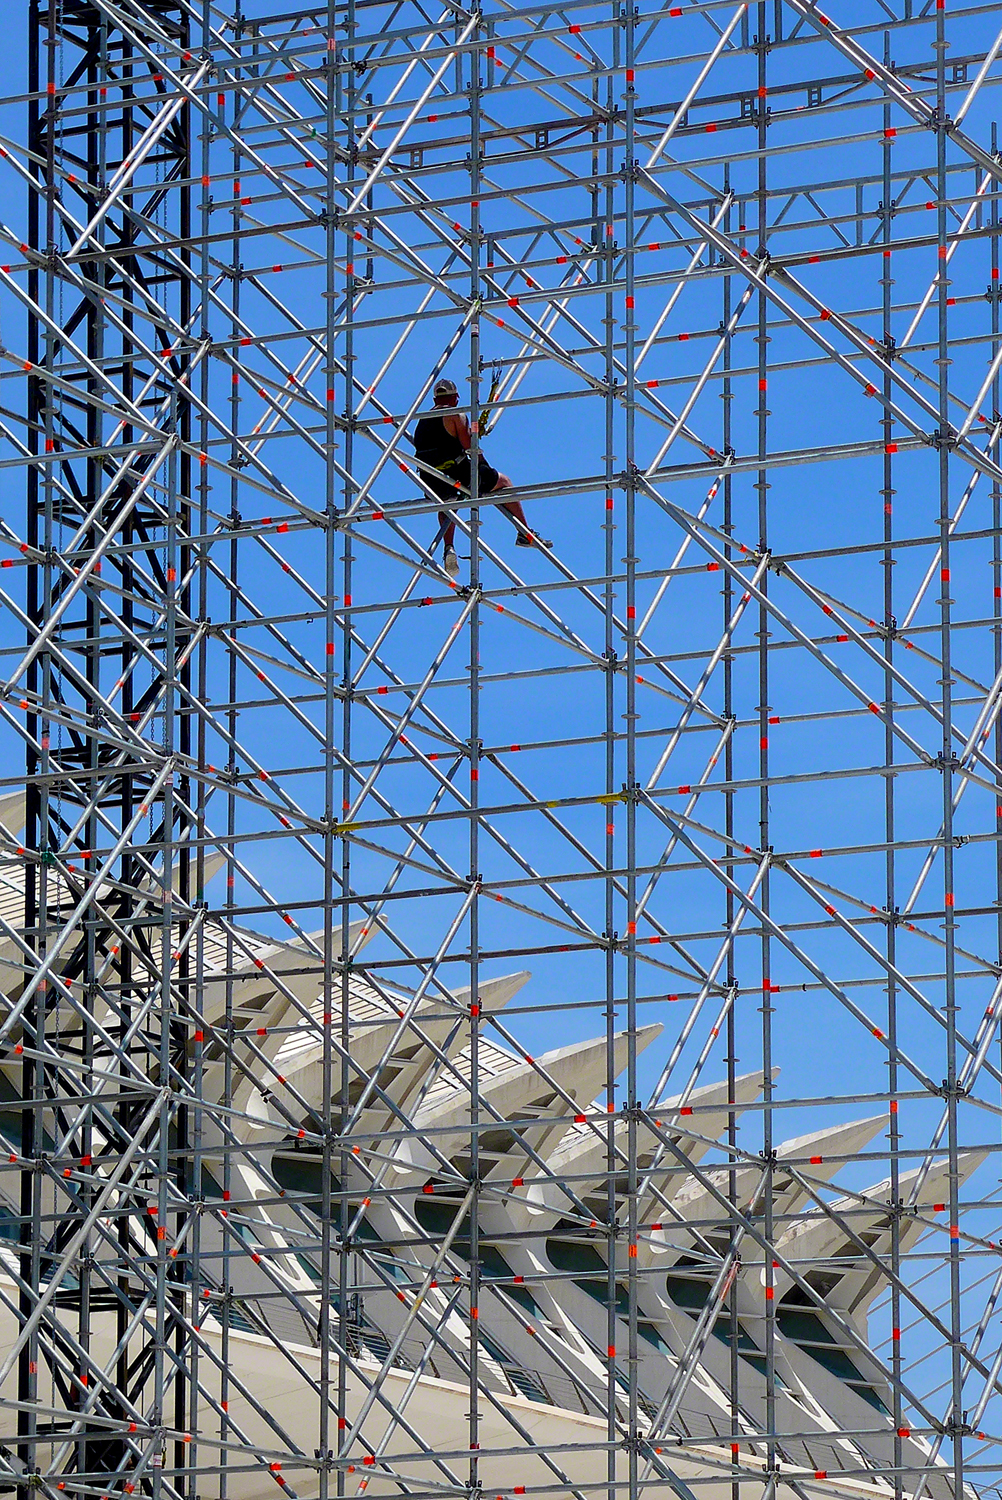
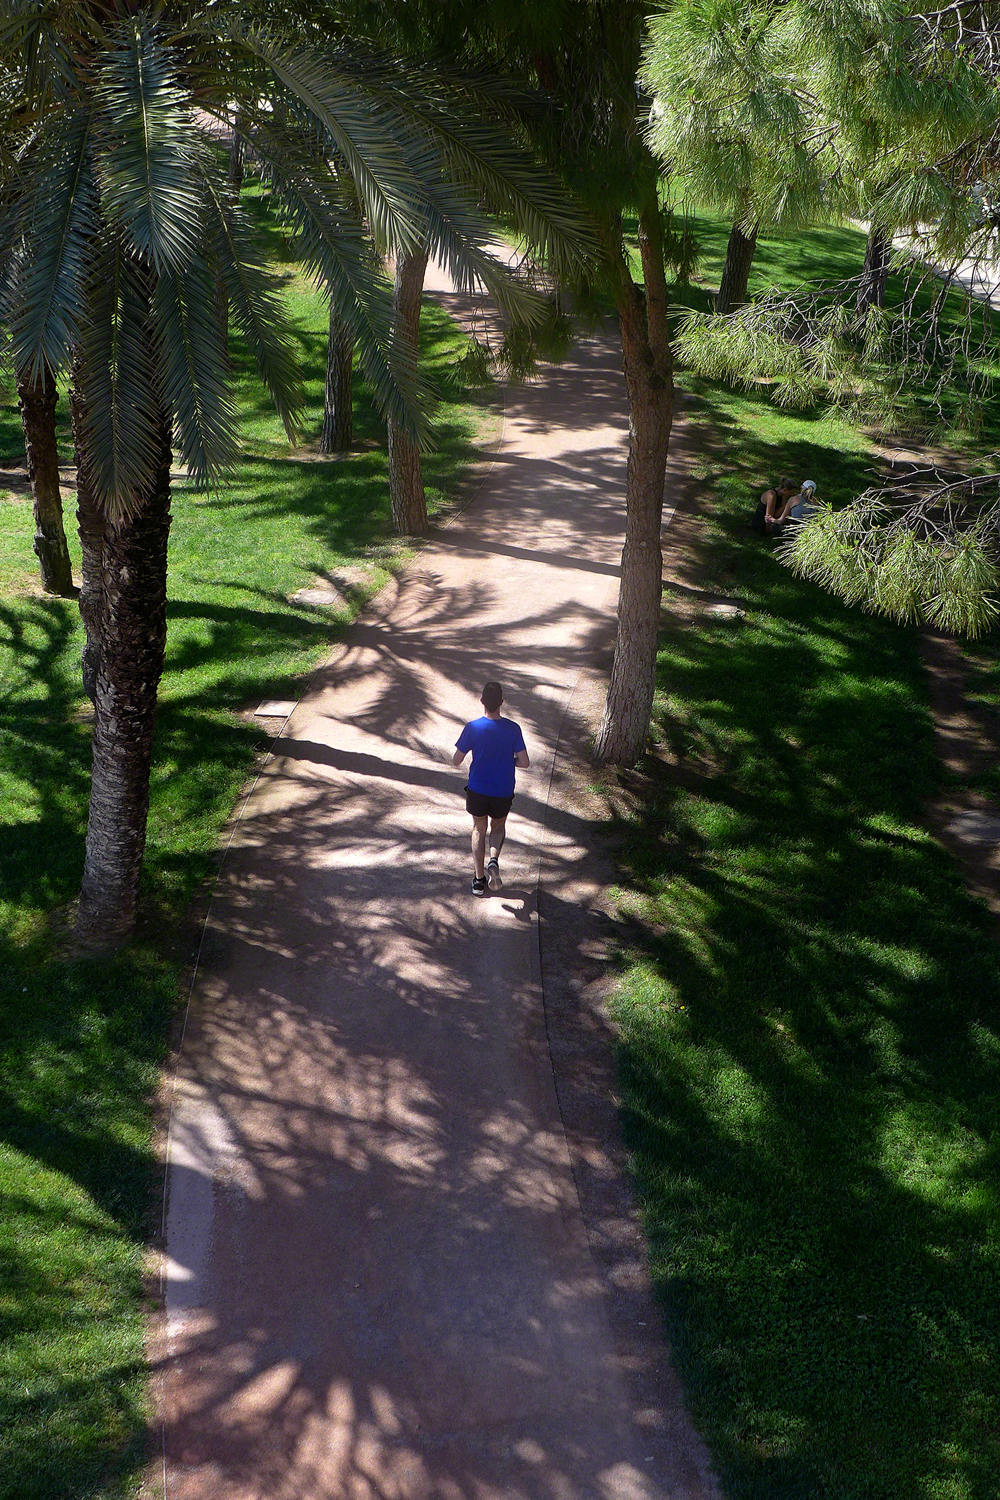
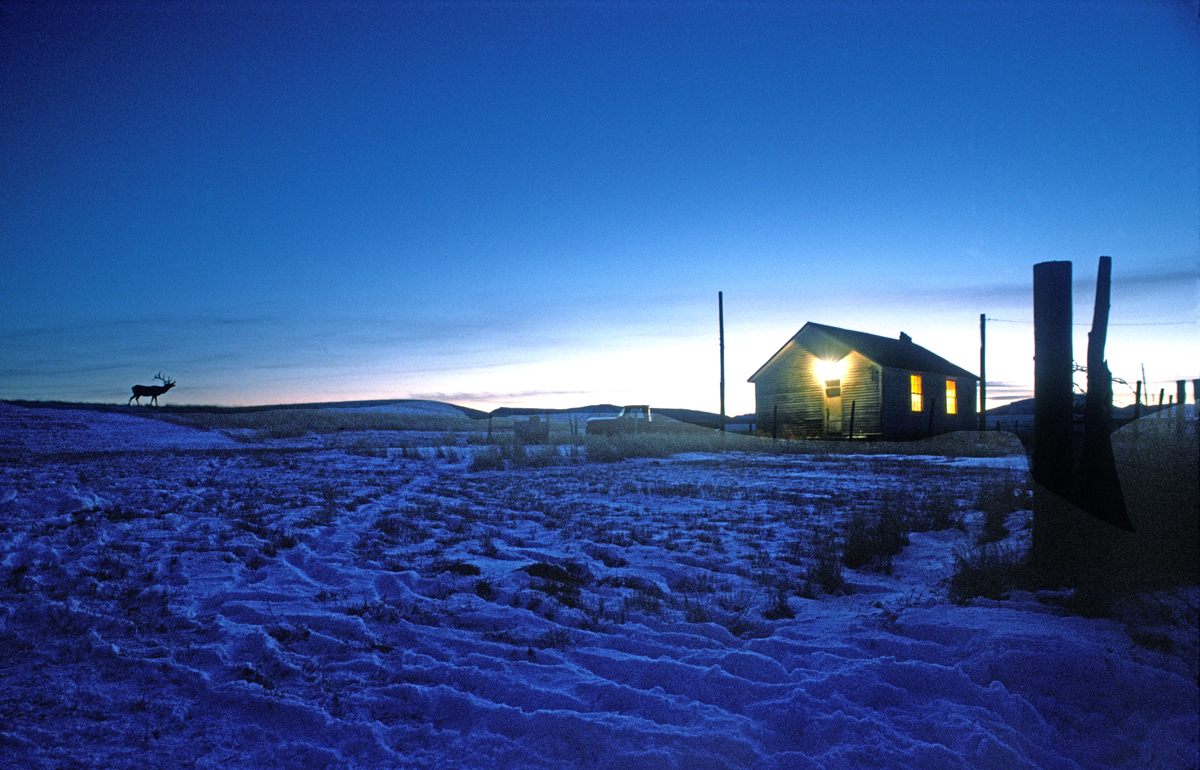
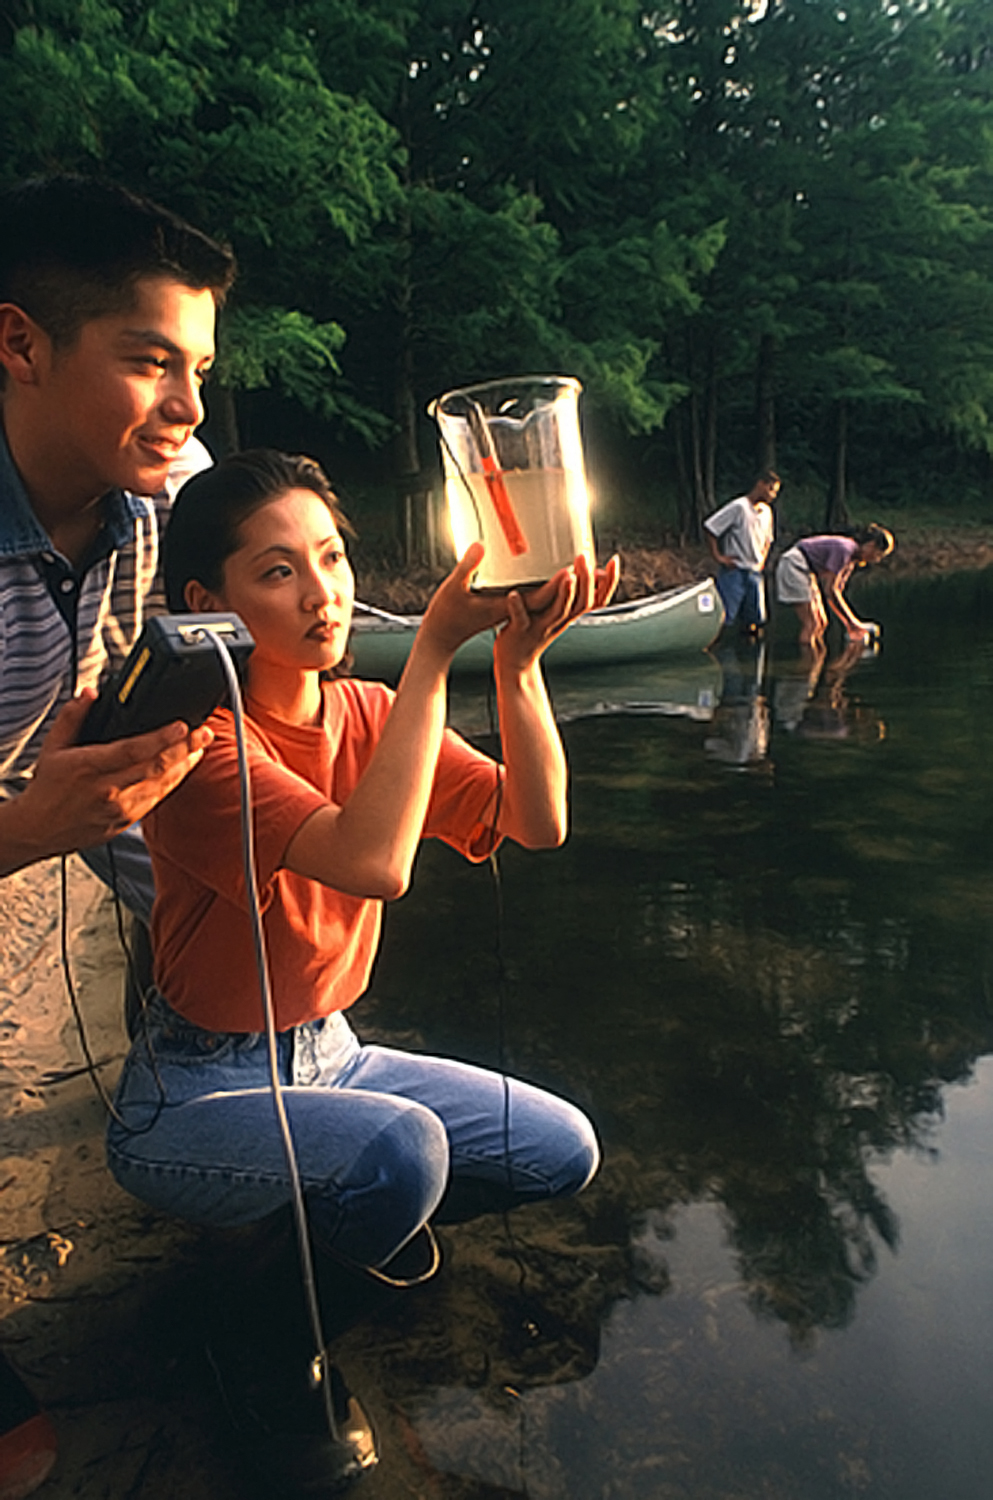
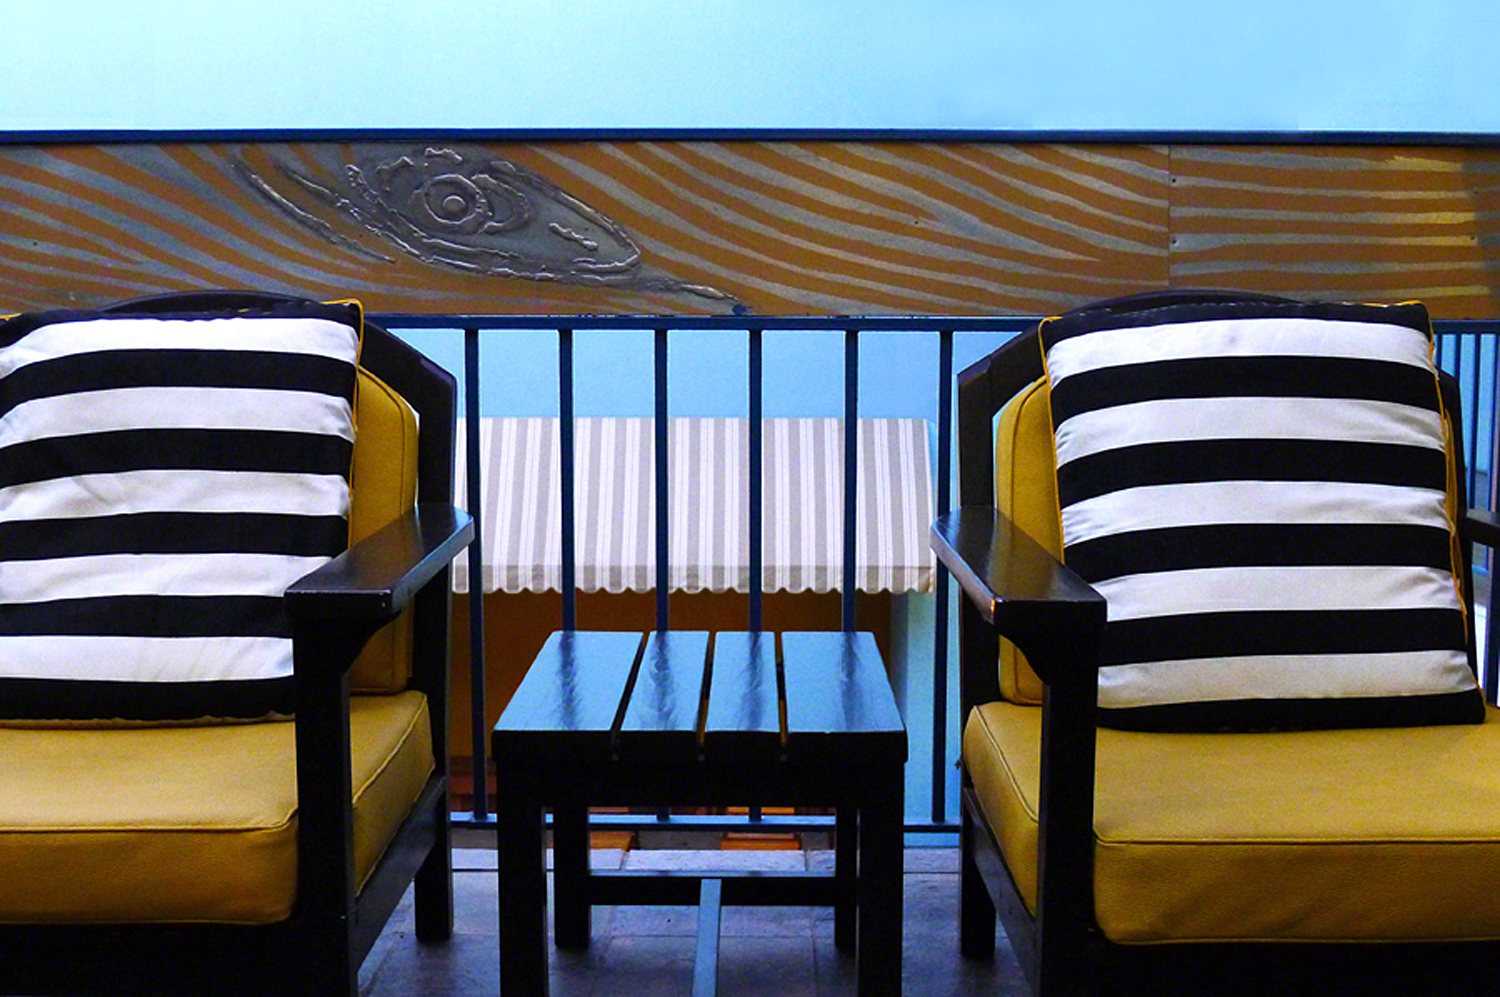
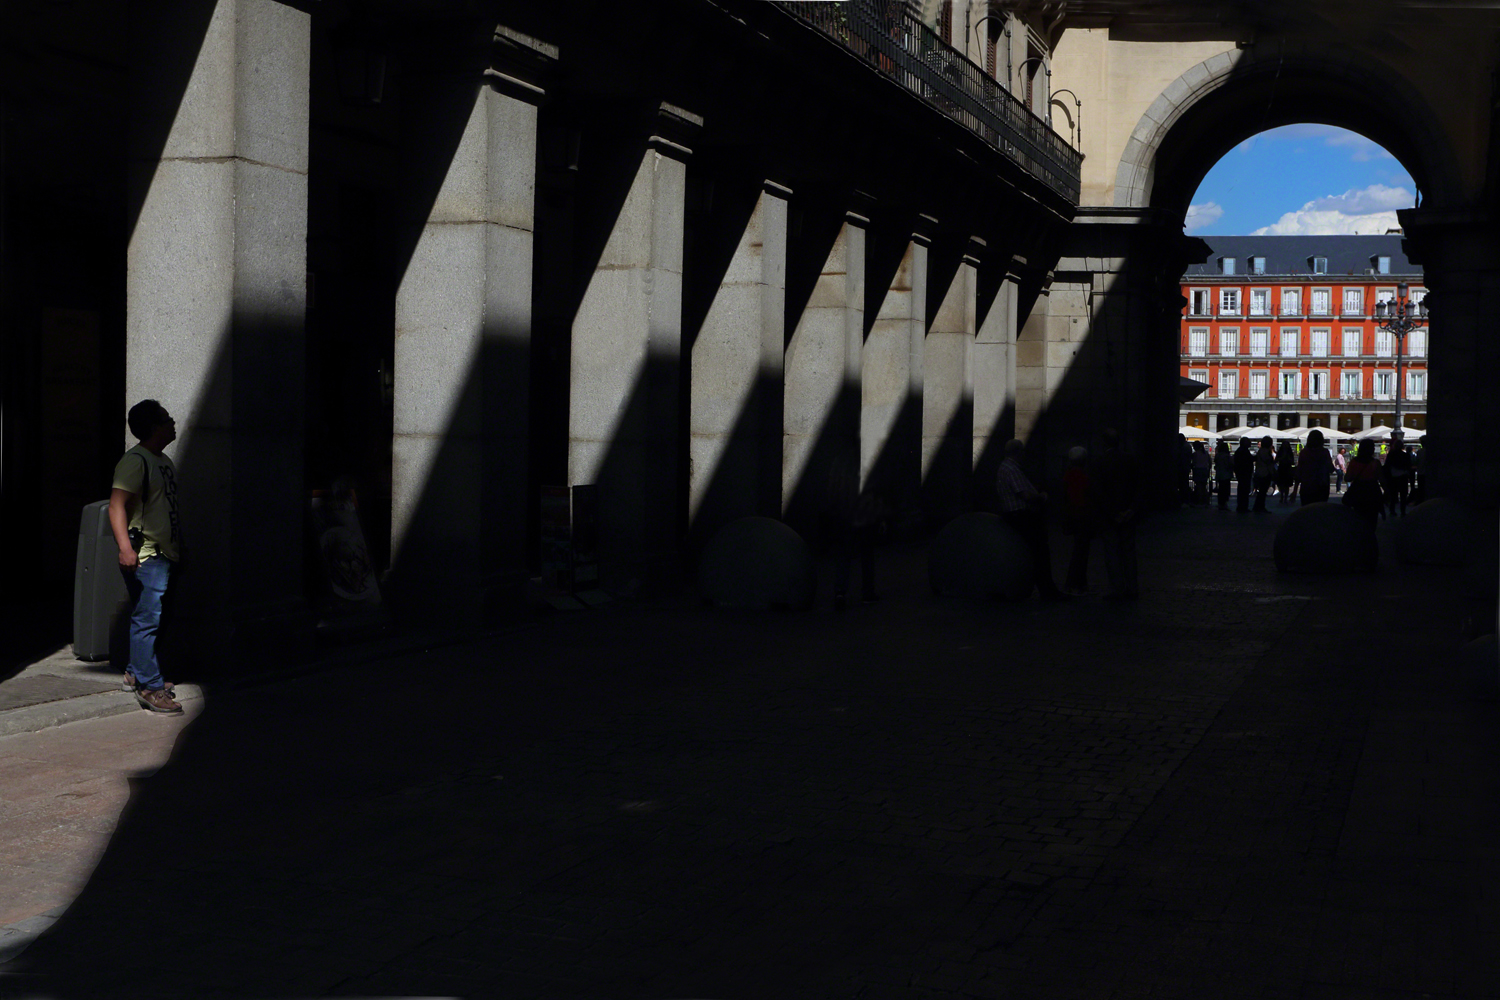
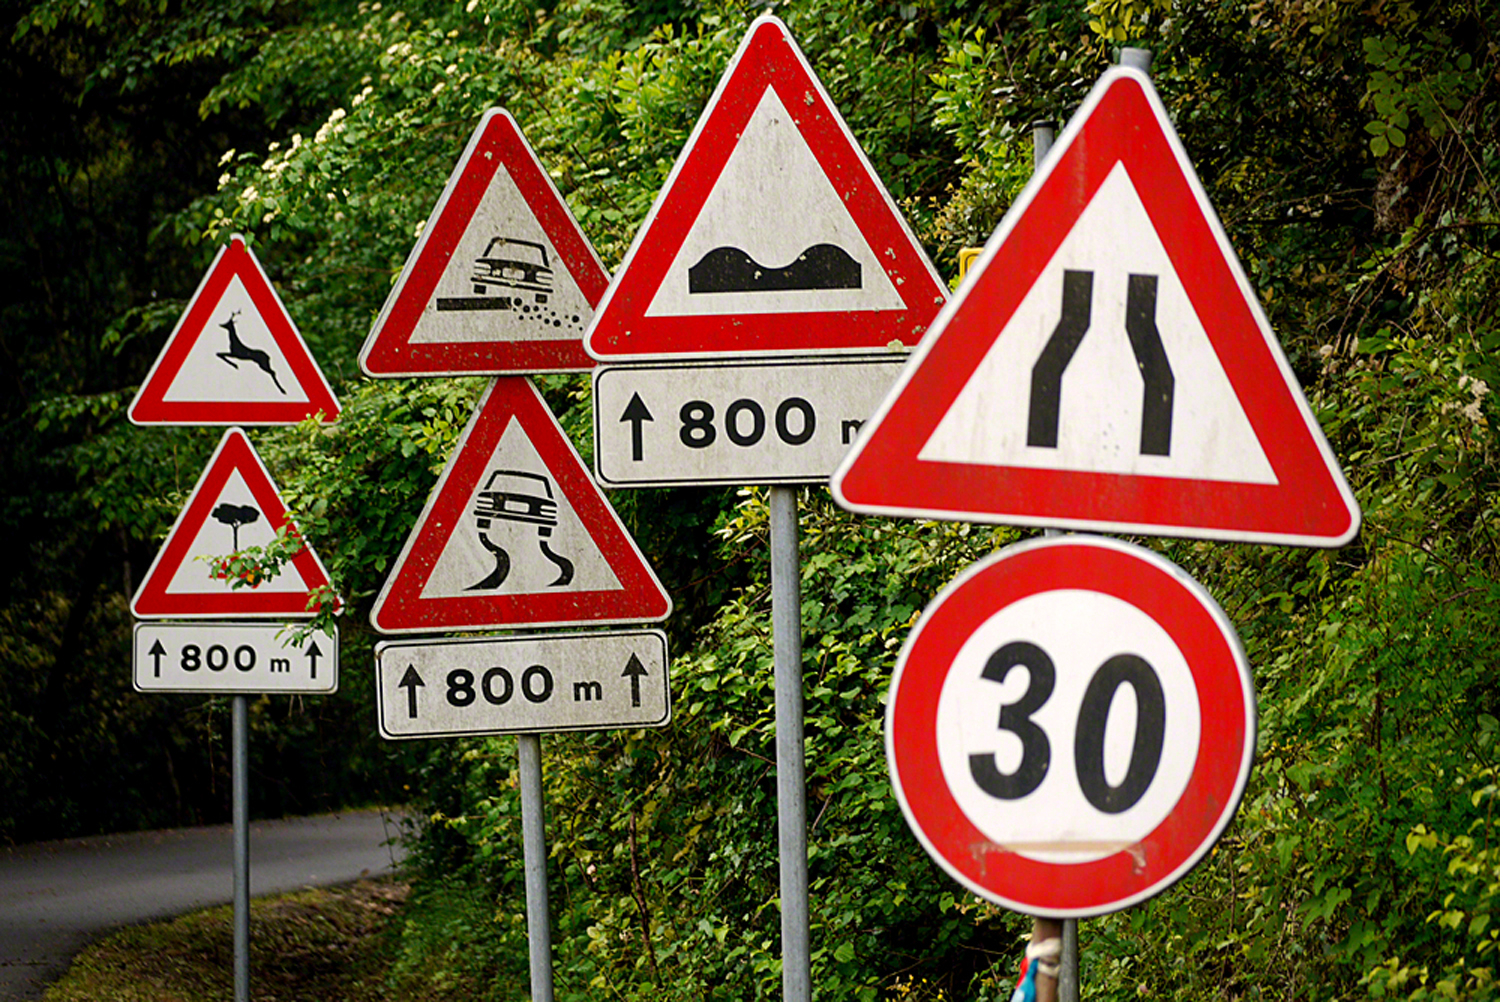
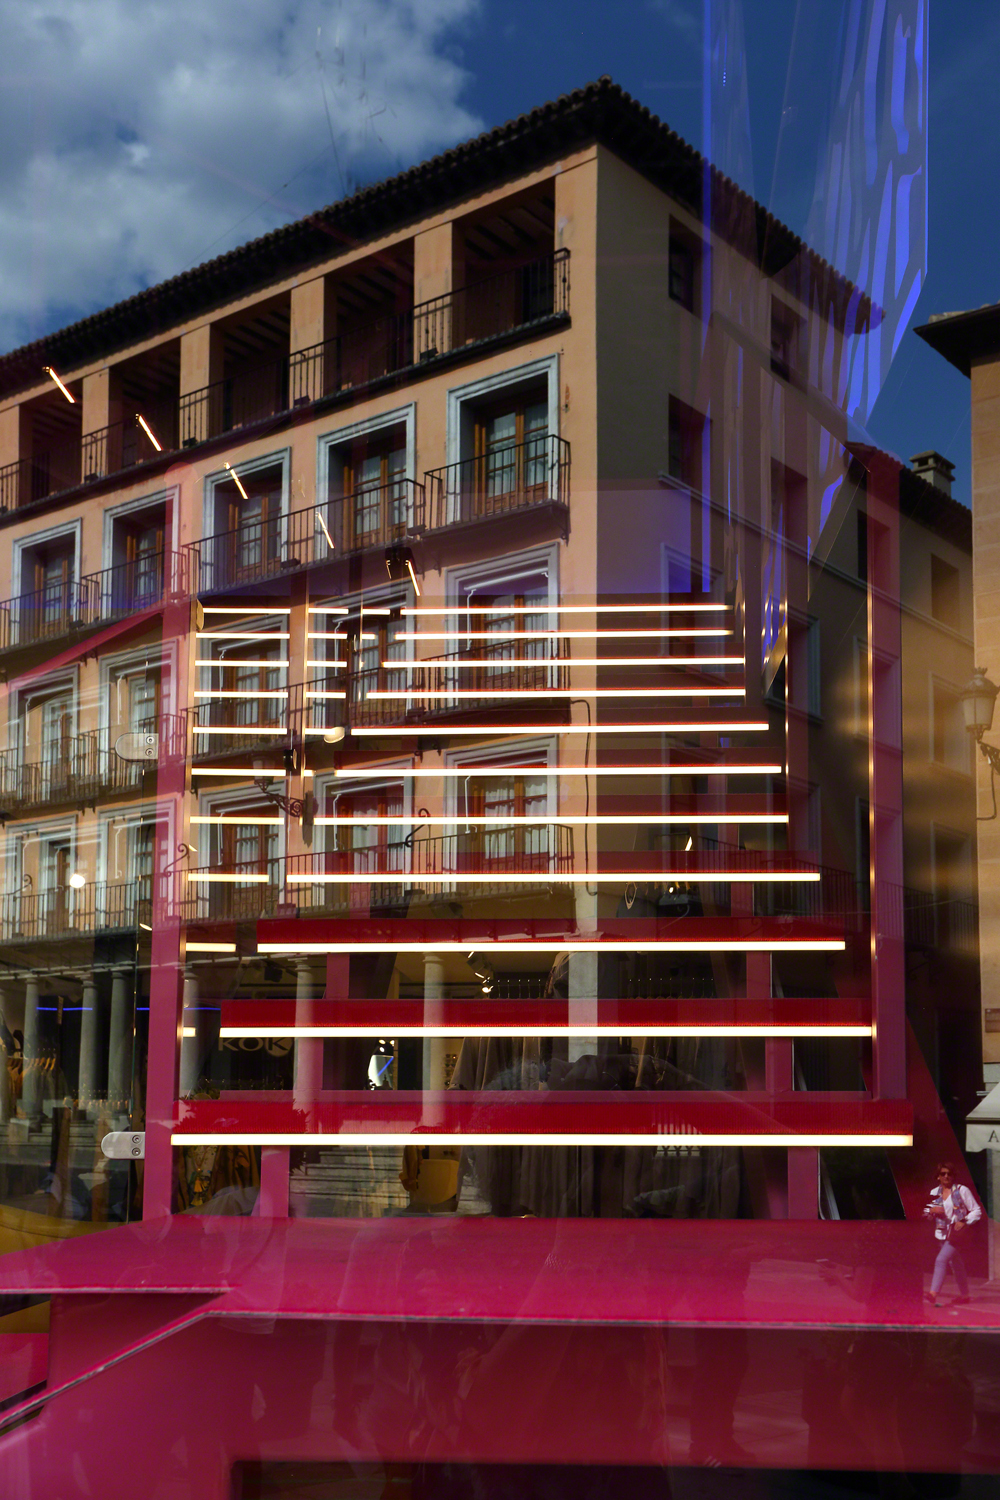
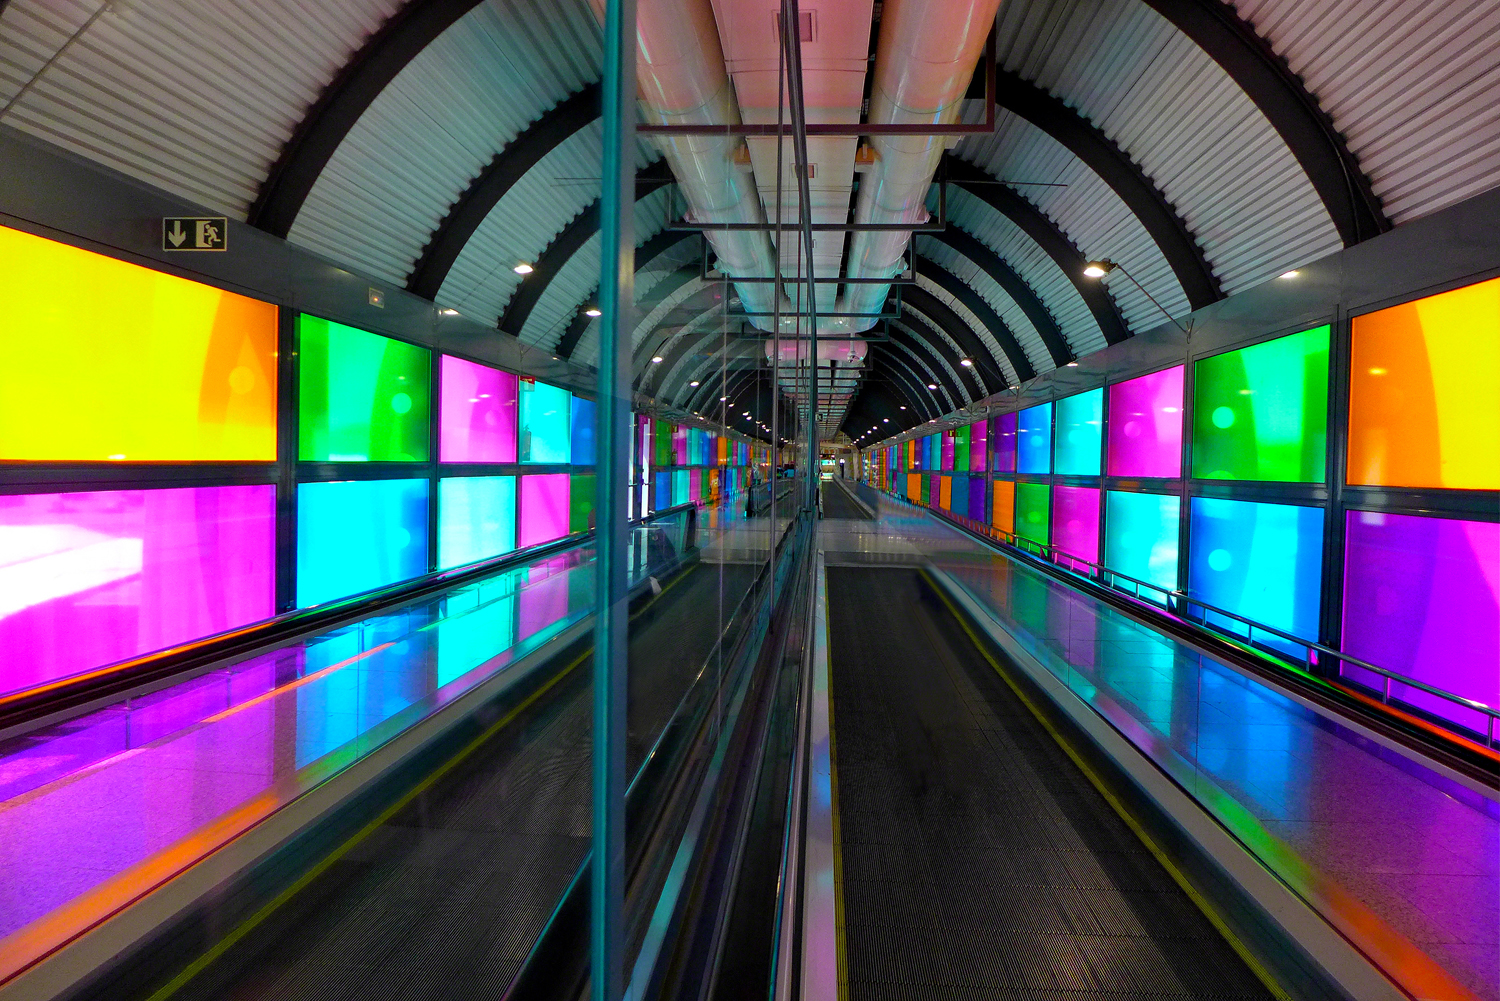
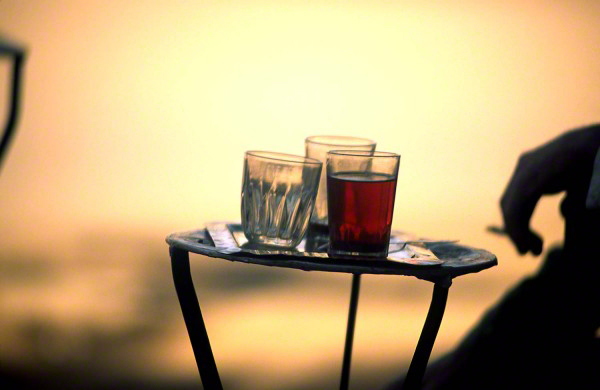
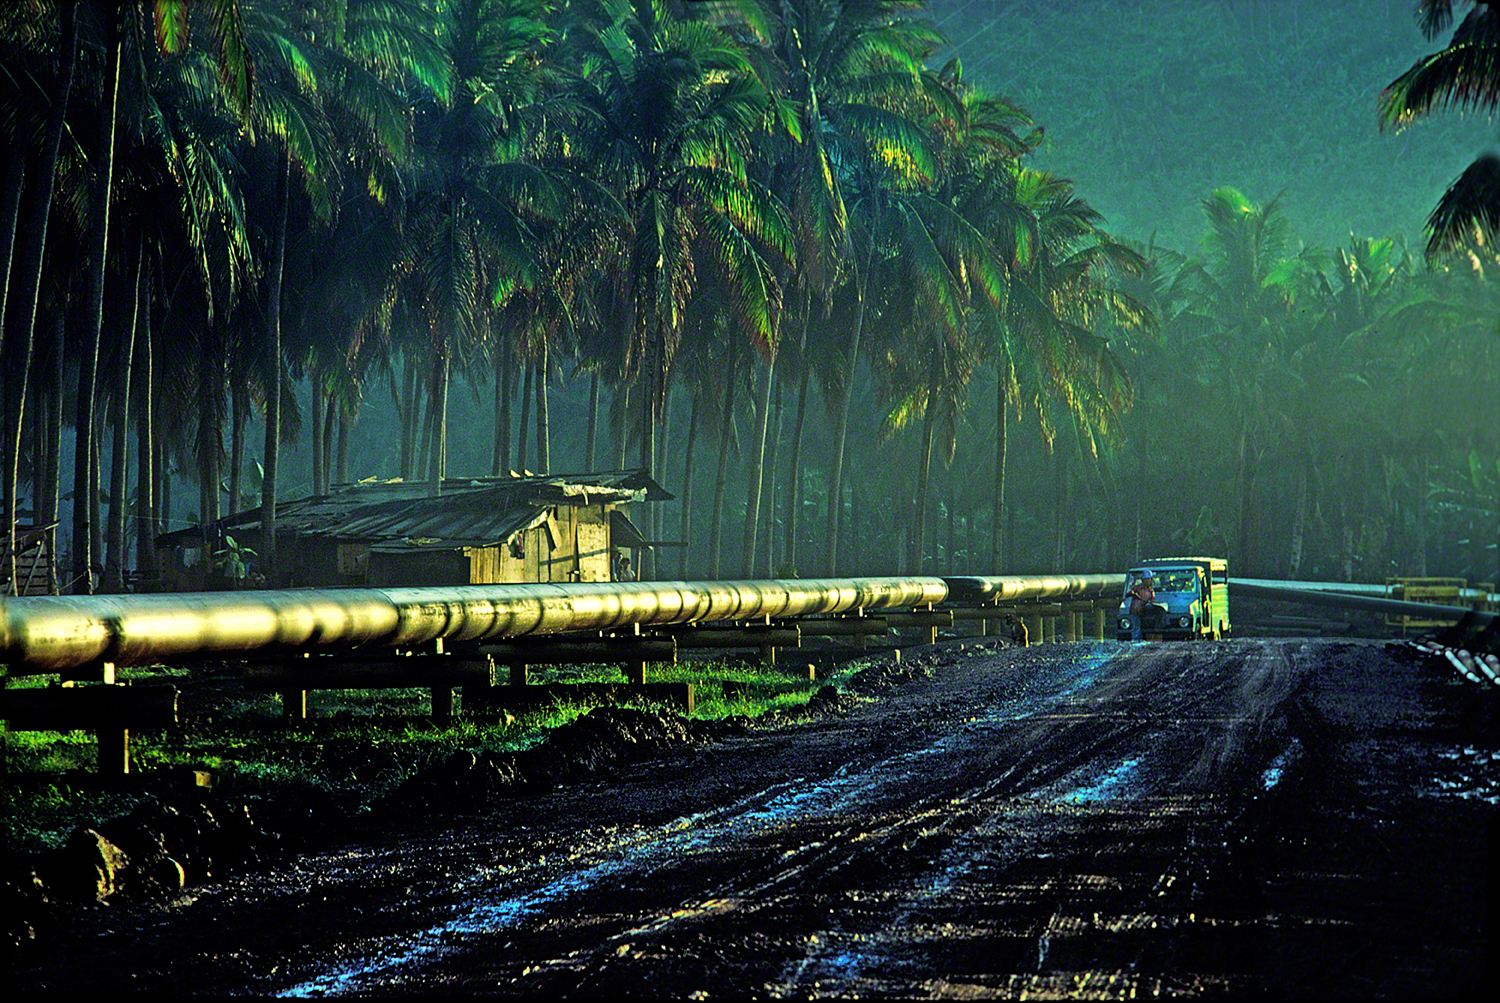
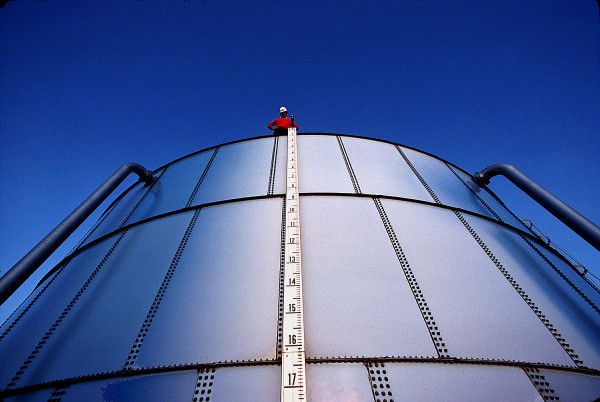
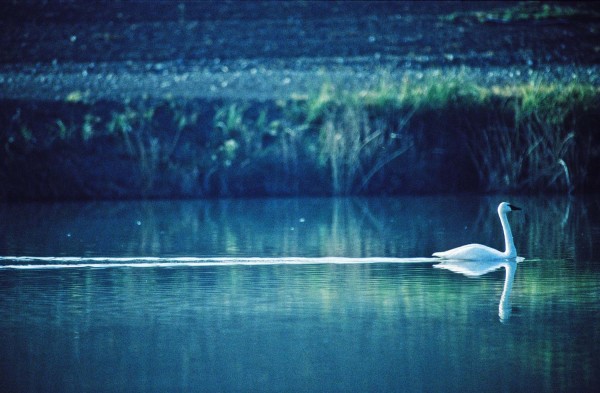
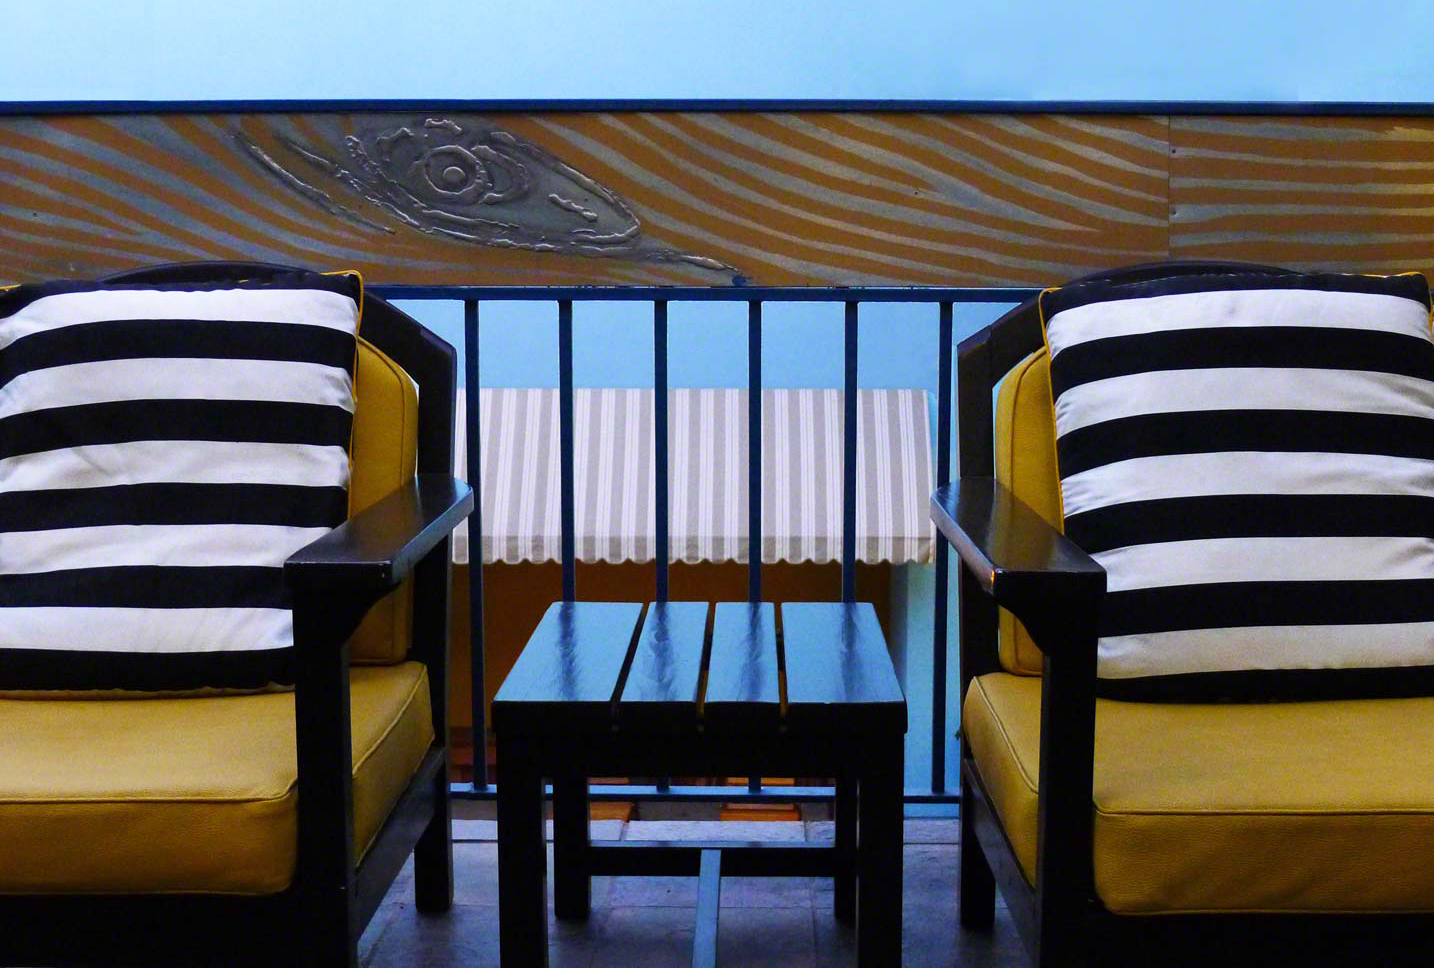
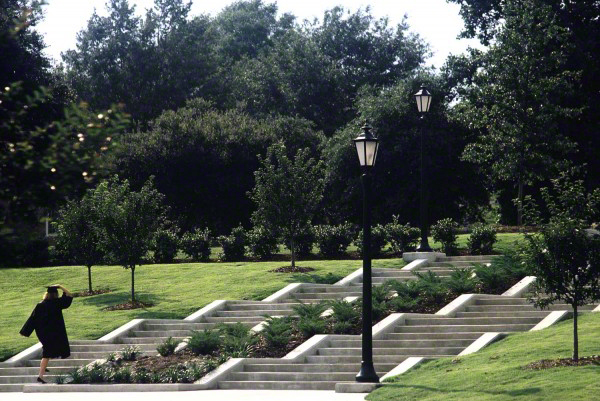
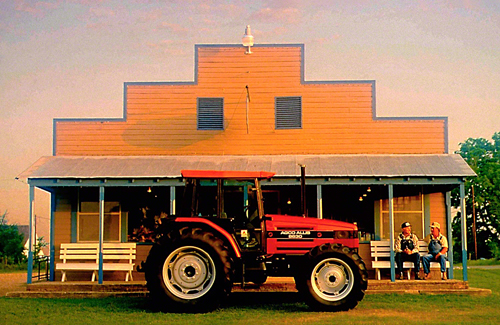
To generate energy in your photos there needs to be some type of Visual Tension, and there are several ways to produce it. For example the use of light can create Tension. Contrast can also generate Tension. A gesture, body language, stopping an action and leaving it un-completed, showing a subject and it’s reflection, minimizing the negative space that borders the positive space as in your subject or center of interest. These plus more of which I’ll be dedicating several posts, since this is one of the most important ways to take your imagery what I always refer to as “up a notch”.
Visit my brand new website at: www.joebaraban.com, and check out my workshop schedule at the top of this blog. Come shoot with me sometime.
JoeB