
Lemena, an online student of mine with the BPSOP sent me this photo to take a look at. As usual, I like to include what people had to say as it often mirrors what others are thinking about when they’re shooting. There’s lots of photographers out there that experience the same thing. I know that the people that take my “Stretching Your Frame of mind” workshop class deals with a lot of the same issues, so let’s talk about them.
Dear Joe,
I just took your class at BPSOP a couple of weeks ago. Last week, I came back from Japan and was at Lake Yamanaka, one of the Fuji’s 5 Lakes. I saw this scenery one early morning. There was a rope and some wet spots on the metal bridge. A little shadow as there was morning light, although at a distant, it was misty. I thought these fit the suggestions you made in the class when I took it.
I spot meter the reddish-brown metal bridge to choose my exposure. As a result, the sky on the right side of the picture is overblown. But inside the shade of the green duckling, you can see a small boat at a distant. I love the combination of these colors. I use active D-lighting in my camera. Standard setting. About 6:30 am local time. Did not manipulate the color in the White Balance as I usually do.
Hopefully, this picture can be improved with the help of your critique.
Thanks so much.”
Regards,
Lemena
Lemena,
I remember your work well, as it was usually full of color and pretty light. As I always told you that using your ‘Artist Palette’ with all the elements of Visual Design on it will help take your imagery “up a notch” and make it memorable. Ok, lets talk:
The first thing to address is your choice of exposure. You remember me talking about the two different kinds of light, incident and reflected. Incident light being the kind of light that falls on an object and reflected light is the type that reflects off an object. When you metered off the bridge there was more light being absorbed than reflected because the color was dark. The sky, being lighter, reflected more light than it absorbed. Therefore there was no way that you were going to get a proper exposure on the sky and the bridge at the same time.
Also, there’s the ‘Dynamic Range‘ factor, check it out! what you have in this image is a huge difference between the highlights , mid tones, and the shadows. It’s really important to always keep that in mind when exposing your photo.
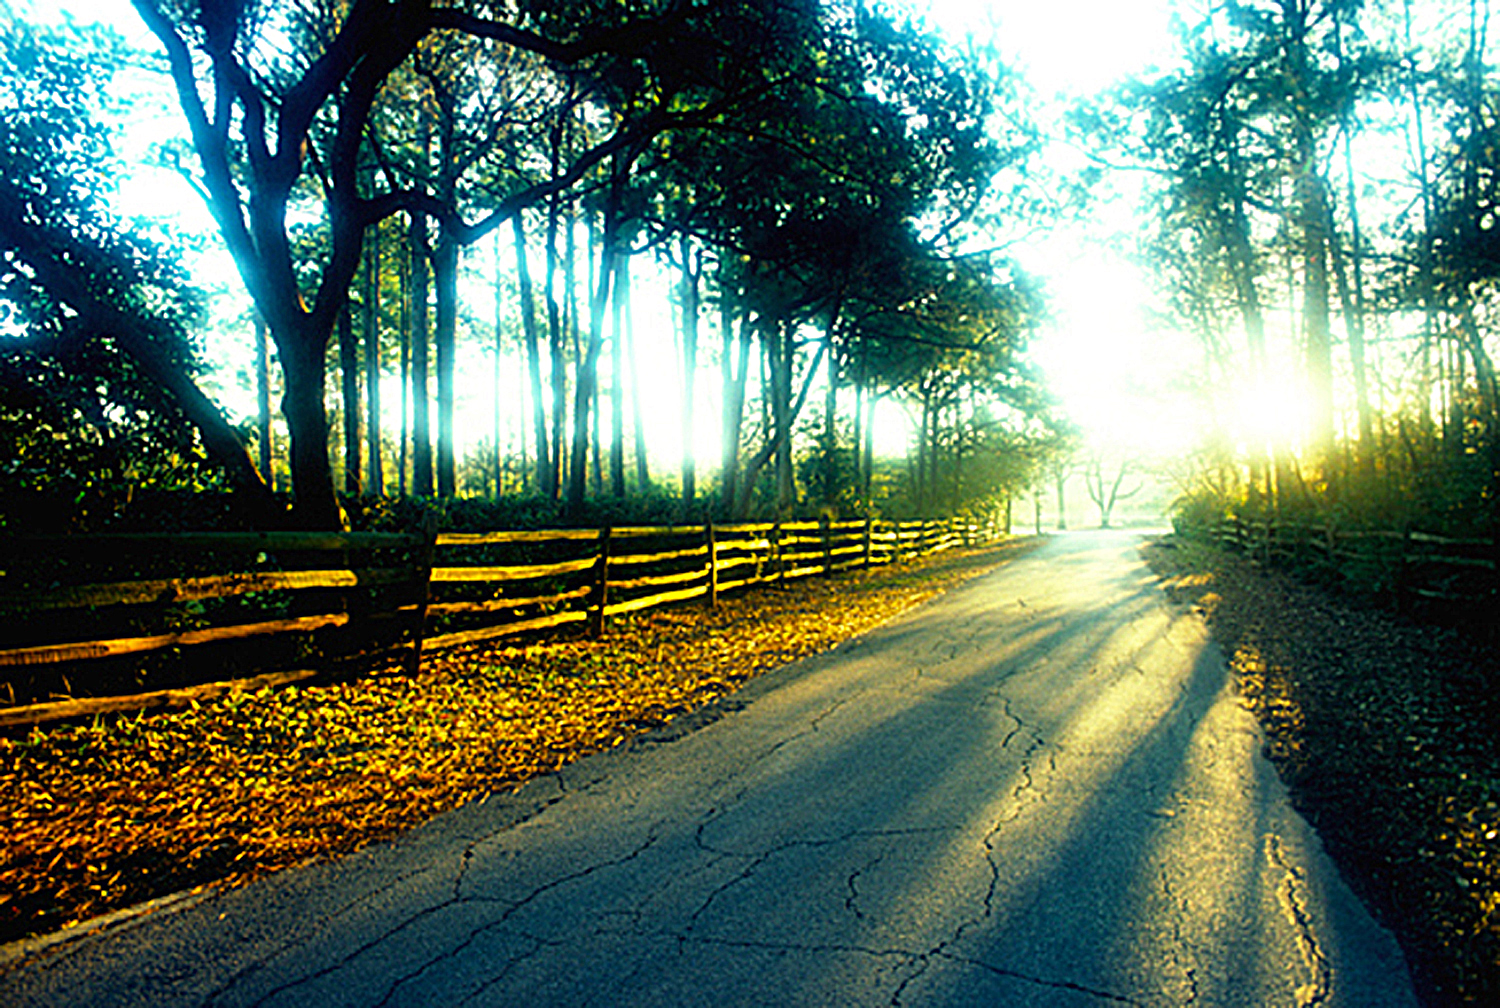
So, what do you do? Being the type of photographer that wants to do as much in the camera as possible, I want to make sure that there’s some tone in the sky, unless I’m purposely trying to blow it out as in my photo of the small road.
I would take a reading somewhere close to the brightest area, of the sky where there’s a little blue. that’s what you set your camera on. With color you always want to expose for the brightest area and then open up the shadows…unless the Dynamic Range is too great. At that point you either show as little sky as possible or eliminate it all together.
That’s if you want to do as much “in the camera” as you can. If I were standing there taking the photo, part of my thought process would be in identifying the potential problem and telling myself that I could easily fix what I couldn’t fix “in the camera” in either Light Room or Photoshop.
BTW, I’m glad you didn’t mess with the color and make it unreal looking. To me, there’s nothing wrong with the color as I see it here. It looks natural compared with some of the photos I’ve seen out there that look like a cartoonist took the picture!!!
Now, let’s talk about the composition itself: Are you still using my “Fifteen Point Protection Plan”? You know the one that helps you leave out what should be left out and put in what should be in? The reason I ask is the messy rope in the foreground that to me is a little distracting. I would have picked up on that and decided if it looked good the way it was or should I have wrapped it around itself making it look less messy. For me, KI have no problem making it look good. A camera on a tripod is just like a blank canvas on an easel. You’re an artist so paint, and if that means changing something then “Just Do It”!
Did you realize that you were not centered on the bridge? Either move to one side to make the bridge more of a diagonal shape I(leading line), or move one step to the right so it would be symmetrical. I vote on it being symmetrical. It was just a slight adjustment.
As you know, I love reflections, and especially those created by water. Having said that, I would have tried one where I was “Up Close And Personal” to the wettest part half way down the bridge. Either that, or find a bucket or a hose and wet down the area right in front of where you would put your camera. Remember that reflections create Visual Tension”.
Also remember that you’re out there “making pictures”, not taking them.
I love the small boat in the distance. In the psychology of Gestalt as it applies to photography, it’s important to keep the viewer an active participant in perceiving and processing out photos. One of the ways is to keep him discovering new things as he looks at our pictures. He won’t see the small boat right away and that’s a very good thing!!!
Nice photo Lemera and nice light as well. As you know,LIGHT IS EVERYTHING!!!
Thanks for the submission.
Visit my website at: www.joebaraban.com and follow me on Instagram: www.instagram.com/barabanjoe. Check out my new workshop schedule at the top of this blog. Come shoot with me some time.
JoeB
shahinur
23 Nov 2012Nice post. I respect your collection.