In my part II class with the BPSOP, we spend one week out of four, an entire lesson, just working on the silhouette…Why? Because they can render aid not only on a hot harsh day but while you’re waiting for the sun to come up or sticking around after it has set.
So many of my students both in my online class and my “Stretching Your Frame of mind” workshops have a difficult time thinking about this great photo aid and seem to have a tougher time creating them.
A silhouette is simply a representation of someone or something showing the shape or outline only, typically colored in black against a lighter background. It’s an abstraction of reality and a good way to take your imagery what I refer to as “up a notch”.
For me, shooting in ‘golden light’ is easy, but when I’m occasionally forced to shoot under conditions that I ordinarily would pass on, sleep through, or spend that time scouting, I always reach into my ‘bag of solutions’, and invariably I use the same technique…I look for SILHOUETTES!!!
Midday light isn’t always the time to look for silhouettes. I’ll get to a sunrise location well in advance so I can look for silhouettes. I’ll also hang around after the sun goes down and look for interesting silhouettes at dusk. I’ll also put people in a silhouette to give scale to a landscape.
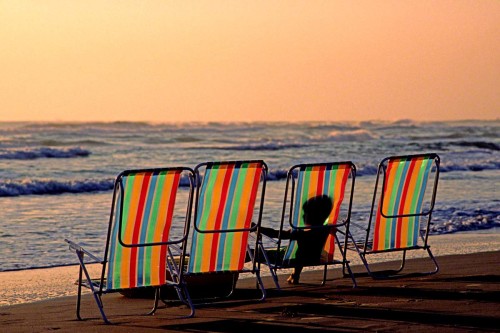
One of my favorite ways to show a silhouette is to combine it with an environment that isn’t in silhouette. Take a look at my photo of the boy sitting in the beach chair shown above. I’ve managed to create a silhouette while showing the rest of the scene as it normally appears. From the use of the silhouette, I’ve managed to create an abstraction of the boy while the chairs surrounding him are in the reality that we’re use to seeing. Try it sometime. While it’s not as easy as it looks to create, the results are well worth the time and thought that goes into it.
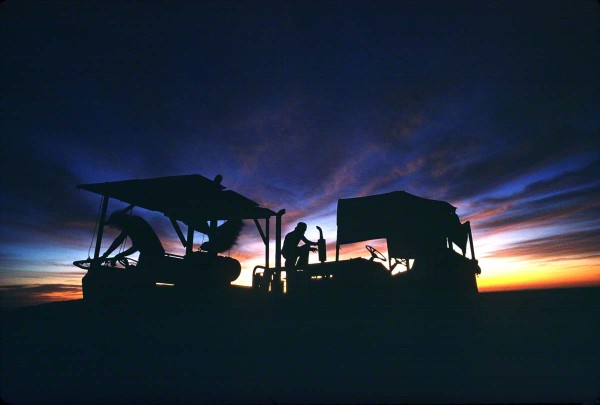
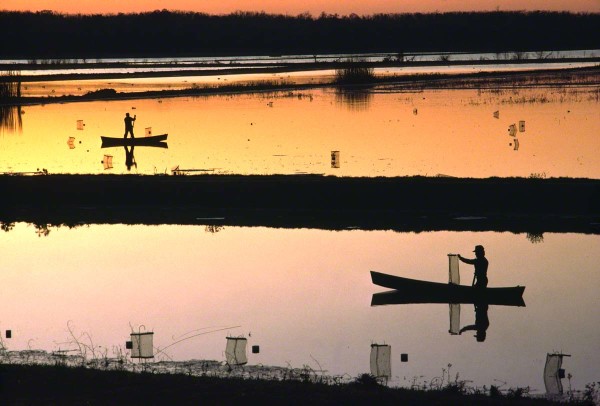
Enjoy some more silhouettes:
Visit my website at www.joebaraban.com and check out my workshop schedule at the top of this blog, come shoot with me sometime.
JoeB


